Stop Adding Repetitive Code in Components! Use ngTemplateOutlet Instead
When building Angular applications, we've all been there - stuck with repetitive code that's makes our app large and hard to maintain. We've got sections of code that do similar tasks, but with slight variations, and we copy-paste them in many places. Wometimes throughout the whole app, and sometimes even within a component template. This leads to a mess of code that's difficult to read and update.
Imagine having to update a small piece of code in multiple places, only to find out that you’ve missed one or two instances.
This is what happens when we have redundant code, and it’s frustrating. It’s like trying to fix a puzzle, but the pieces keep changing shape.
So, how do we avoid this repetitive code? Well, in Angular there are several ways to do this, but for this example, this is where the ng-template element and ngTemplateOutlet directive come into play.
What Exactly is ngTemplateOutlet?
It’s is a directive that essentially allows us to stamp out a given template, or chunk of code, into a component. It’s a powerful tool that can help us reduce code duplication.
The purpose of ngTemplateOutlet is to provide a way to reuse templates in our components, making them easier to maintain.
Let’s take a look at a basic example to help us understand how to use them and how they can be leveraged.
A Basic Example of Repetitive Blocks of Code in a Component Template
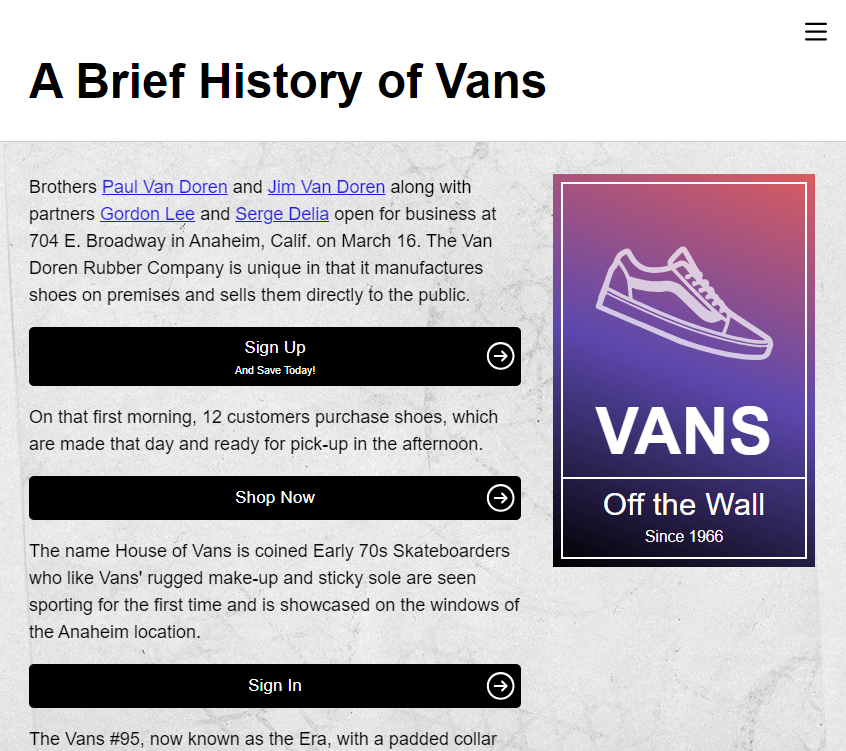
For this example, we have a mock application for the Vans clothing brand. Mixed into this content on the history page, we have several buttons that look very similar.
Let’s look at the code for this component to see how these are being added.
The code for the first button looks like this:
page-content.component.html
<button (click)="signUp()">
    <span class="title">Sign Up</span>
    <span class="subtitle">And Save Today!</span>
    <svg
        aria-hidden="true"
        viewBox="0 0 24 24"
        class="icon">
        <path d="m12.012 1.995c-5.518 0-9.998 4.48-9.998 9.998s4.48 9.998 9.998 9.998 9.997-4.48 9.997-9.998-4.479-9.998-9.997-9.998zm0 1.5c4.69 0 8.497 3.808 8.497 8.498s-3.807 8.498-8.497 8.498-8.498-3.808-8.498-8.498 3.808-8.498 8.498-8.498zm1.528 4.715s1.502 1.505 3.255 3.259c.146.147.219.339.219.531s-.073.383-.219.53c-1.753 1.754-3.254 3.258-3.254 3.258-.145.145-.336.217-.527.217-.191-.001-.383-.074-.53-.221-.293-.293-.295-.766-.004-1.057l1.978-1.977h-6.694c-.414 0-.75-.336-.75-.75s.336-.75.75-.75h6.694l-1.979-1.979c-.289-.289-.286-.762.006-1.054.147-.147.339-.221.531-.222.19 0 .38.071.524.215z" fill-rule="nonzero"/>
    </svg>
</button>
We have a title for the button, a subtitle, and then, the svg arrow icon too. This is a kind of large chunk of code for what it is.
And, to make this even worse, we have the same thing for the next button, the only difference is that it doesn’t have a subtitle:
page-content.component.html
<button (click)="shop()">
    <span class="title">Shop Now</span>
    <svg
        aria-hidden="true"
        viewBox="0 0 24 24"
        class="icon">
        <path d="m12.012 1.995c-5.518 0-9.998 4.48-9.998 9.998s4.48 9.998 9.998 9.998 9.997-4.48 9.997-9.998-4.479-9.998-9.997-9.998zm0 1.5c4.69 0 8.497 3.808 8.497 8.498s-3.807 8.498-8.497 8.498-8.498-3.808-8.498-8.498 3.808-8.498 8.498-8.498zm1.528 4.715s1.502 1.505 3.255 3.259c.146.147.219.339.219.531s-.073.383-.219.53c-1.753 1.754-3.254 3.258-3.254 3.258-.145.145-.336.217-.527.217-.191-.001-.383-.074-.53-.221-.293-.293-.295-.766-.004-1.057l1.978-1.977h-6.694c-.414 0-.75-.336-.75-.75s.336-.75.75-.75h6.694l-1.979-1.979c-.289-.289-.286-.762.006-1.054.147-.147.339-.221.531-.222.19 0 .38.071.524.215z" fill-rule="nonzero"/>
    </svg>
</button>
And then, we have the same thing one more time, for the third button too:
page-content.component.html
<button (click)="signIn()">
    <span class="title">Sign In</span>
    <svg
        aria-hidden="true"
        viewBox="0 0 24 24"
        class="icon">
        <path d="m12.012 1.995c-5.518 0-9.998 4.48-9.998 9.998s4.48 9.998 9.998 9.998 9.997-4.48 9.997-9.998-4.479-9.998-9.997-9.998zm0 1.5c4.69 0 8.497 3.808 8.497 8.498s-3.807 8.498-8.497 8.498-8.498-3.808-8.498-8.498 3.808-8.498 8.498-8.498zm1.528 4.715s1.502 1.505 3.255 3.259c.146.147.219.339.219.531s-.073.383-.219.53c-1.753 1.754-3.254 3.258-3.254 3.258-.145.145-.336.217-.527.217-.191-.001-.383-.074-.53-.221-.293-.293-.295-.766-.004-1.057l1.978-1.977h-6.694c-.414 0-.75-.336-.75-.75s.336-.75.75-.75h6.694l-1.979-1.979c-.289-.289-.286-.762.006-1.054.147-.147.339-.221.531-.222.19 0 .38.071.524.215z" fill-rule="nonzero"/>
    </svg>
</button>
So, this all makes the maintenance of this component more difficult than it needs to be. Like, if we were to need to change this button concept in any way, we’d have to go into each of these spots and update it as needed. We may forget a spot and then have inconsistent buttons. There’s just a lot that could go wrong with this as it is.
Now, we could totally make this into a component, and that would probably work great. But, we can also use an ng-template and the ngTemplateOutlet directive to simplify these buttons right from within the component template, without the need for an additional component.
Replacing Redundant Code Blocks With ng-template and ngTemplateOutlet
To do this, we start by adding an ng-template element
page-content.component.html
<ng-template></ng-template>
Within this element, we’ll be adding the shared mark-up for the button. So, let’s add a span with class “title” for our button title. Then let’s add another span with the “subtitle” class. After that, we can copy our svg icon and paste it into this template too:
page-content.component.html
<ng-template>
    <span class="title"></span>
    <span class="subtitle"></span>
    <svg
        aria-hidden="true"
        viewBox="0 0 24 24"
        class="icon">
        <path d="m12.012 1.995c-5.518 0-9.998 4.48-9.998 9.998s4.48 9.998 9.998 9.998 9.997-4.48 9.997-9.998-4.479-9.998-9.997-9.998zm0 1.5c4.69 0 8.497 3.808 8.497 8.498s-3.807 8.498-8.497 8.498-8.498-3.808-8.498-8.498 3.808-8.498 8.498-8.498zm1.528 4.715s1.502 1.505 3.255 3.259c.146.147.219.339.219.531s-.073.383-.219.53c-1.753 1.754-3.254 3.258-3.254 3.258-.145.145-.336.217-.527.217-.191-.001-.383-.074-.53-.221-.293-.293-.295-.766-.004-1.057l1.978-1.977h-6.694c-.414 0-.75-.336-.75-.75s.336-.75.75-.75h6.694l-1.979-1.979c-.289-.289-.286-.762.006-1.054.147-.147.339-.221.531-.222.19 0 .38.071.524.215z" fill-rule="nonzero"/>
    </svg>
</ng-template>
Now, the one thing that I’m not going to do here is, I’m not going to put the button element into the template. We don’t want to do this because we are handing the click event of each button uniquely for each case. It’d be better to just replace the content with the template and not the whole button.
Ok, so this looks great, but you may be asking yourself, “what about the different text for the buttons?” Well, with the ng-template element, we can add input variables to pass dynamic data through.
To do this we use the prefix “let”, followed by a dash “-”, and then the name for the variable, in this case let’s call it “title”.
Now, we’ll pass these variables through a context object, which we’ll see in a minute, but we’ll add a property to that context object with the key “title” as well, so we need to pass that as the expression for this variable.
page-content.component.html
<ng-template let-title="title">
    ...
</ng-template>
Then we can do this exact same thing for the subtitle:
page-content.component.html
<ng-template let-title="title" let-subtitle="subtitle">
    ...
</ng-template>
Now we just need to add the string interpolated values for each of these in the appropriate spots:
page-content.component.html
<ng-template let-title="title" let-subtitle="subtitle">
    <span class="title">{{ title }}</span>
    <span class="subtitle">{{ subtitle }}</span>
    ...
</ng-template>
Ok, we’re getting close now.
All three of these buttons have a title, but only the first has a subtitle. So, it’s probably safe for us to assume that a title should be required, but the subtitle should be conditional.
So, we need to wrap the subtitle span in a condition to check if that variable is defined before rendering it:
page-content.component.html
<ng-template let-title="title" let-subtitle="subtitle">
    <span class="title">{{ title }}</span>
    @if (subtitle) {
        <span class="subtitle">{{ subtitle }}</span>
    }
    ...
</ng-template>
Ok, that’s it.
Now, if we were to save at this point we wouldn’t see anything different. This is of course, because we’ve created a template but haven’t yet updated any of our buttons to use it.
But what’s important to note here is that anything placed within an ng-template element will not be rendered to the page until the template is referenced in some way.
Using the ngTemplateOutlet Structural Directive to Inject Content from a Template
So we have a template, now how do we use it? Well, this is where the ngTemplateOutlet directive comes into play.
Now, before we can use it, let’s switch over to our component TypeScript and add it to the imports array for our component.
page-content.component.ts
import { NgTemplateOutlet } from '@angular/common';

@Component({
  selector: 'app-page-content',
  ...
  imports: [..., NgTemplateOutlet]
})
Ok, now let’s switch back over to the template where we’ll add an ng-container element within our first button. On this container element, we’ll add the ngTemplateOutlet structural directive:
page-content.component.html
<button (click)="signUp()">
    ...
    <ng-container *ngTemplateOutlet=""></ng-container>
</button>
Ok now at a bare minimum, this directive requires us to pass an EmbededViewRef. We can do this by adding a template variable on our ng-template, let’s call it “button”:
page-content.component.html
<ng-template #button let-title="title" let-subtitle="subtitle">
    ...
</ng-template>
Ok, now we can pass this variable to our ngTemplateOutlet directive for the EmbededViewRef.
page-content.component.html
<button (click)="signUp()">
    ...
    <ng-container *ngTemplateOutlet="button"></ng-container>
</button>
Now we just need to pass our labels to the template for this button. To do this, we add a “context” expression. For our expression, we’ll add an object.
The first item in this object will be the title, and well pass the string “Sign Up”. The second item in this object will be the subtitle, and we’ll pass it the text “And Save Today!”:
page-content.component.html
<button (click)="signUp()">
    ...
    <ng-container *ngTemplateOutlet="button; context: {
        title: 'Sign Up',
        subtitle: 'And Save Today!'
    }"></ng-container>
</button>
Ok, now we can remove everything else from this button. That’s it, now the button will look the same, but it’ll be using the code from the template.
Now let’s switch the other buttons over to use this template too. These buttons only need the title passed to them since they don’t have a subtitle:
page-content.component.html
<button (click)="shop()">
    <ng-container
        *ngTemplateOutlet="button;
            context: { title: 'Shop Now' }">
    </ng-container>
</button>
...
<button (click)="signIn()">
    <ng-container
        *ngTemplateOutlet="button;
            context: { title: 'Sign In' }">
    </ng-container>
</button>
There we go, so now we have removed all of the redundant mark-up in this component. These buttons, and this component, will be much easier to maintain going forward now.
To Sum it All Up…
So, what are the key benefits of using ng-template and ngTemplateOutlet in this case? Well, it helps us reduce code duplication and improves maintainability.
It’s a powerful tool that can help us take our Angular applications to the next level by creating a more clean and less repetitive codebase.
Thanks for reading, and I’d love to hear about your own experiences using ngTemplateOutlet in the comments below.
Don’t forget to check out my other Angular tutorials for more tips and tricks.
Additional Resources
- The demo BEFORE making any changes
- The demo AFTER making any changes
- The official ng-template element documentation
- The official ngTemplateOutlet directive documentation
- My YouTube channel with more Angular tutorials
Want to See It in Action?
Check out the demo code and examples of these techniques in the in the Stackblitz example below. If you have any questions or thoughts, don’t hesitate to leave a comment.
