Quick Tip – 09: Placing PhotoShop Documents Within Other PhotoShop Documents
You can now place PhotoShop documents within other PhotoShop documents. This is awesome when you are in the process of mocking up large scale applications consisting of common components like site headers, footers, navigation, etc. It also helps to keep these design elements consistent when developing with a team of designers.
Here’s How it Works
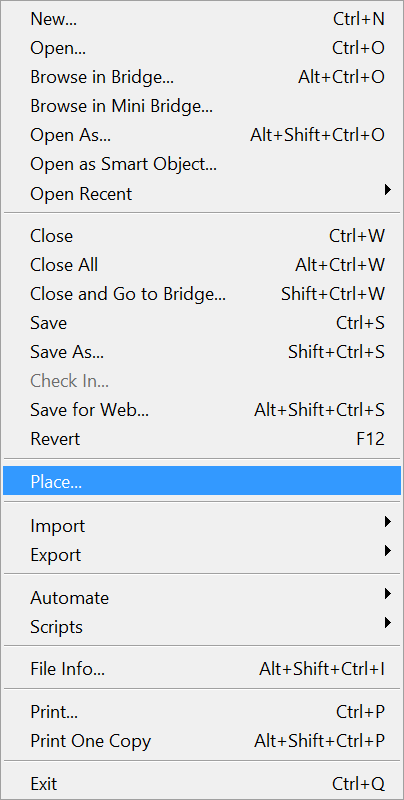
Navigate to the file menu and select “Place…”
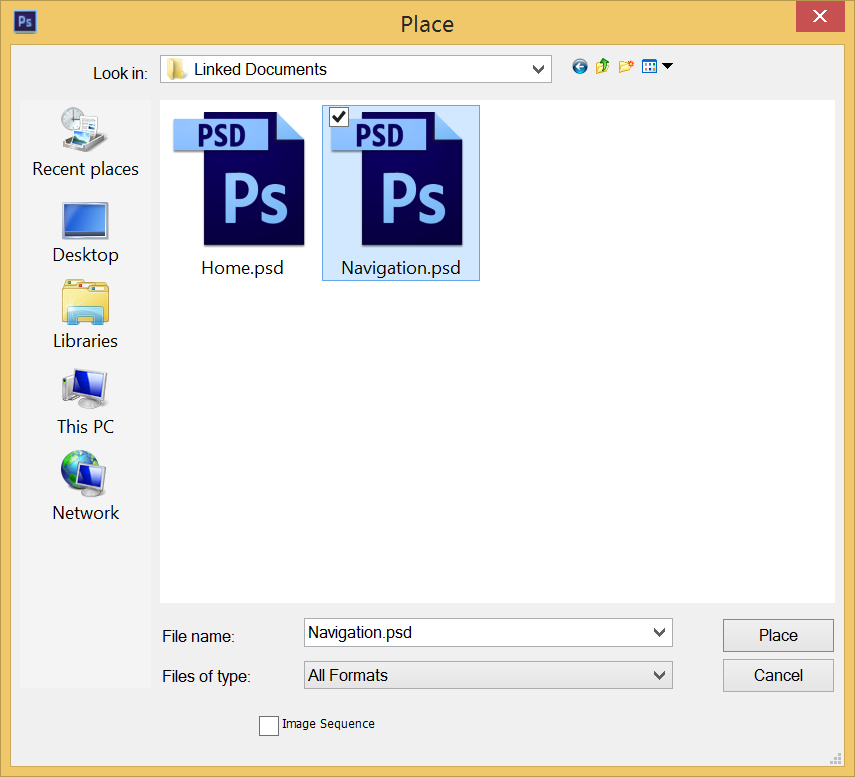
Select a Document
Next select the document you would like to place
That’s it! It’s that simple. Then, when you make modifications to the placed document it’s really easy to update it in all of the documents that contain it.
Modify the Placed Document
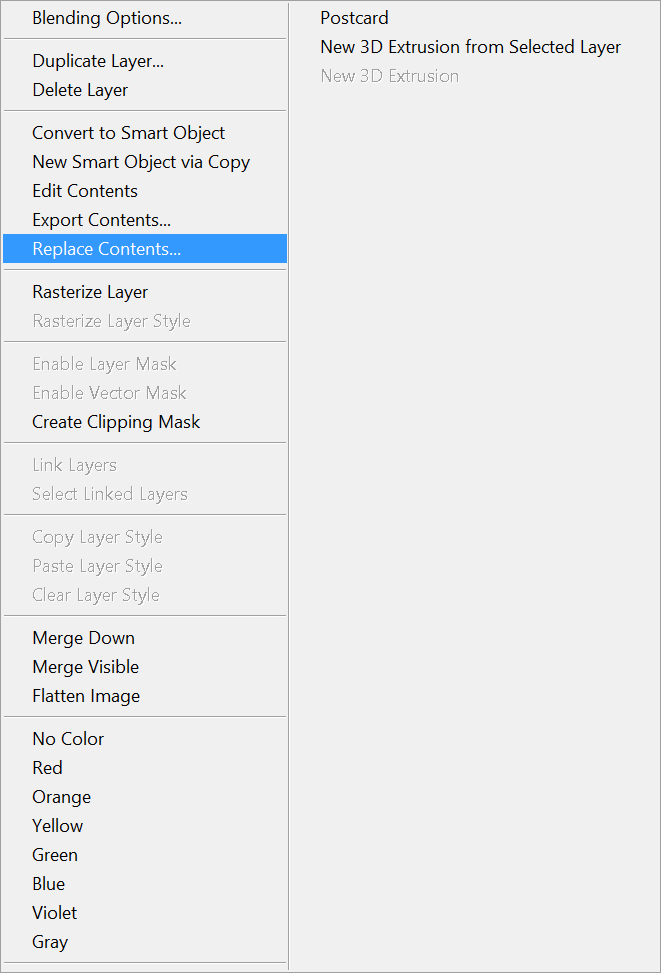
Open the placed document, make your modifications and then save it. Next, right click on the placed document within the layers panel and then choose “Replace Contents…”
Update the Placed Document
Next, choose the updated file and it will replace the current one.
That’s it, super cool and very useful.