Angular 22: Mix Signal Forms and Reactive Forms Seamlessly
What if you could start using Signal Forms today without touching your existing Reactive or Template-driven forms at all? In Angular 22, you'll be able to build Signal-based custom form controls that drop right into your existing forms with no massive rewrites required. This post walks through how to migrate a custom control from ControlValueAccessor to FormValueControl while keeping the parent form completely intact.
Reactive Forms Setup with a Custom Control
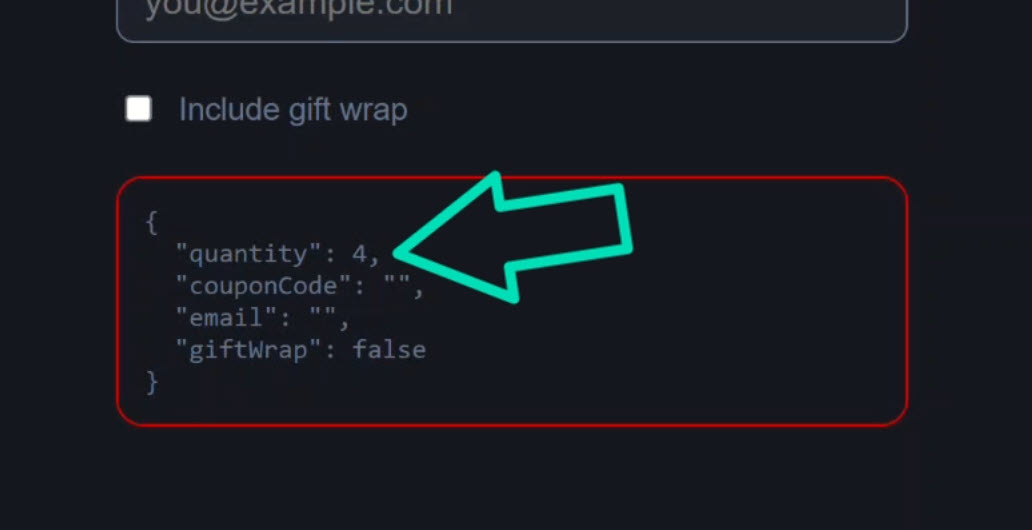
Here, we have a simple cart form with a quantity control, a coupon code, an email field, and a gift wrap checkbox.
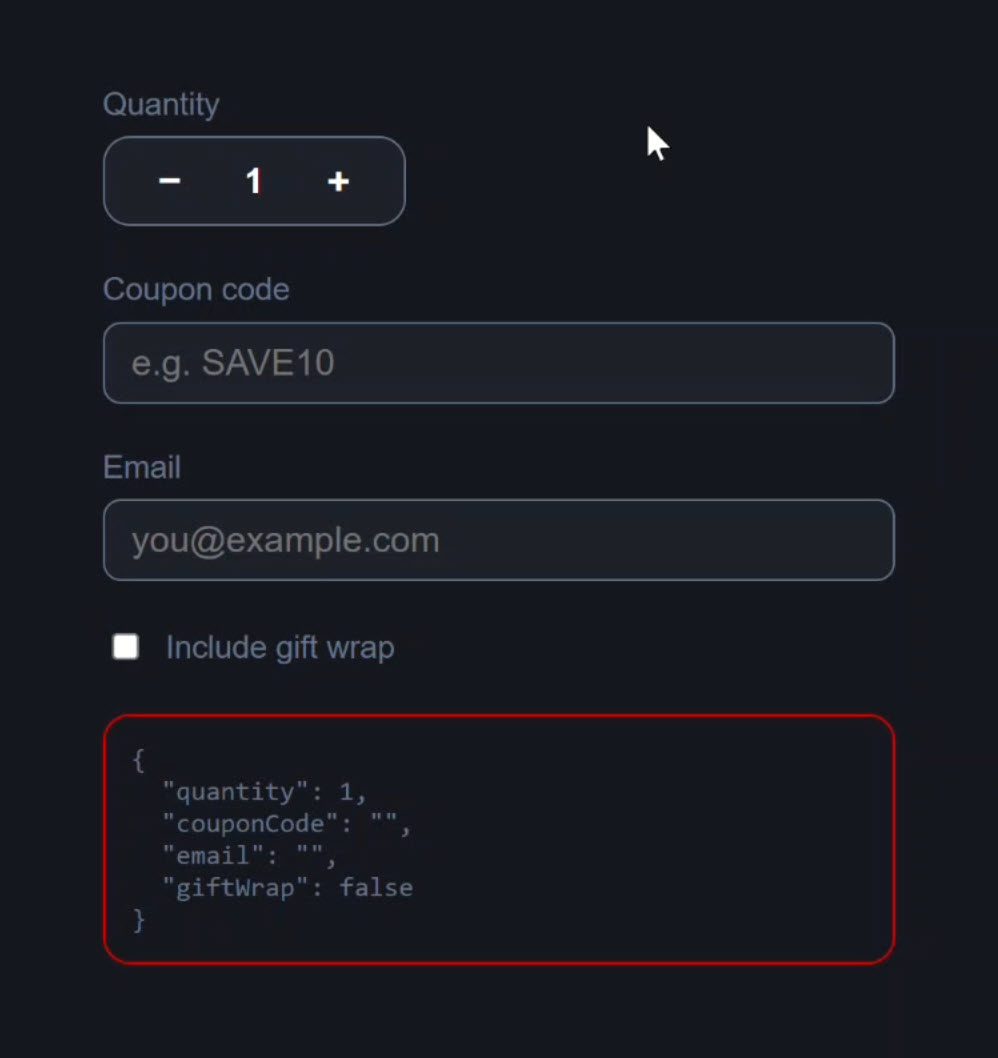
This form is currently built using standard Reactive Forms.
The quantity control is actually a custom form control built using ControlValueAccessor.
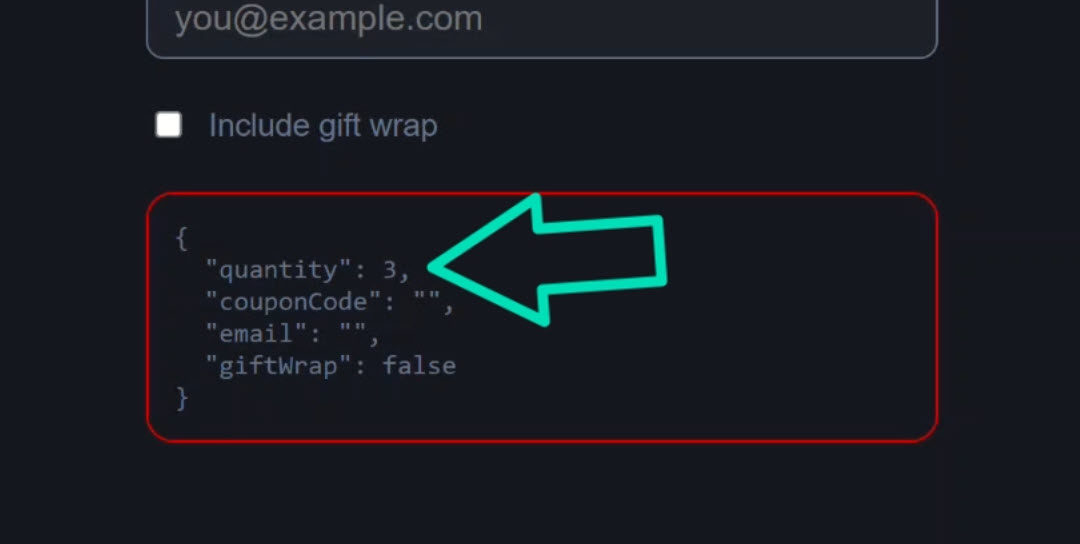
If we click the plus and minus buttons, the value of our form updates correctly:
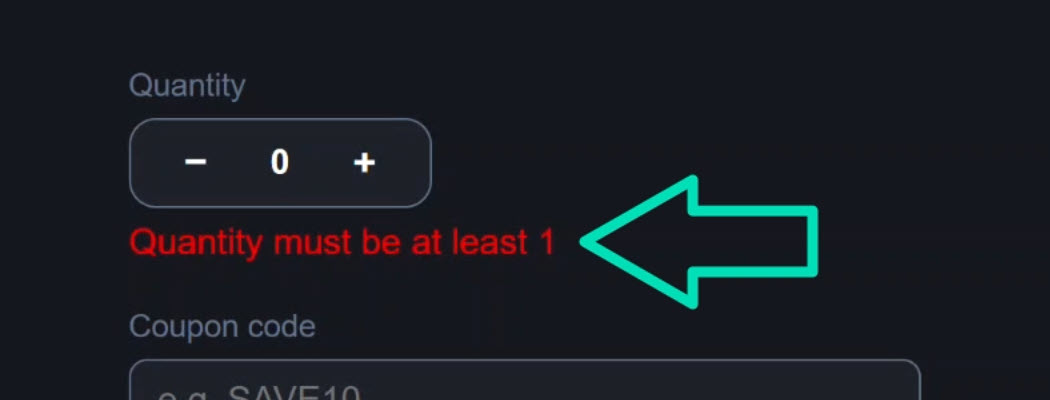
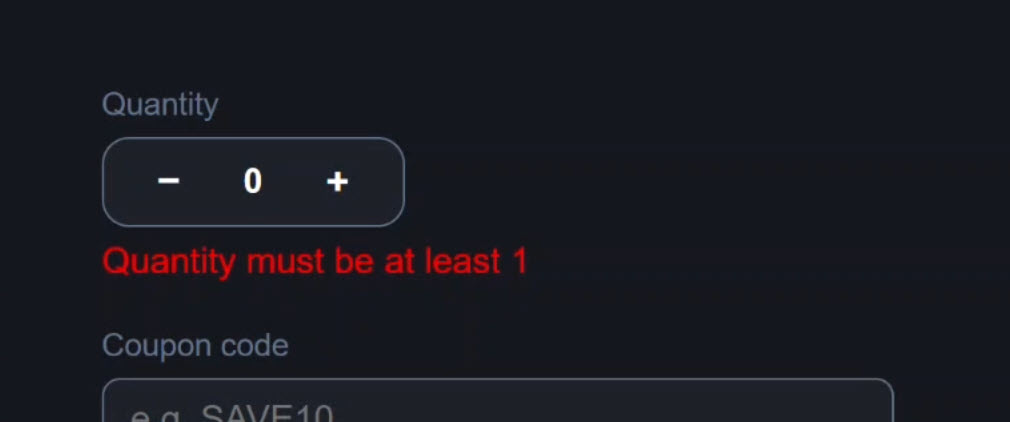
And if we go under 1 item, it triggers our validation and we see the error message appear:
Everything works, but the underlying ControlValueAccessor implementation is incredibly verbose.
Let’s look at the code so you can see what I mean.
The Old Way: How ControlValueAccessor Works in Angular
Let’s start with the code for the parent form component.
In the template, we have a formGroup directive that wraps all of our form controls:
<form class="cart-form" novalidate [formGroup]="form">
    ...
</form>
Within this form group, our custom app-quantity-stepper component is wired up using the standard formControlName directive as well:
<app-quantity-stepper id="qty" formControlName="quantity" />
All the other fieds use the same formControlName directive too.
Now let’s switch and look at the component TypeScript.
First, we have the interface for our form, strongly typing everything with FormControls:
import { ..., FormControl } from '@angular/forms';

interface CartForm {
    quantity: FormControl<number>;
    couponCode: FormControl<string>;
    email: FormControl<string>;
    giftWrap: FormControl<boolean>;
}
Then we have the FormGroup itself:
import { FormControl, FormGroup, ReactiveFormsModule, Validators } from '@angular/forms';

protected form = new FormGroup<CartForm>({
    quantity: new FormControl(1, {
        nonNullable: true,
        validators: [Validators.min(1)],
    }),
    couponCode: new FormControl('', { nonNullable: true }),
    email: new FormControl('', {
        nonNullable: true,
        validators: [Validators.required, Validators.email],
    }),
    giftWrap: new FormControl(false, { nonNullable: true }),
});
The quantity form control is initialized to 1 and set as non-nullable with a minimum value validator of 1.
That’s why, once we went below a quantity of one, we saw our validation error.
This is a pretty standard Reactive Forms setup.
The complexity is actually hiding inside that custom stepper component.
Why ControlValueAccessor Is So Verbose
First, we have this providers array:
import { ..., forwardRef } from '@angular/core';
import { ..., NG_VALUE_ACCESSOR } from '@angular/forms';

providers: [{
    provide: NG_VALUE_ACCESSOR,
    useExisting: forwardRef(() => QuantityStepperComponent),
    multi: true
}],
We have to provide NG_VALUE_ACCESSOR and use forwardRef just to tell Angular that this component can act as a form control.
Our class then implements the ControlValueAccessor interface:
import { ..., ControlValueAccessor } from '@angular/forms';

export class QuantityStepperComponent implements ControlValueAccessor {
    // ...
}
Inside the class we have a private value signal to hold the state, a public value property to expose it for use in the form, and an isDisabled Boolean property too:
private _value = signal(1);
value = this._value;
isDisabled = false;
After this, we implement empty onChange and onTouched callbacks, and wire up writeValue, registerOnChange, registerOnTouched, and setDisabledState:
private onChange: (v:number)=>void = () => {};

private onTouched: ()=>void = () => {};

writeValue(v: number | null): void {
    this._value.set(v ?? 1);
}

registerOnChange(fn: (v:number)=>void) {
    this.onChange = fn;
}

registerOnTouched(fn: ()=>void): void {
    this.onTouched = fn;
}

setDisabledState(disabled: boolean): void {
    this.isDisabled = disabled;
}
Pretty much none of this is your actual business logic.
It’s mostly all just needed due to the fact that this is a custom control built with ControlValueAccessor.
Finally, in our increment and decrement functions, we update our internal signal.
But we also have to manually call onChange so the parent form knows about it:
protected increment() {
    this._value.update(v => {
        const n = v + 1; this.onChange(n); return n;
    });
}

protected decrement() {
    this._value.update(v => {
        const n = v - 1; this.onChange(n); return n;
    });
}
That’s a lot of stuff, right?
And this is a fairly simple example, I’ve certainly seen much more complex custom controls in my experience working with Angular.
Replace ControlValueAccessor with FormValueControl
Now, imagine we are tasked with updating this quantity stepper component to use Signal Forms.
We don’t want to rewrite the parent cart component yet, because maybe it’s a massive, complicated form.
Well, with the upcoming release of Angular v22, we will be able to do exactly that!
With Signal Forms, migrating this component is incredibly easy.
We can completely delete the providers array, the private value signal, and all of those ControlValueAccessor methods.
Instead of ControlValueAccessor, we’ll implement the new FormValueControl interface, and we’ll type it to a number.
import { ChangeDetectionStrategy, Component, input, model } from '@angular/core';
import { FormValueControl } from '@angular/forms/signals';

@Component({
    selector: 'app-quantity-stepper',
    templateUrl: './quantity-stepper.component.html',
    styleUrl: './quantity-stepper.component.scss',
    changeDetection: ChangeDetectionStrategy.OnPush,
})
export class QuantityStepperComponent implements FormValueControl<number> {
    value = model(1);
    isDisabled = input(false);

    protected increment() {
        this.value.update(v => v + 1);
    }

    protected decrement() {
        this.value.update(v => v - 1);
    }
}
When you implement this interface, instead of requiring a bunch of methods, Angular now expects a single “value” model() signal for the value of the control.
We also changed our isDisabled property to an input initialized to false.
We don’t need to call onChange anymore, so all we need to do now is update the signal value in our increment and decrement functions.
That’s the entire component class now!
Next, we need to switch over to the parent cart component and make some massive, complicated changes to the parent form so it can talk to this new signal-based control…
Just kidding!
Yeah, we’re not doing that.
In Angular 22, we won’t have to make any changes to intermix custom FormValueControls with classic Reactive Forms or Template-Driven Forms.
Let’s save and test it out!
The Final Result
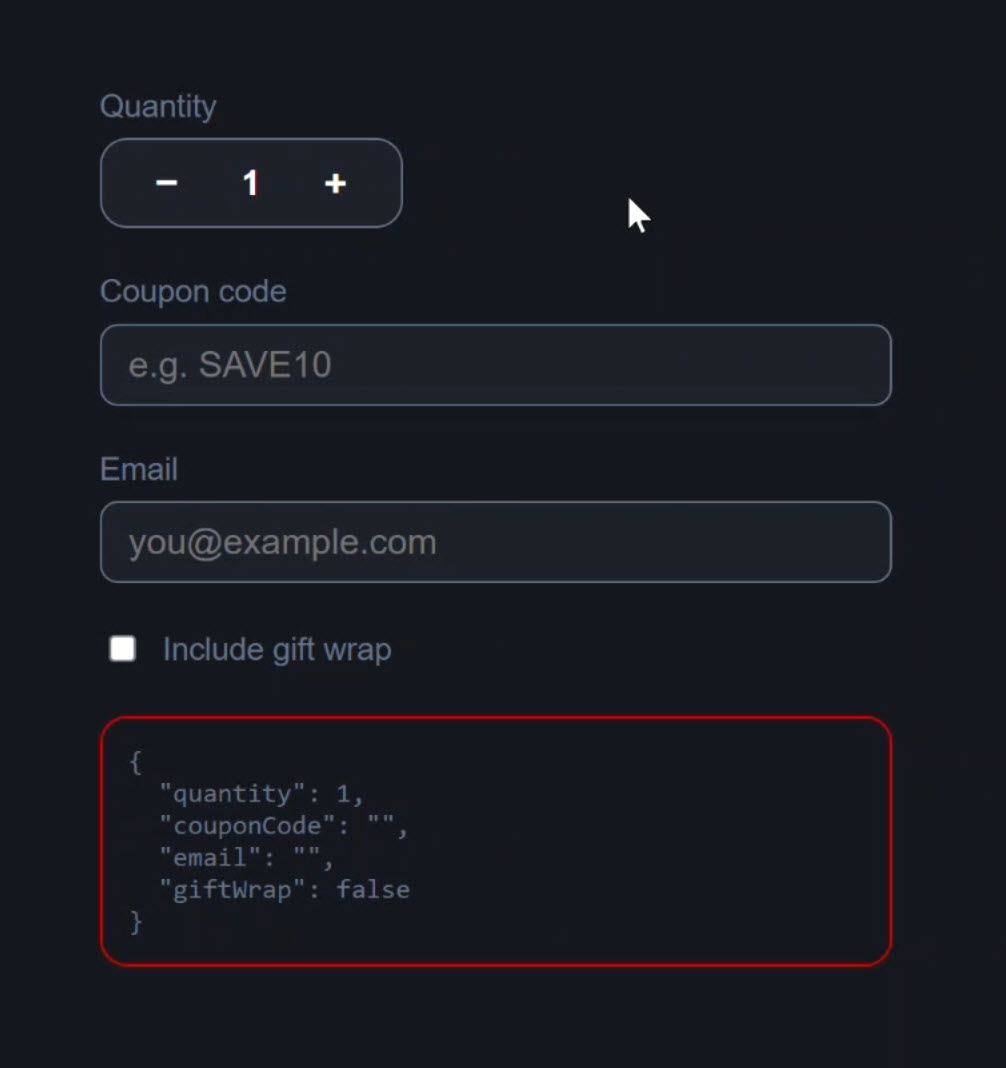
To start, our form looks exactly the same, so that’s good:
And after adjusting the quantity, the value of our Reactive Form is updating correctly in real time, now driven by our Signal-based child control:
Then if I go under 1 item again, it triggers the Reactive Forms validation, and our error message still works perfectly:
So, this is still a Reactive Form, but the control itself is now fully signal-based.
Key Takeaway: Migrate to Signal Forms Without Rewriting Everything
Angular 22 allows Signal-based custom controls to work seamlessly with existing Reactive and Template-Driven Forms, no parent form changes required.
We simply continue to use our existing parent form with FormGroup, FormControl, and the formControlName directive, and it just works.
Angular automatically bridges Signal Forms and Reactive Forms for you, meaning you can modernize your large applications one component at a time!
Get Ahead of Angular’s Next Shift
Most Angular apps today still rely on ControlValueAccessor for custom form controls, but that’s starting to shift.
Signal Forms are new, and not widely adopted yet, which makes this a good time to get ahead of the curve.
I created a course that walks through everything in a real-world context if you want to get up to speed early: 👉 Angular Signal Forms: Build Modern Forms with Signals