I Added Cross-Field Validation with Signal Forms. This is How I Did It
Cross-field validation in Reactive Forms requires validator functions at the form level, making validation logic scattered and hard to maintain. Angular's Signal Forms API simplifies cross-field validation by allowing validators to access other field values directly using valueOf, keeping validation logic colocated with form definitions. This tutorial demonstrates how to build password confirmation validators and other cross-field validations using Signal Forms' validate() function.
Angular Signal Forms Tutorial Series:
- Migrate to Signal Forms - Start here for migration basics
- Custom Validators - Add custom validation to Signal Forms
- Async Validation - Handle async validation in Signal Forms
- State Classes - Use automatic state classes
Why This Password Form Is Wrong
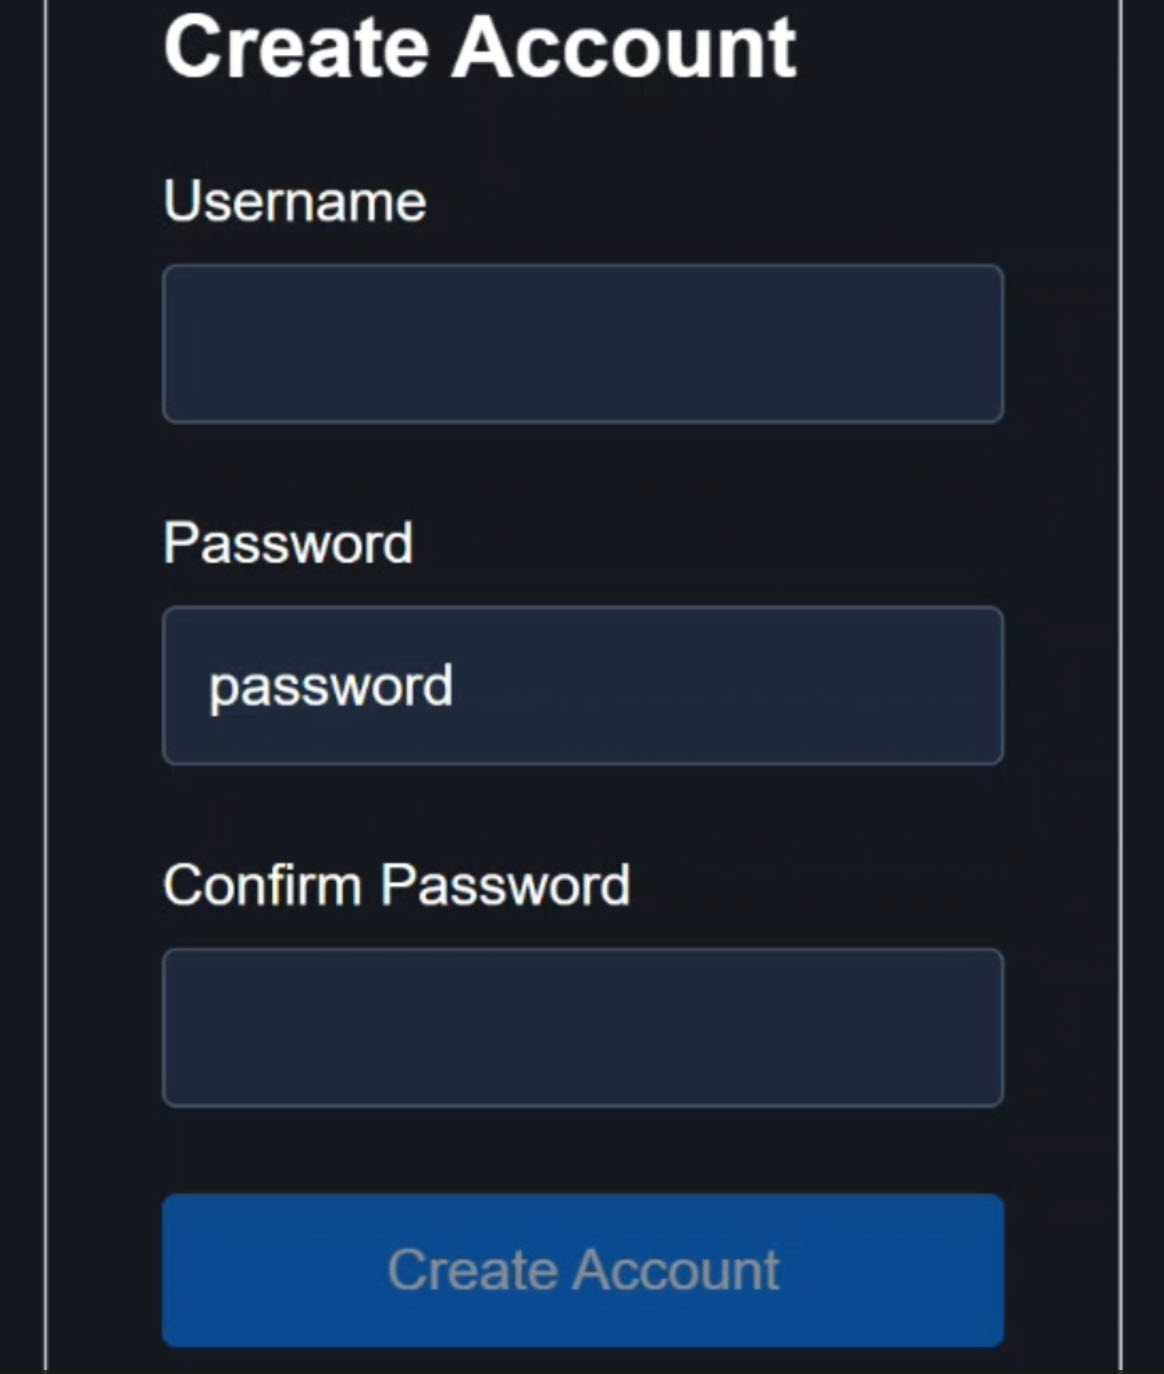
Here we have a form with a password field and a confirm password field:
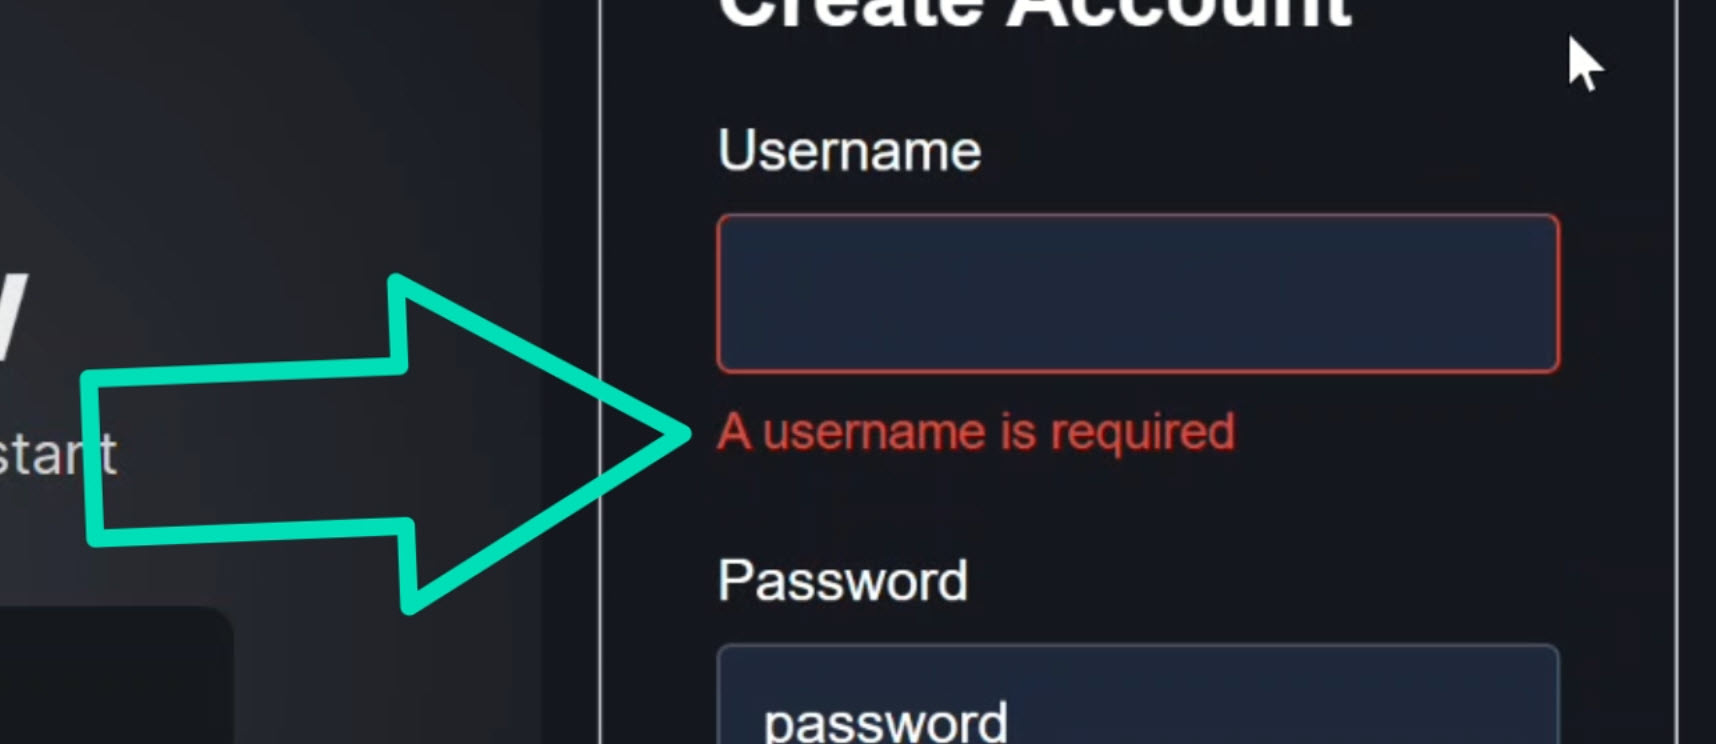
If we click into the username field and blur out, we get a validation message letting us know that this field is required:
Once we add a valid username, the error message disappears.
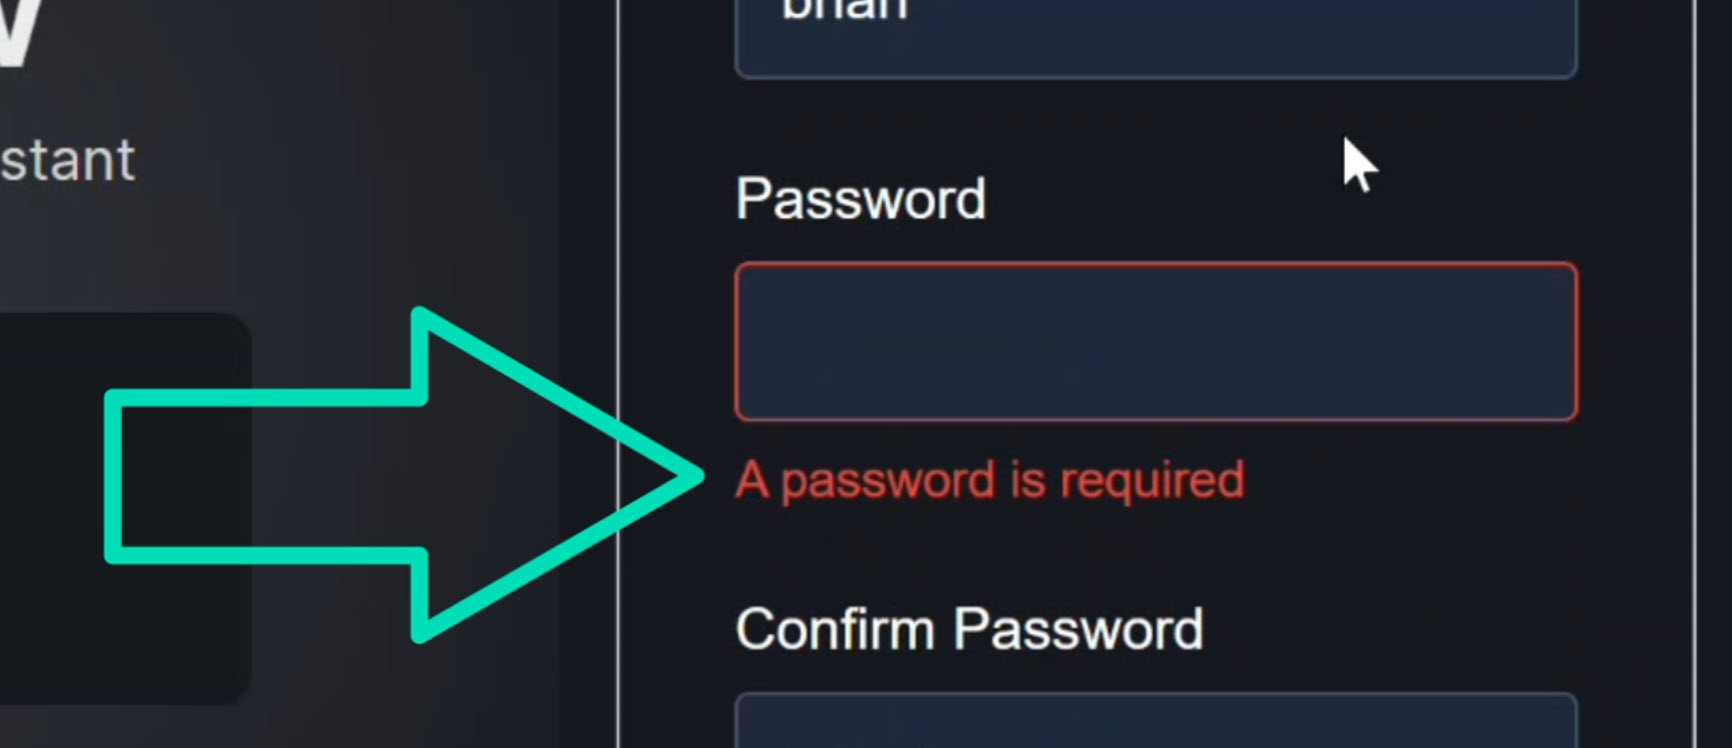
We also have the same thing with our password field.
When we click in and blur out it lets us know it’s required too:
So let’s add a password.
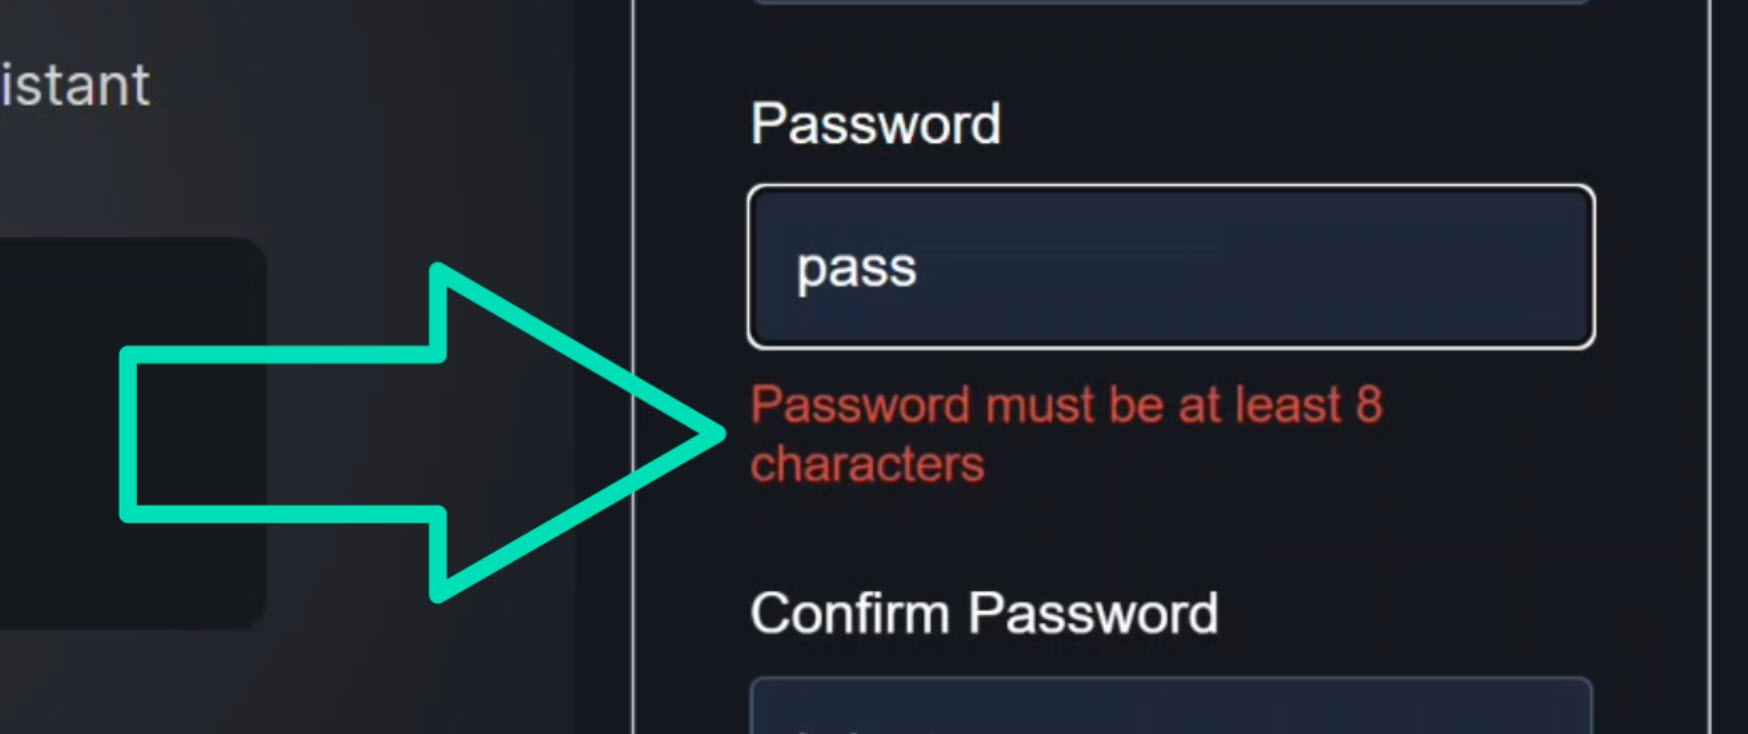
As we start typing, we haven’t met the requirements so it lets us know what we need to do, we need it to be at least 8 characters long:
Then, once it’s 8 characters, the field becomes valid and the error message disappears.
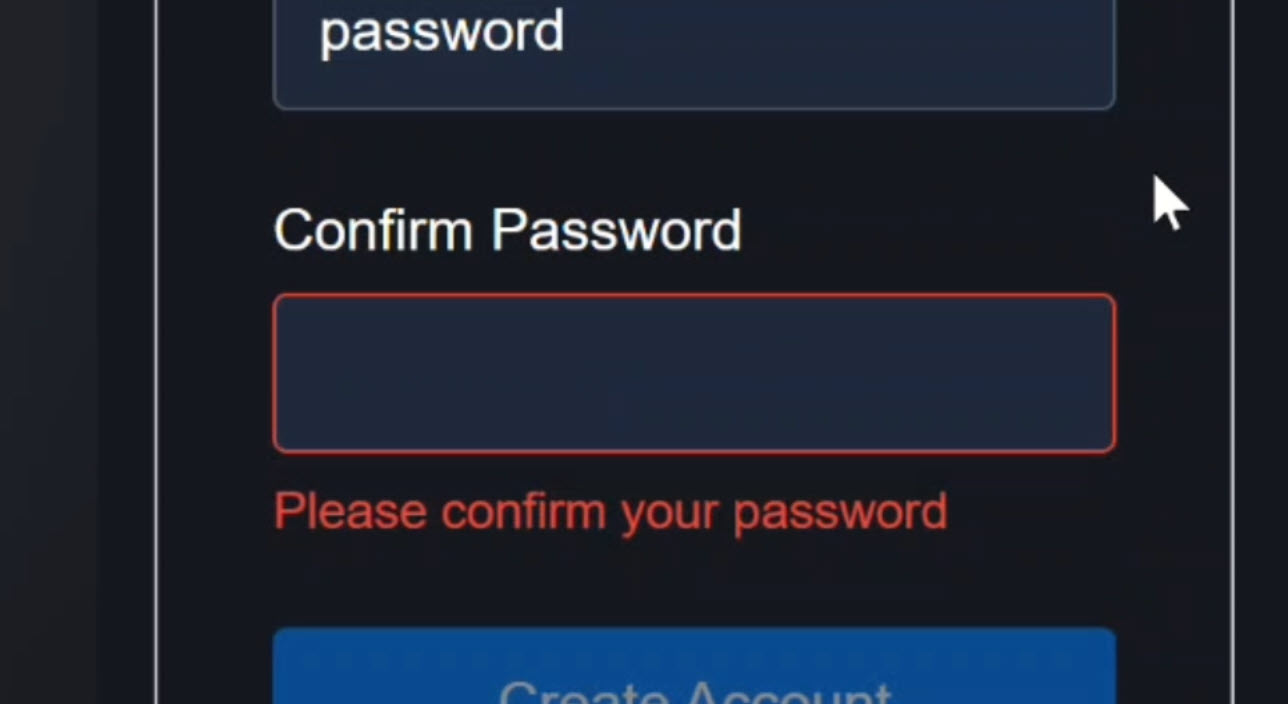
Now with the confirm password field, we also get the required error:
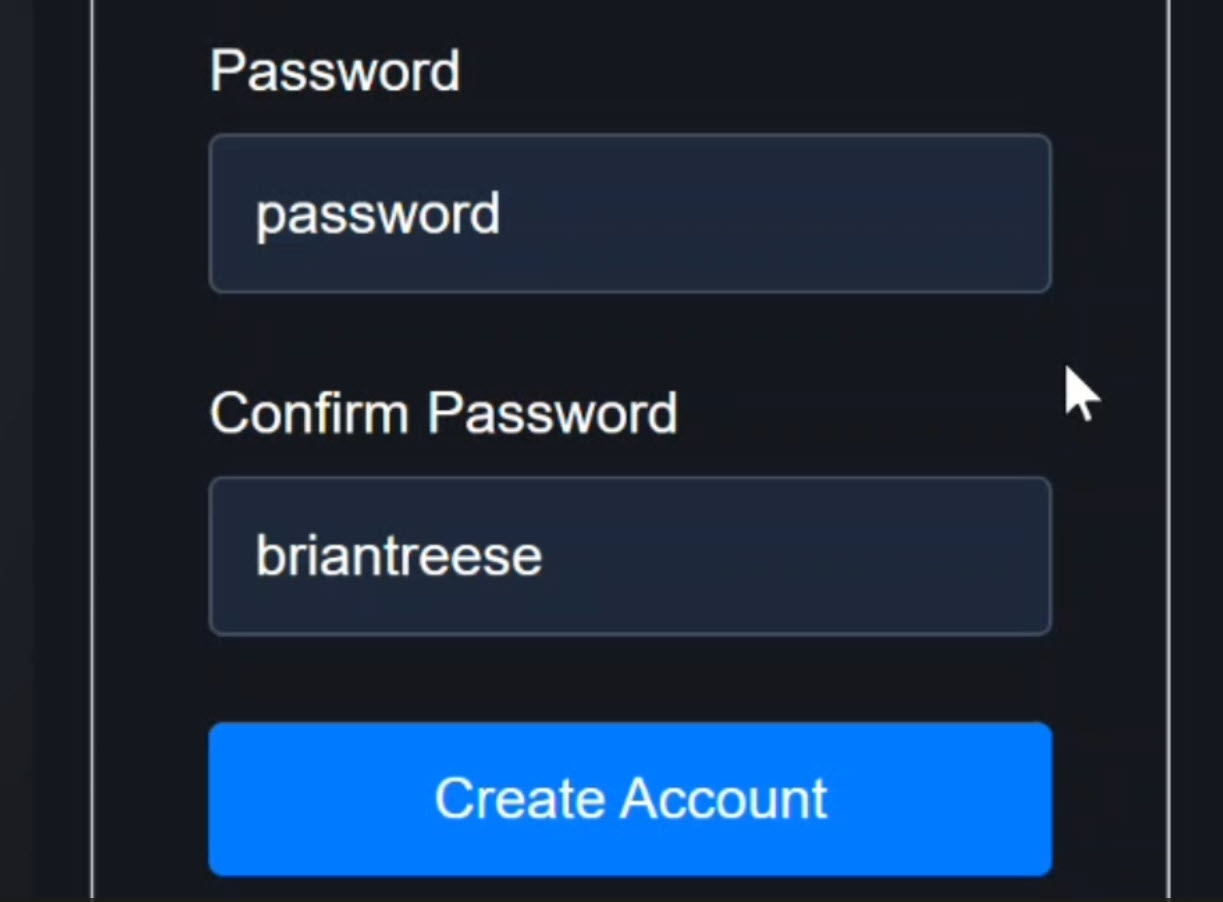
But, we can enter in a password that doesn’t match and the form is now valid because all requirements have been met.
We can see this because our submit button is no longer disabled:
So from Angular’s perspective, this form is ready to submit even though these passwords don’t match.
And this is exactly how real bugs make it into production.
Everything looks valid, until users start creating accounts they can’t log into.
This is what we’re going to fix in this tutorial.
First though, let’s look at the code so that we understand what we’re working with.
How This Signal Form is Wired Up in the Template
First, let’s jump into the template so we can see what’s powering all of this.
Here at the top we have our username field:
<input
    id="username"
    type="text"
    [field]="form.username"
    ... />
Since we’re using the new experimental signal forms API, it’s wired up using the field directive.
This connects the input directly to our signal-based form state.
Right under it, we’re looping over validation errors using a @for block and the errors array on the username form control.
@if (showUsernameError()) {
    <ul class="error-list">
        @for (error of form.username().errors(); track error.kind) {
            <li>{{ error.message }}</li>
        }
    </ul>
}
That means any validator we attach to this field will automatically show up here.
Then, when we scroll down, we can see we have the same setup for the password field.
We’ve got the field directive to bind the control to the input:
<input
    id="password"
    type="text"
    [field]="form.password"
    ... />
And then the errors loop too:
@if (showPasswordError()) {
    <ul class="error-list">
        @for (error of form.password().errors(); track error.kind) {
            <li>{{ error.message }}</li>
        }
    </ul>
}
And then, same thing for the confirm password too:
<input
    id="confirmPassword"
    type="text"
    [field]="form.confirmPassword"
    ... />
@if (showConfirmPasswordError()) {
    <ul class="error-list">
        @for (error of form.confirmPassword().errors(); track error.kind) {
            <li>{{ error.message }}</li>
        }
    </ul>
}
One quick note: these are text fields instead of password fields on purpose.
That way we can visually see the mismatch during the demo.
If this were a real app, these would be password fields instead.
So the UI is already prepared to display errors.
Now let’s look at where the rules live.
Understanding the Signal Form Model & Validators
Let’s switch over to the component TypeScript to see how this all works.
The first thing we see here is this signal named “model”:
protected model = signal<SignUpForm>({
    username: '',
    password: '',
    confirmPassword: '',
});
This is actually the source of truth for the entire form.
Signal Forms builds everything from this: current values, touched state, validity, and errors.
Then below this we create the actual form with the form() function from the Signal Forms API.
import { ..., form } from '@angular/forms/signals';

protected form = form(this.model, s => {
    ...
});
Inside this callback, “s” represents the structure of our form fields.
We then use this structure to access the individual fields to add validation.
We have required() validators on the username, password, and confirm password fields using the required function, also from the new Signal Forms API:
import { ..., required } from '@angular/forms/signals';

required(s.username, { message: 'A username is required' });
required(s.password, { message: 'A password is required' });
required(s.confirmPassword, { message: 'Please confirm your password' });
Then, we have the minLength() validator on the password field too:
import { ..., minLength } from '@angular/forms/signals';

minLength(s.password, 8, {
    message: 'Password must be at least 8 characters',
});
So field-level validation is already working.
What we don’t have yet is any awareness that these two fields are logically connected.
This is where cross-field validation comes in.
But how do we do this with Signal Forms?
Well, it’s actually really easy.
How to Add Cross-Field Validation with Signal Forms
We start by adding the new validate() function from the Signal Forms API:
import { ..., validate } from '@angular/forms/signals';

protected form = form(this.model, s => {
    ...
    validate();
});
This function lets us attach custom validation logic to a specific field in our form, including validation that depends on other fields.
So the first thing we do is pass the confirm password field because that’s the field we want to run this custom validation logic against:
protected form = form(this.model, s => {
    ...
    validate(s.confirmPassword);
});
Then, we’re going to add the value and valueOf in a callback here:
protected form = form(this.model, s => {
    ...
    validate(s.confirmPassword, ({ value, valueOf }) => {
    });
});
These are two tools that Angular gives us in this validate method.
value represents the current field’s value, so the confirm password field’s value.
And then, valueOf lets us safely read any other field in the form.
So to keep this logic simple, let’s store each of these as a variable.
validate(s.confirmPassword, ({ value, valueOf }) => {
    const confirm = value();
    const password = valueOf(s.password);
});
This is the key to cross-field validation.
You’re no longer validating in isolation, you’re validating relationships between fields.
Now we can compare them.
So, if they aren’t equal to each other, and only when the confirm password field has an actual value, we’ll return a custom error and message.
First, we give it a “kind” which is just a unique label for the error.
In this case it’s a passwordMismatch error.
Then, after this, we just need to add the error message that we want to show for this error.
Then, if everything is valid, we just need to return null.
validate(s.confirmPassword, ({ value, valueOf }) => {
    const confirm = value();
    const password = valueOf(s.password);

    if (confirm !== password && confirm.length) {
        return {
            kind: 'passwordMismatch',
            message: 'Passwords do not match',
        }
    }

    return null;
});
Returning null tells Signal Forms that the field is valid and no error should be shown.
And that’s it. It’s that simple.
Since our template already loops over errors, the UI automatically updates without any extra wiring.
Okay, let’s save and try this out!
Testing the Password Match Validator in Angular
We didn’t change anything with the username, so we still get the required message:
Same with the password field. We didn’t change anything with it, so we still get the required message:
And as we type a password, we still get the minimum length message:
And once we add a valid password, the error still disappears.
Now, how about the confirm password field?
Well, its required message still shows too:
And then, as we type a password, now we can see an error message telling us that these passwords don’t match:
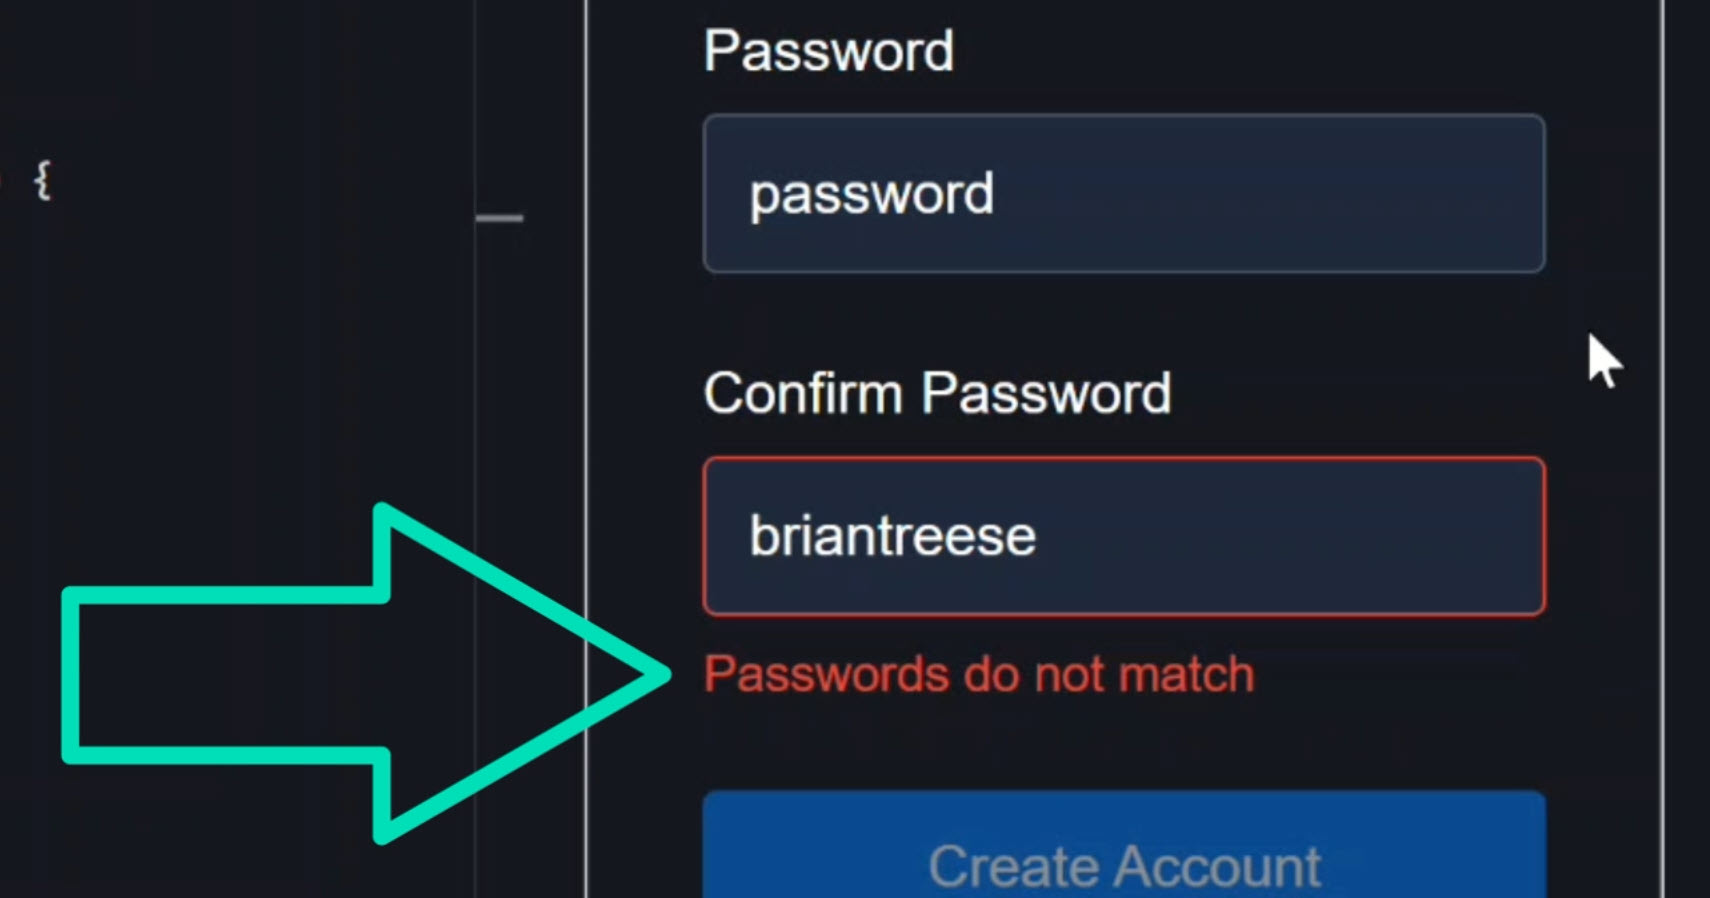
Also, the form is still invalid which we can see by the fact that our submit button is still disabled.
Then, once we fix the password and make it match, the error disappears.
The form is now valid and the button is enabled.
Why Signal Forms Make Cross-Field Validation Easier
This is what I love about Signal Forms: no services, no form groups, no subscriptions, and no custom state tracking.
The model is the single source of truth and our validation stays declarative, readable, and colocated with the form itself.
If you can build this, you now understand 90% of custom validation patterns in Signal Forms.
Soon, this is how Angular is going to want us building forms going forward.
If you enjoyed this, be sure to subscribe and leave a comment, it really helps other Angular developers find this content.
And hey, if you want to show a little Angular pride, check out the Shieldworks tees and hoodies here. They’re built for devs who treat this work like a real craft.
Additional Resources
- The demo app BEFORE any changes
- The demo app AFTER making changes
- Official Signal Forms Docs
- Angular Reactive Forms Docs
- Angular Signals Overview
- My course “Angular: Styling Applications”
- My course “Angular in Practice: Zoneless Change Detection”
- Get a Pluralsight FREE TRIAL HERE!
Try It Yourself
Want to experiment with cross-field validation in Signal Forms? Explore the full StackBlitz demo below.
If you have any questions or thoughts, don’t hesitate to leave a comment.