Can You Even Use Jump Links in Angular? (Yes… Here’s How)
Jump links improve navigation in long-form content, but Angular's routing system breaks standard HTML anchor links. Implementing jump links in Angular requires handling router navigation, smooth scrolling, and ensuring links work across different route configurations. This tutorial demonstrates how to create router-friendly jump links that work seamlessly with Angular's routing system, providing smooth scrolling and proper navigation handling.
Stackblitz Project Links
Check out the sample project for this tutorial here:
Why Regular Anchor Links Fail in Angular
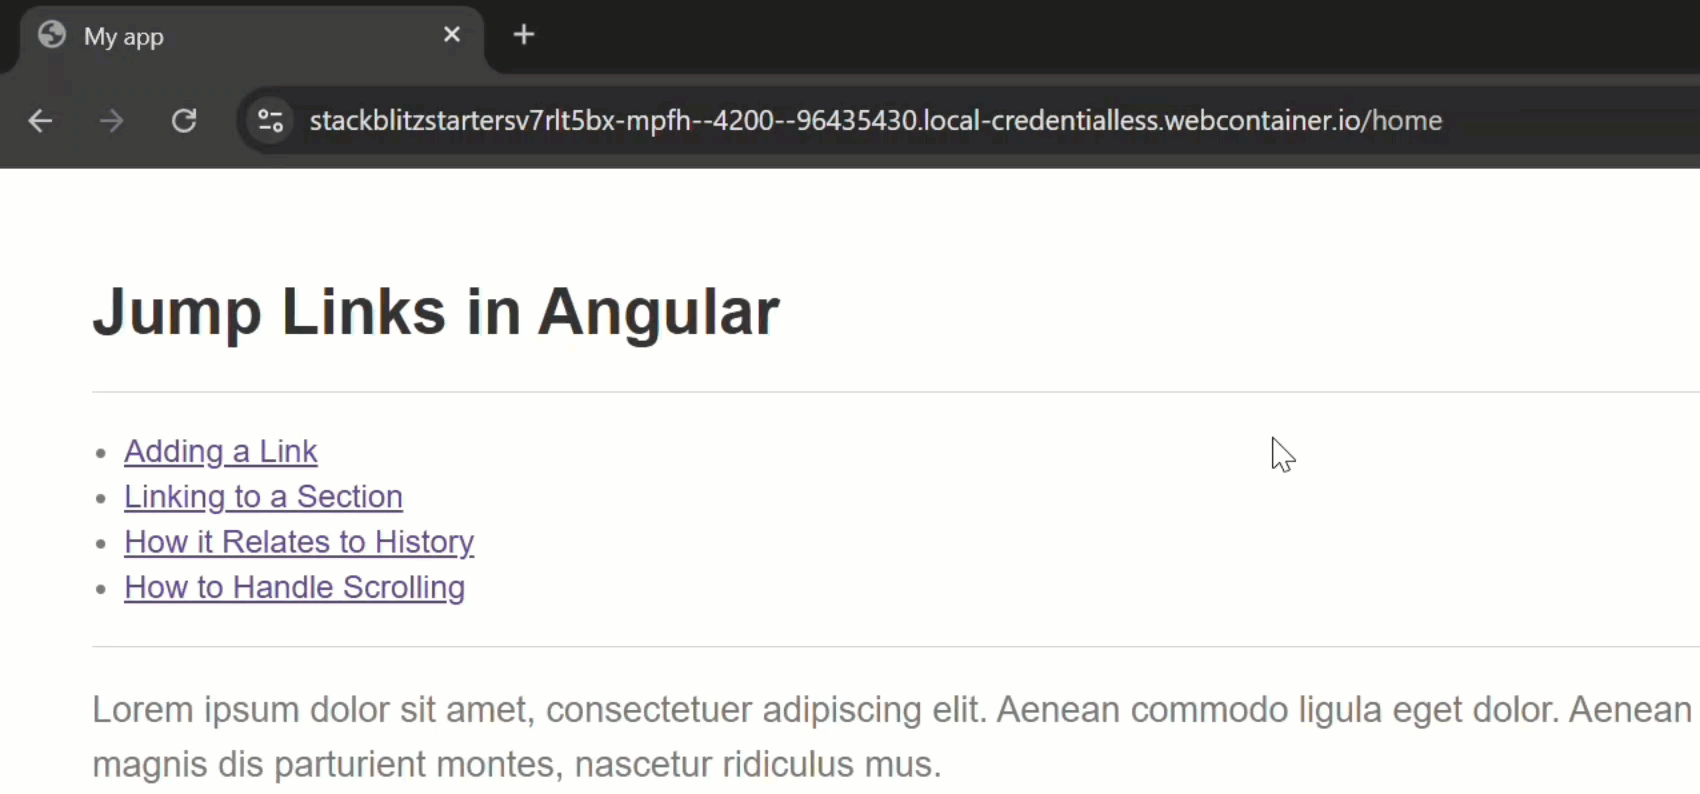
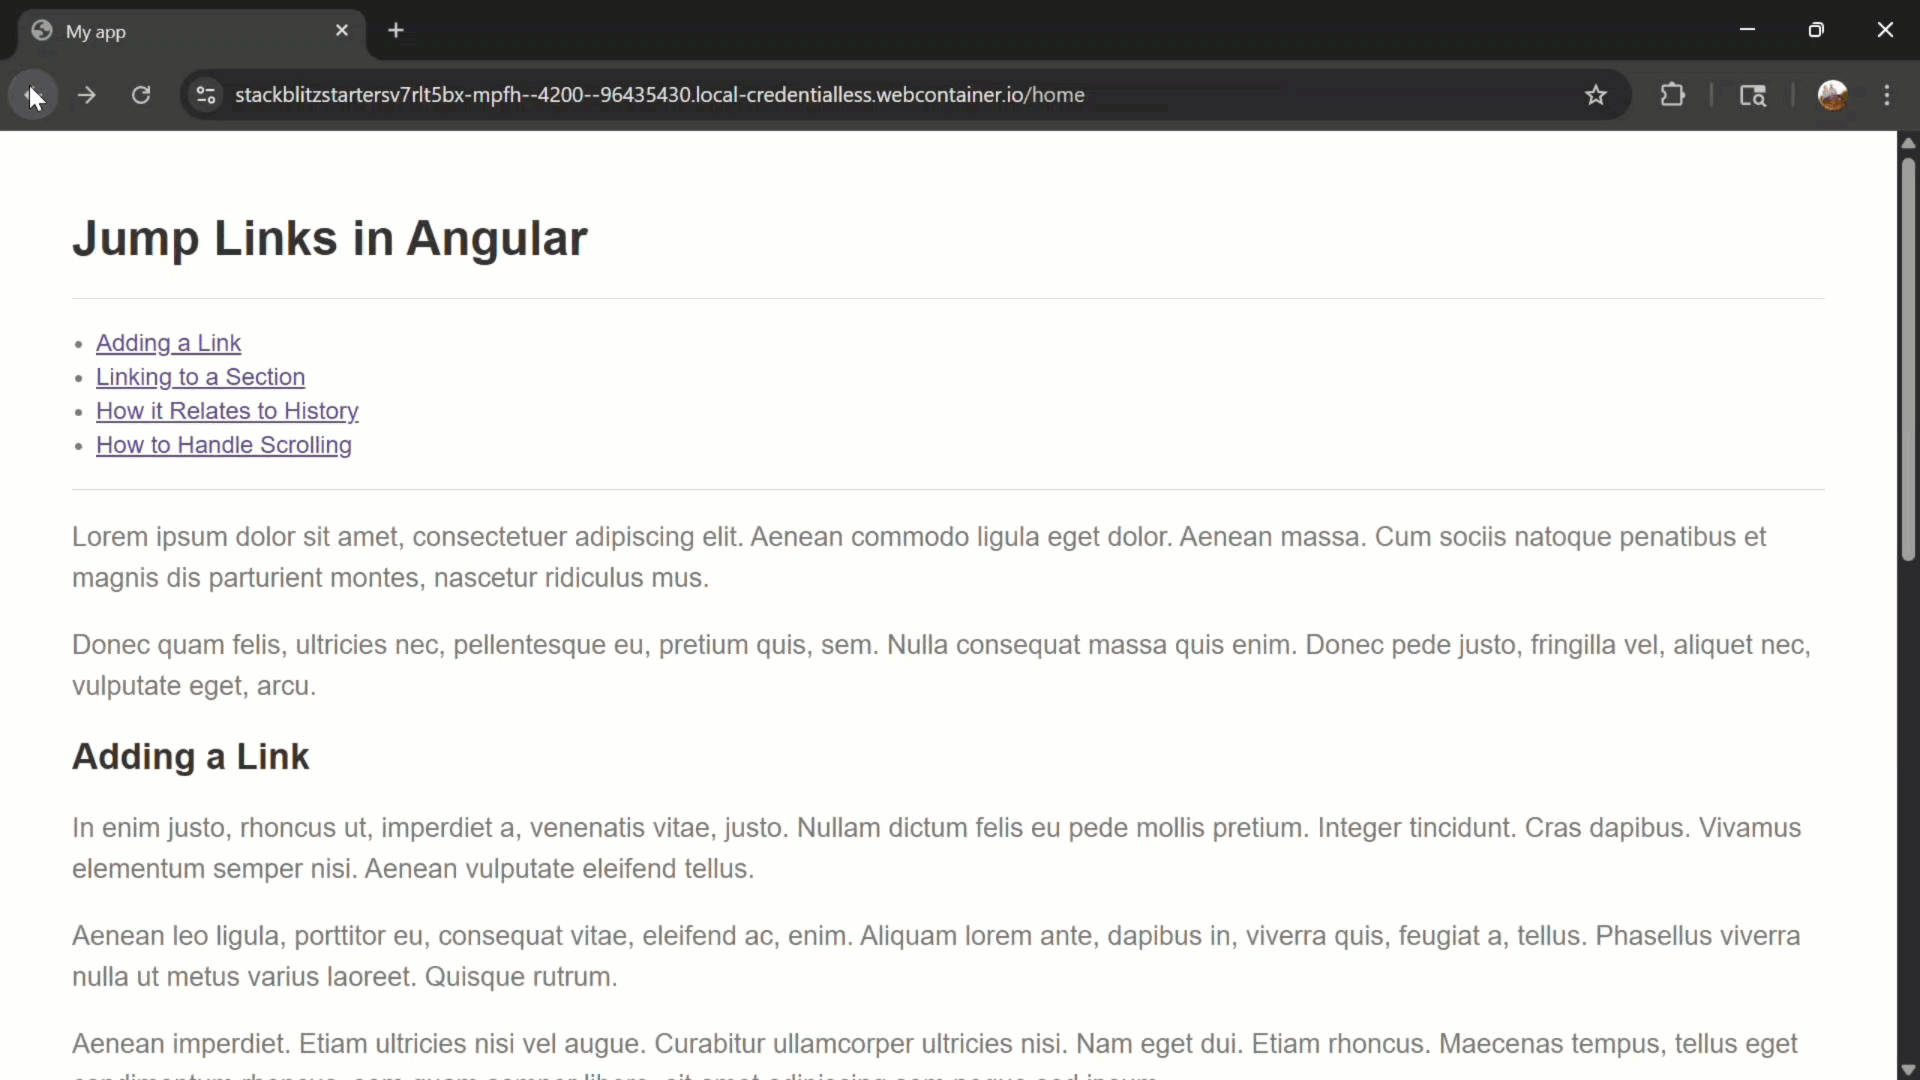
Here’s the app that we’ll be working with in this tutorial:
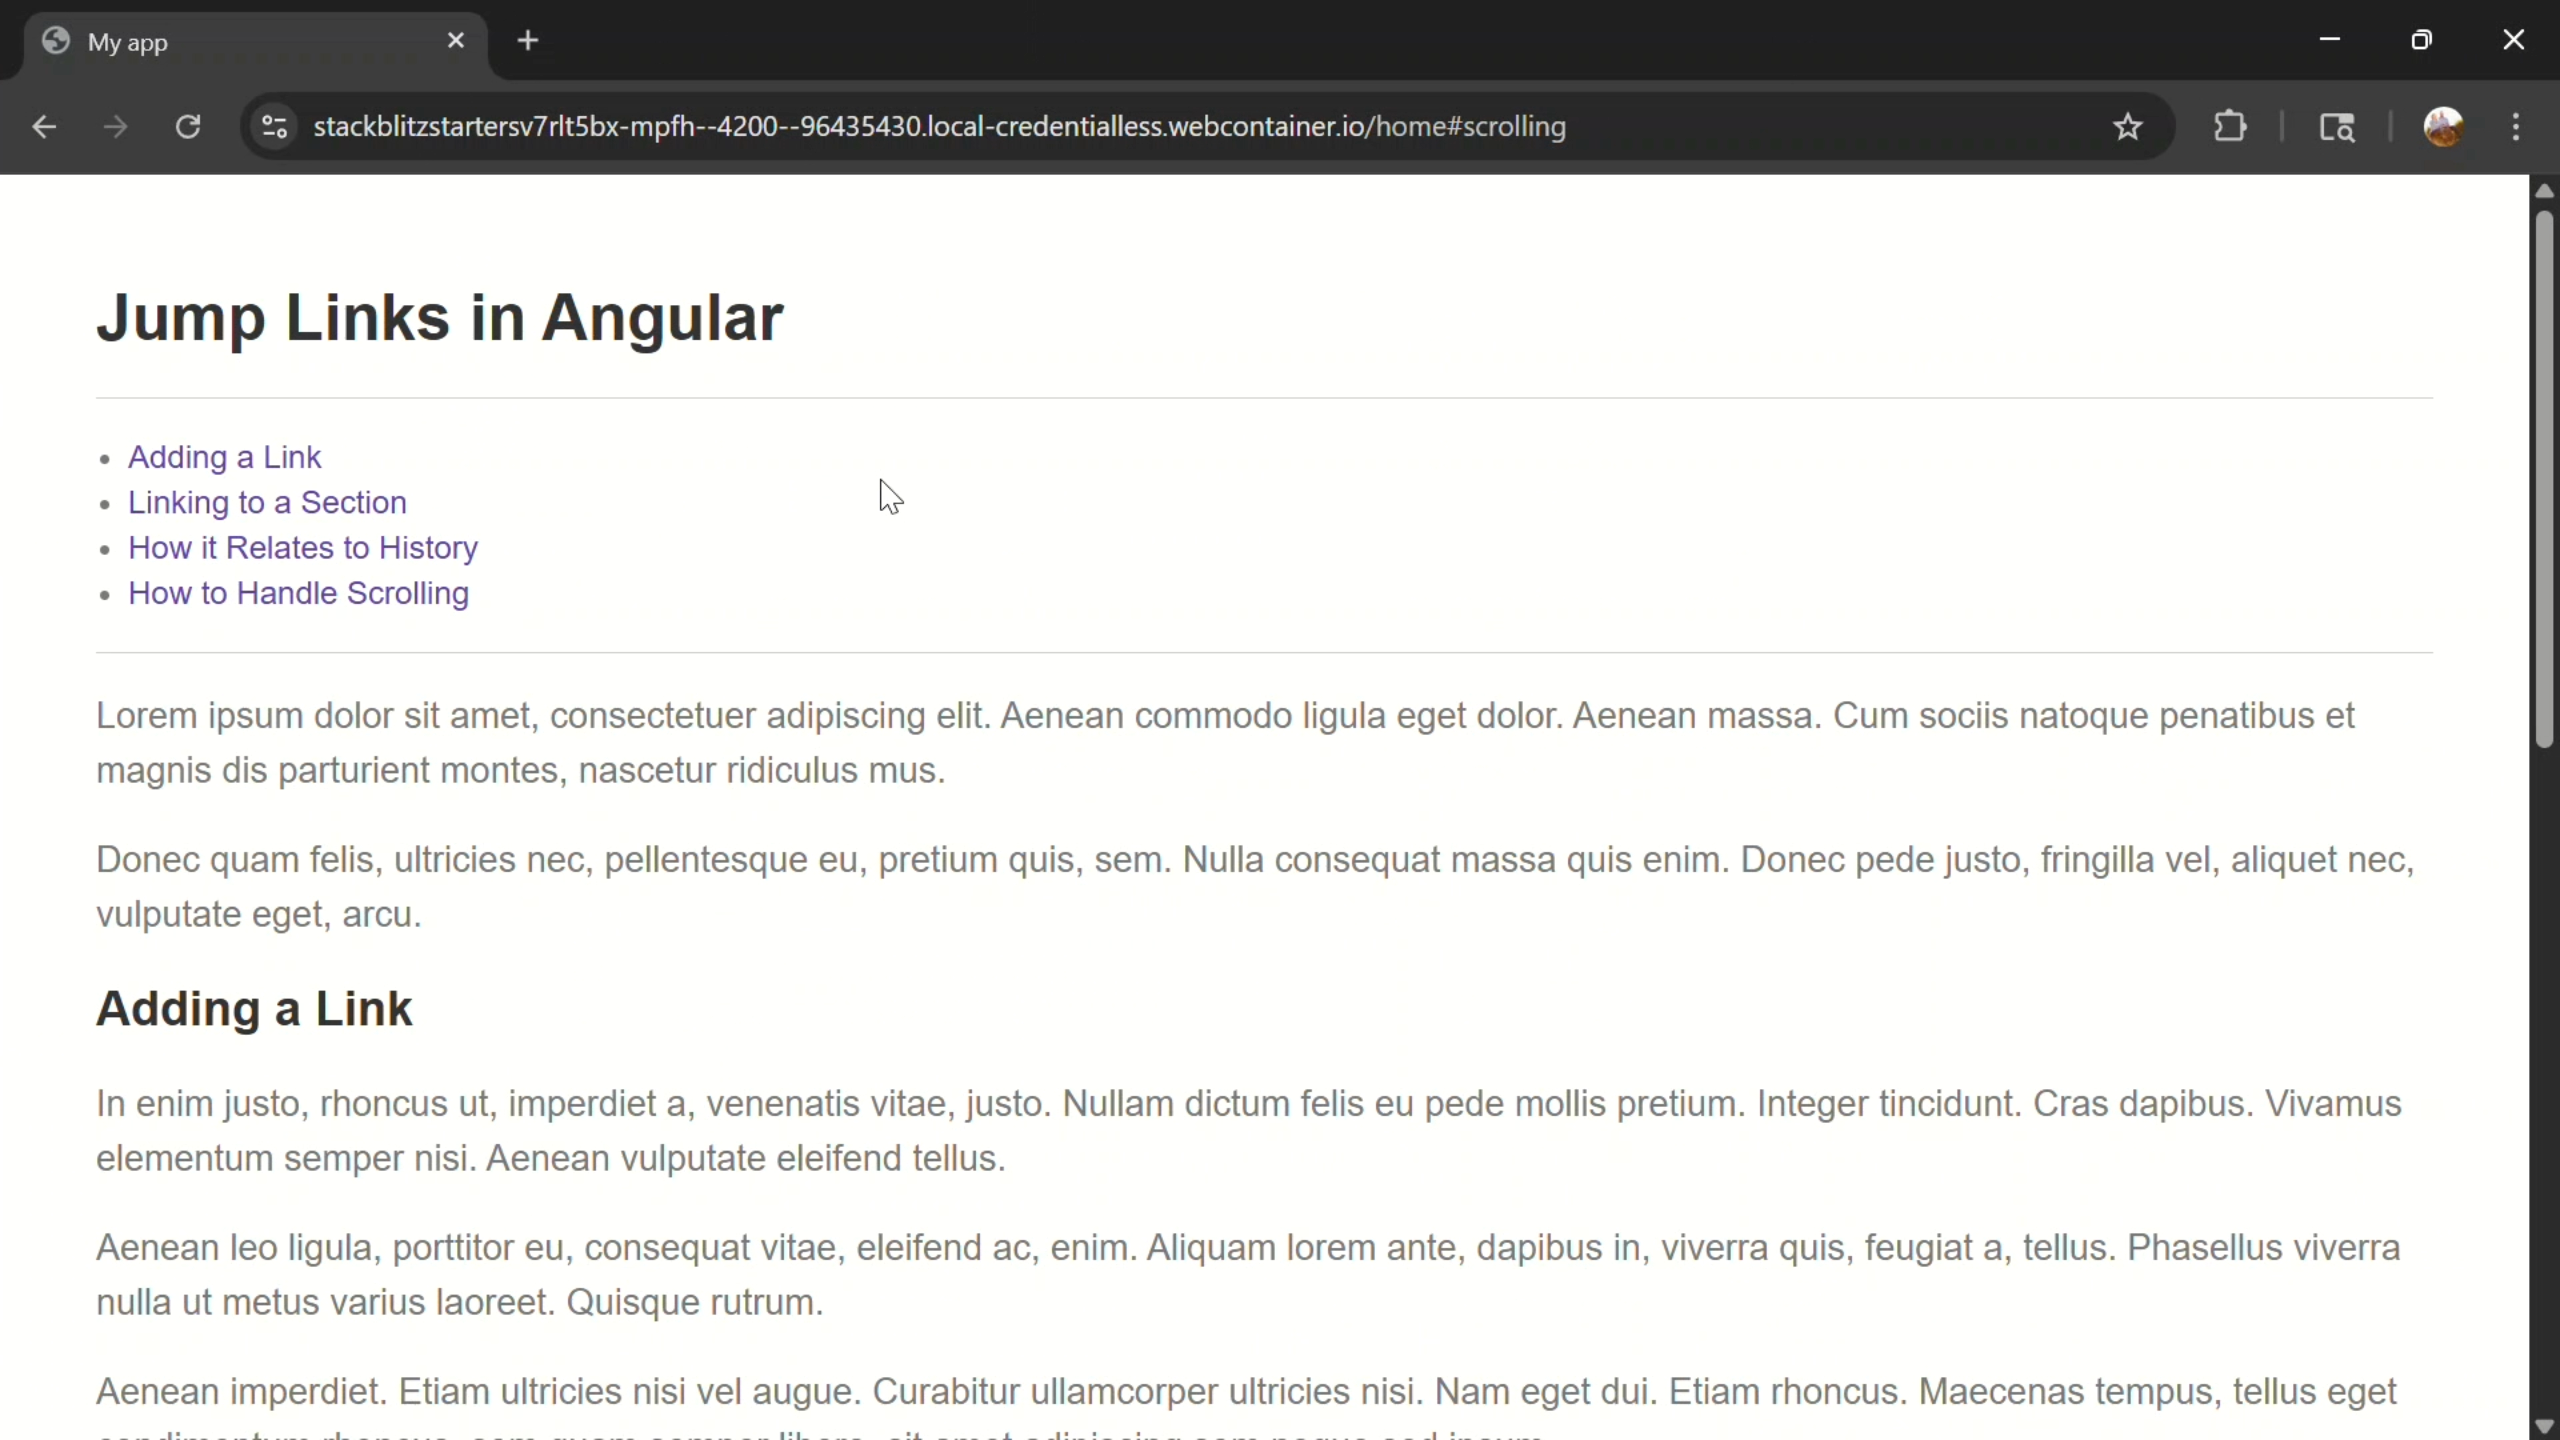
Right now, we’ve got a table of contents at the top of the page:
Each item looks like a link, but if I click them… nothing happens.
That’s because these links don’t actually point anywhere yet.
We have all of these corresponding sections in the page and the links should take us to each of these.
In a standard website this is really easy with anchors and IDs, but this is an Angular app so things are a little different.
In Angular, you can’t just slap an href in there.
So, let’s do it the Angular way!
How to Add RouterLink and Fragment IDs
Let’s look at the code for this component to better understand what we’re starting with.
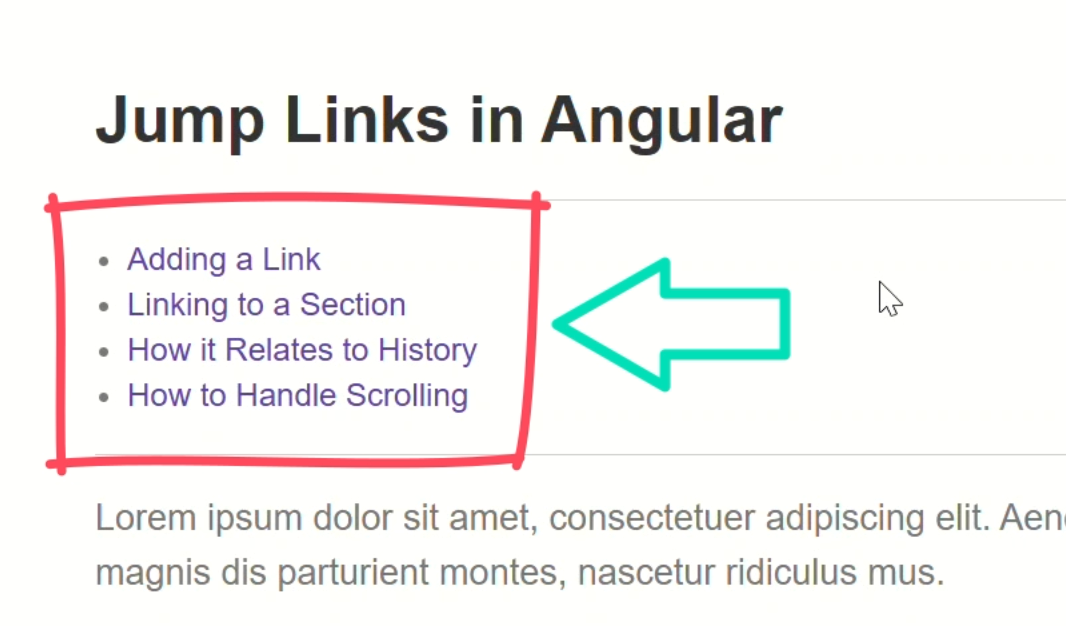
At the top we have this list of links that form the table of contents region:
<ul>
    <li>
        <a>Adding a Link</a>
    </li>
    <li>
        <a>Linking to a Section</a>
    </li>
    <li>
        <a>How it Relates to History</a>
    </li>
    <li>
        <a>How to Handle Scrolling</a>
    </li>
</ul>
Right now, each link is just an empty anchor tag which is why they don’t navigate anywhere.
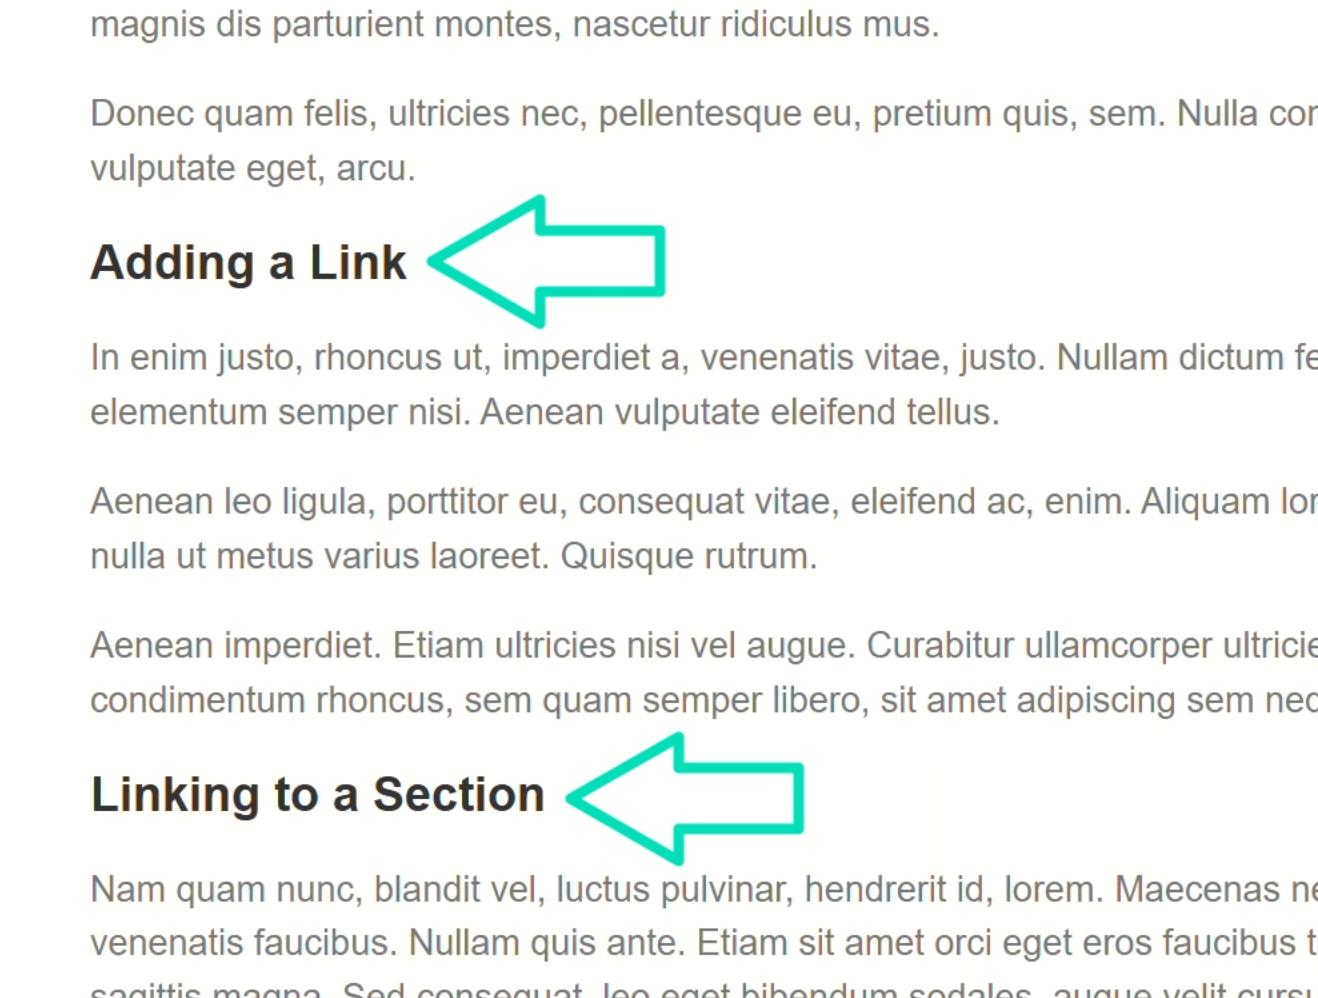
Then, further down, the headers for these sections already have IDs and these are what we need to link to:
<h2 id="links">
    Adding a Link
</h2>
<p>...</p>
<h2 id="linking">
    Linking to a Section
</h2>
<p>...</p>
<h2 id="history">
    How it Relates to History
</h2>
<p>...</p>
<h2 id="scrolling">
    How to Handle Scrolling
</h2>
<p>...</p>
In a normal website, we’d just add an href with the ID and we’d be done, but we can’t do that here.
Instead, we need to use the routerLink directive and the fragment input.
This lets Angular handle the URL and the fragment properly.
In order to use this directive, we need to import it in our component imports array:
import { RouterLink } from '@angular/router';

@Component({
    selector: 'app-page',
    ...,
    imports: [ RouterLink ]
})
export class PageComponent {
}
Then, back in the template, we can use the routerLink directive.
<a routerLink="">Adding a Link</a>
Since we’re just adding a jump link, I don’t want to switch the route.
If I were navigating to a different route, I’d just add the route here:
<a routerLink="adding-links">Adding a Link</a>
But in this case we don’t want to change routes so let’s just leave this empty for now.
Now in order to navigate to the header by ID we use the “fragment” input and we just pass it the associated ID, in this case “links”:
<a routerLink="" fragment="links">
    Adding a Link
</a>
Okay, this should work now, right?
Actually, no.
This is because, with the way we have it set up, we’re actually switching the route.
Here we can see that “home” is the current route:
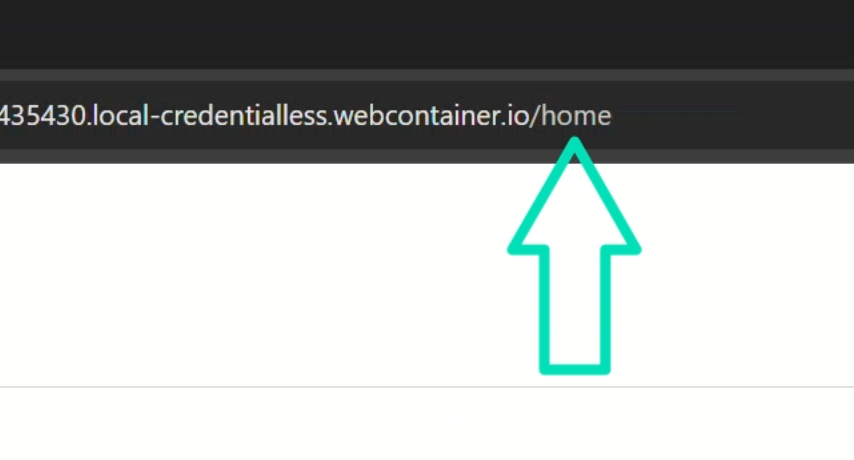
Then when we click the link, we remove the “home” portion of the path, but we successfully set the anchor ID:
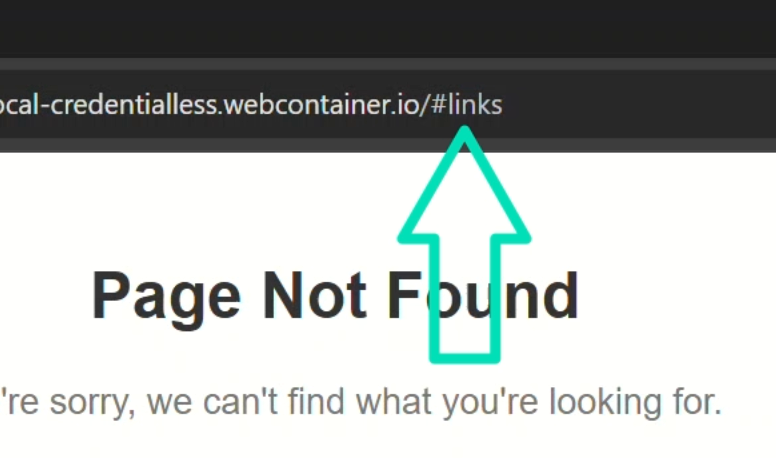
So, that’s good and bad, right?
How can we fix this?
Stay on the Current Route with RouterLink and an Empty Array
Well, it turns out, there’s a simple trick… bind the routerLink to an empty array:
<a [routerLink]="[]" fragment="links">
    Adding a Link
</a>
It looks odd, but this is Angular’s way of saying…
“Don’t go anywhere, just stick to the current route”
Now we can apply this to the rest of the links too:
<ul>
    <li>
        <a [routerLink]="[]" fragment="links">
            Adding a Link
        </a>
    </li>
</ul>
<ul>
    <li>
        <a [routerLink]="[]" fragment="linking">
            Linking to a Section
        </a>
    </li>
</ul>
<ul>
    <li>
        <a [routerLink]="[]" fragment="history">
            How it Relates to History
        </a>
    </li>
</ul>
<ul>
    <li>
        <a [routerLink]="[]" fragment="scrolling">
            How to Handle Scrolling
        </a>
    </li>
</ul>
Okay, this should work now right?
Unfortunately no, but we’re getting closer.
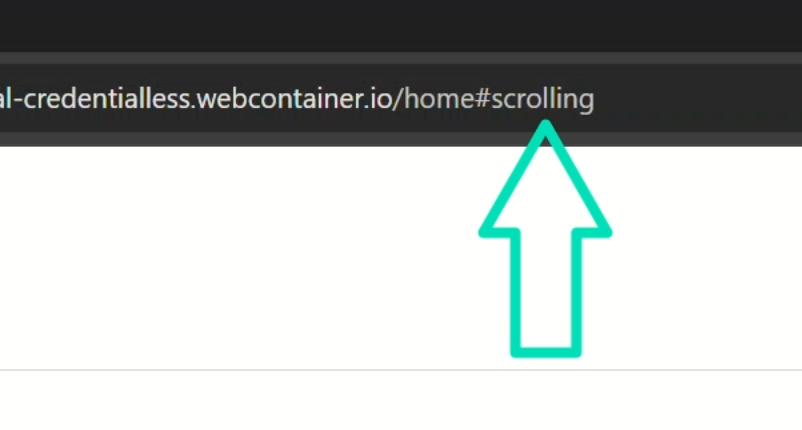
Now when we click the links, we no longer switch routes, but we don’t scroll to the correct section either:
We are properly adding the appropriate fragments in the URL though:
So what the heck is happening now?
Enable Angular Router Anchor Scrolling
It turns out that in an Angular app, we actually need to enable what’s known as “anchor scrolling”.
To do this, we open the file that contains the router configuration, in our case this is the main.ts file.
Then, inside the provideRouter() function, we add the withInMemoryScrolling() function and enable anchorScrolling:
import { ..., withInMemoryScrolling } from '@angular/router';

bootstrapApplication(App, {
    providers: [
        provideRouter([
            ...
        ],
        withInMemoryScrolling({ anchorScrolling: 'enabled' }))
    ]
});
This tells Angular…
“If there’s a fragment in the URL, scroll to it”
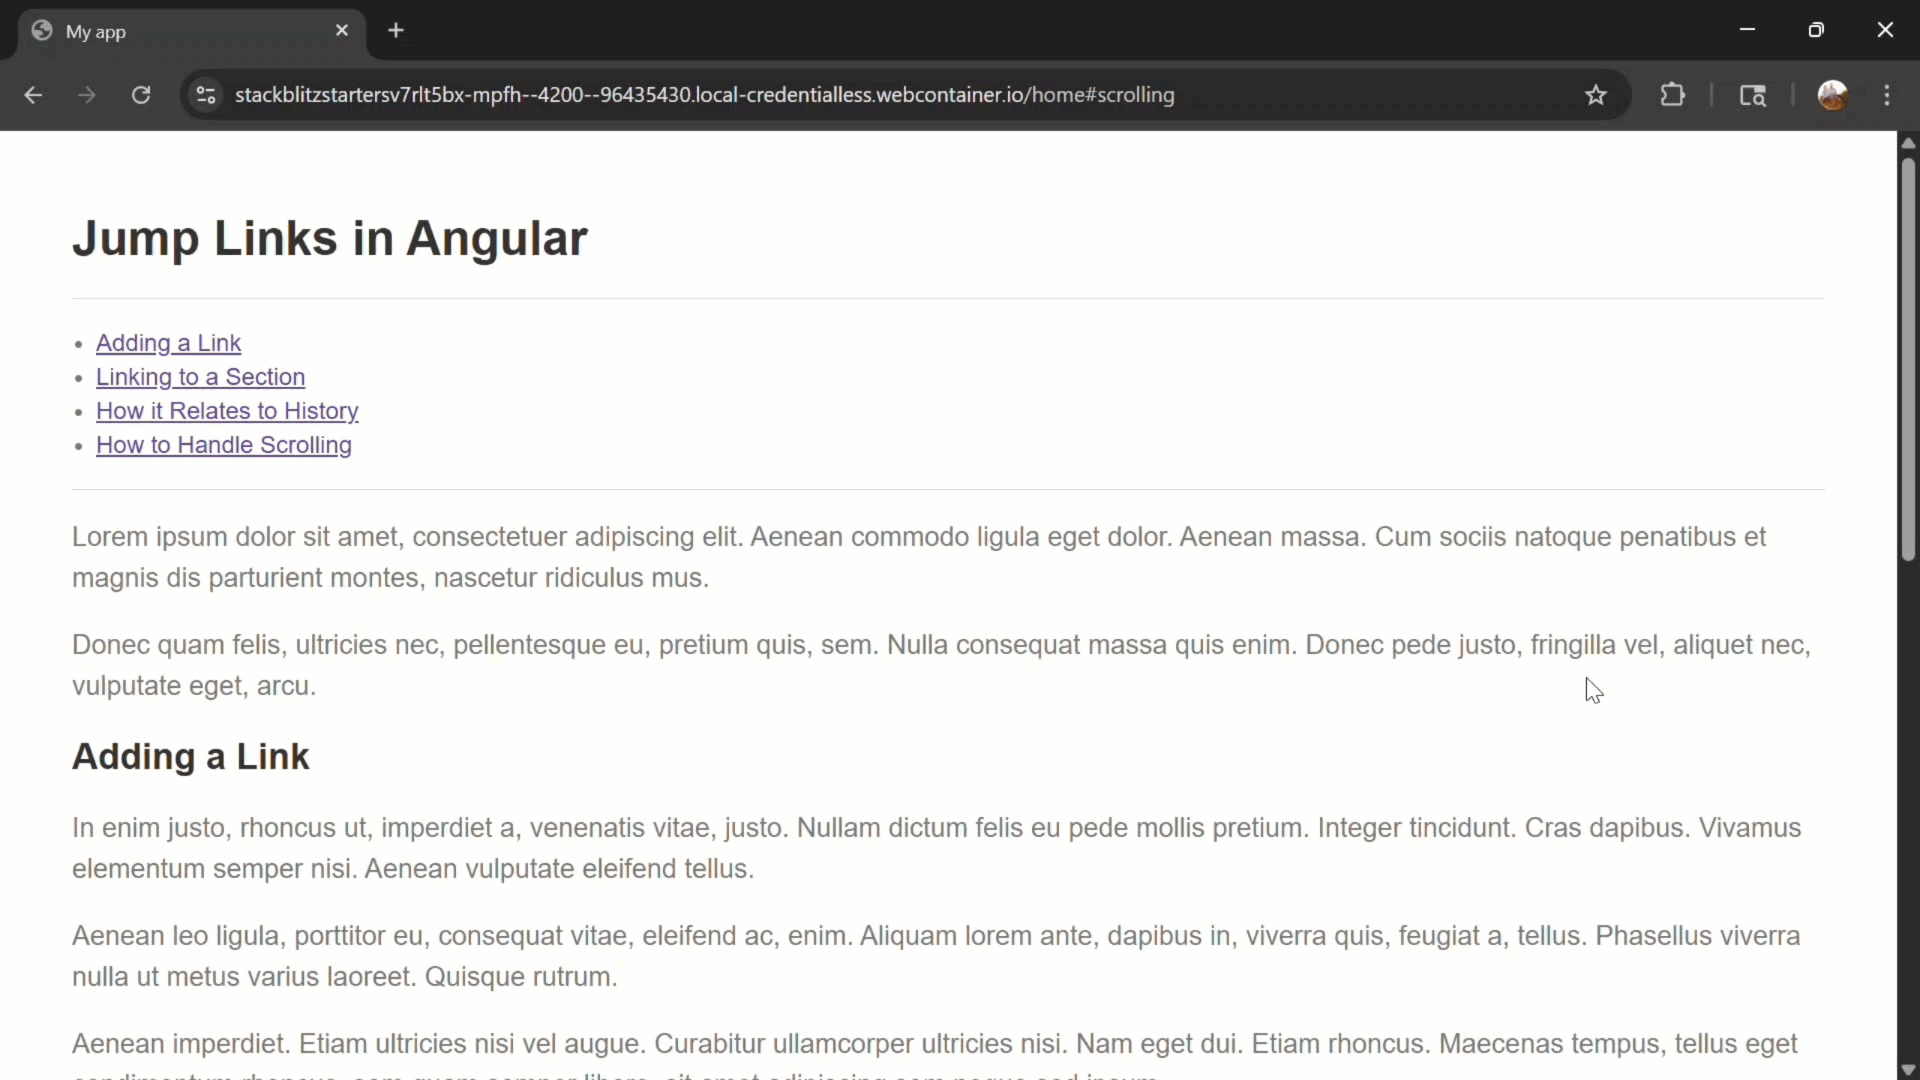
With this enabled, the links finally take us to the correct section, and even the back button works properly with fragments in history:
And, believe it or not, we can improve this even more!
Add Smooth Scrolling with CSS
Let’s make one last improvement.
Right now the jump between sections is instant.
It works, but it’s jarring. Let’s smooth it out.
We can do this with a single line of CSS.
In this app, the vertical scrolling occurs on the HTML element, so we’ll open the global_styles.css file.
On the HTML selector, we just need to add the scroll-behavior property, and then we’ll set it to a value of “smooth”:
html {
    ...
    scroll-behavior: smooth;
}
That’s it! Now navigation between sections feels polished and natural:
It’s one line, but it really improves the feel of the app.
Final Thoughts and Next Steps
So that’s it! We turned lifeless links into full-fledged Angular router links that jump, scroll, and play nice with the back button.
In this example we:
- Used the
routerLinkdirective with fragments to add jump links - Enabled in-memory scrolling in the router config
- And added smooth scrolling with CSS
These are the little details that make your Angular app feel pro-level.
If you enjoyed this and want more Angular tips that make your apps feel polished, don’t forget to subscribe!
Additional Resources
- The demo app BEFORE any changes
- The demo app AFTER making changes
- Angular Router Documentation
- Angular RouterLink API
- Angular withInMemoryScrolling
- My course “Angular: Styling Applications”
- My course “Angular in Practice: Zoneless Change Detection”
Want to See It in Action?
Want to try this yourself? Check out the full demo app below.