Goodbye FormArray. Hello Signal Forms.
Dynamic forms with Reactive Forms require FormArrays, complex state management, and imperative code that's hard to maintain. Angular's Signal Forms API provides a more reactive, declarative approach to building dynamic forms, eliminating FormArrays and simplifying field addition/removal. This tutorial demonstrates how to migrate a dynamic form from Reactive Forms to Signal Forms, showing how the new API makes dynamic form management cleaner and more intuitive.
Angular Signal Forms Tutorial Series:
- Migrate to Signal Forms - Start here for migration basics
- Signal Forms vs Reactive Forms - See why Signal Forms are better
- Custom Validators - Add custom validation
- Custom Controls - Migrate custom controls
The Dynamic Form in Action
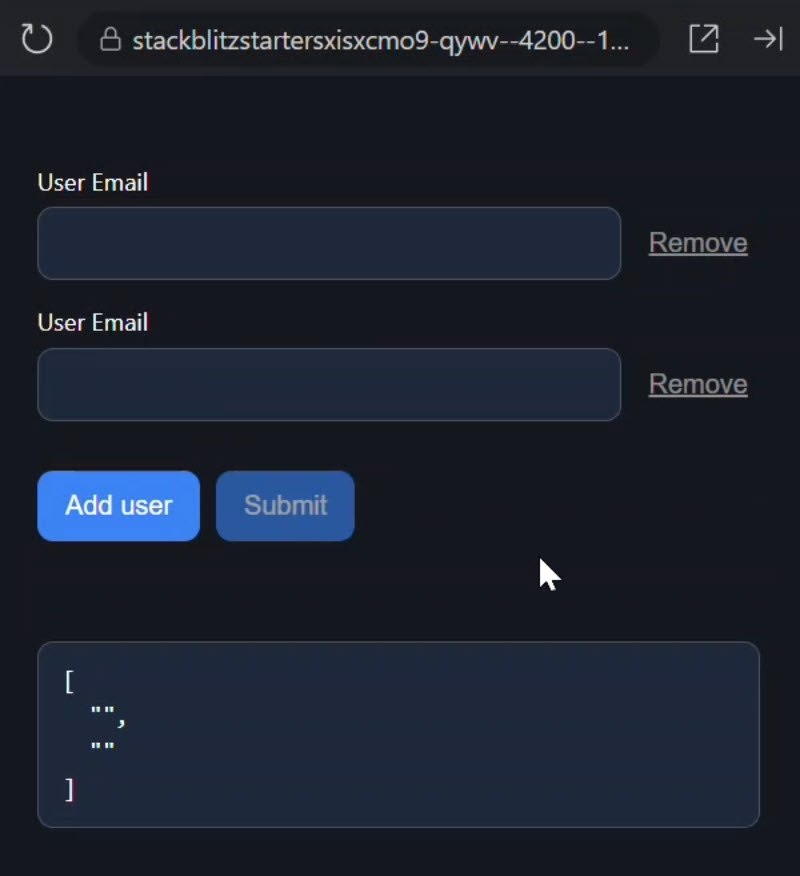
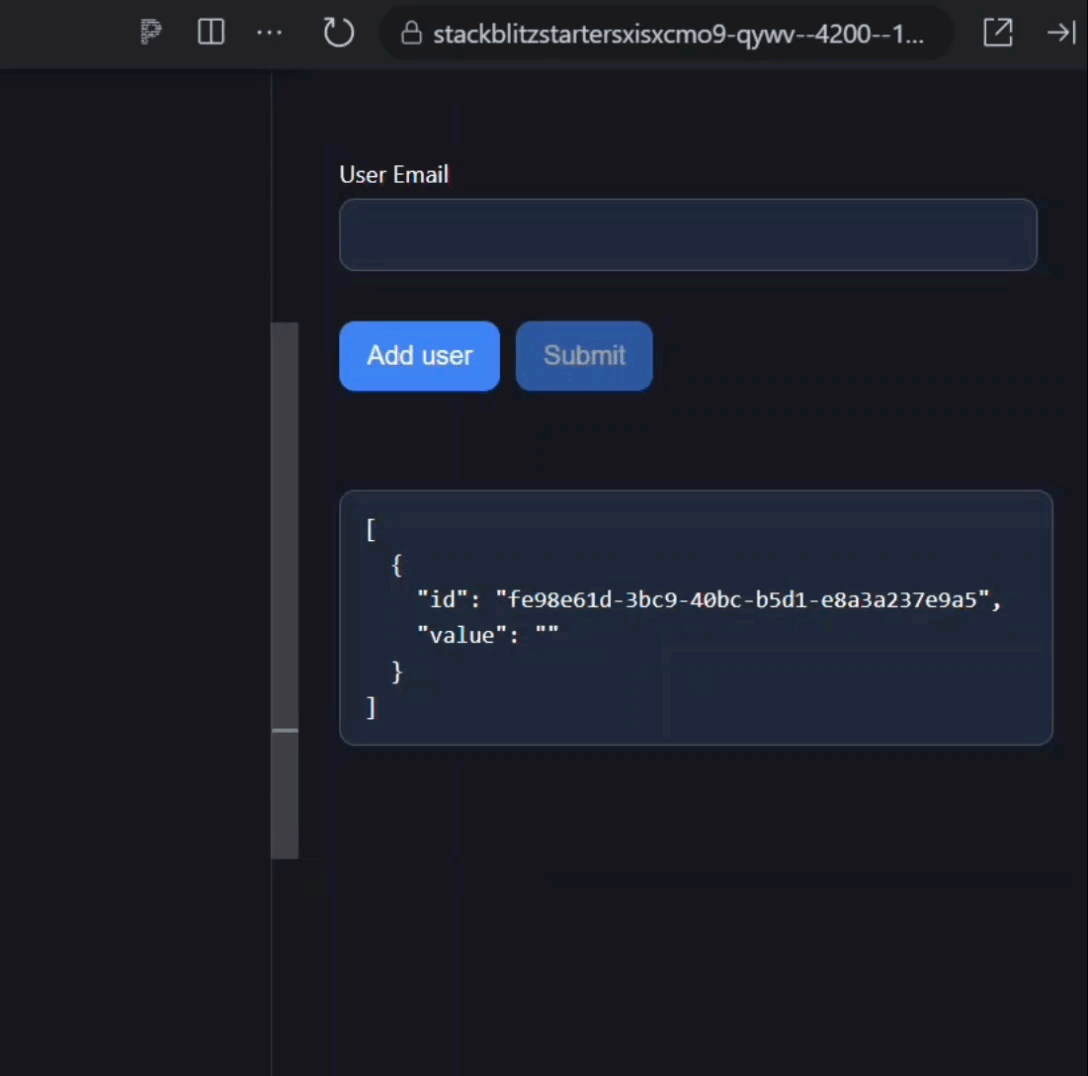
Here’s the demo app we’ll be working with:
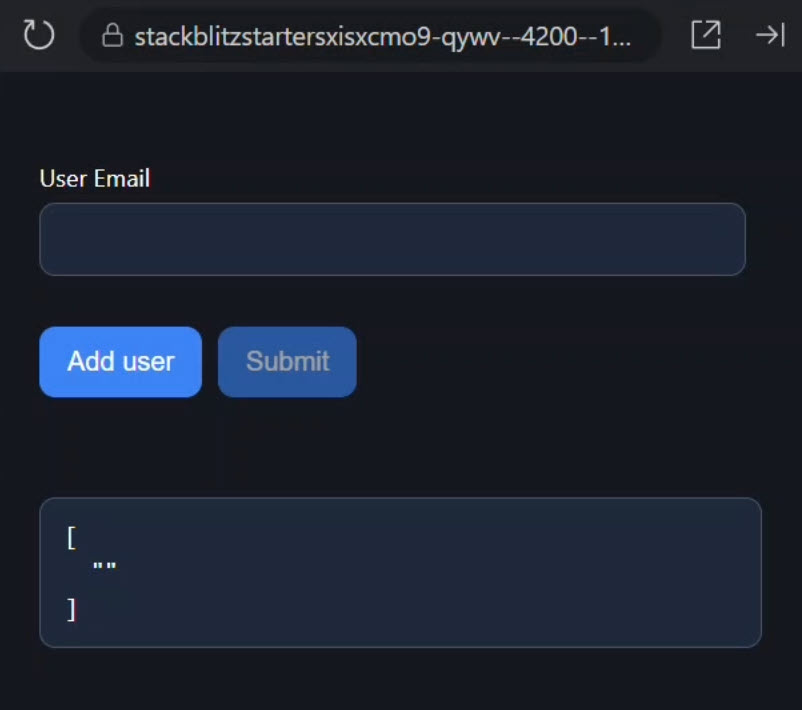
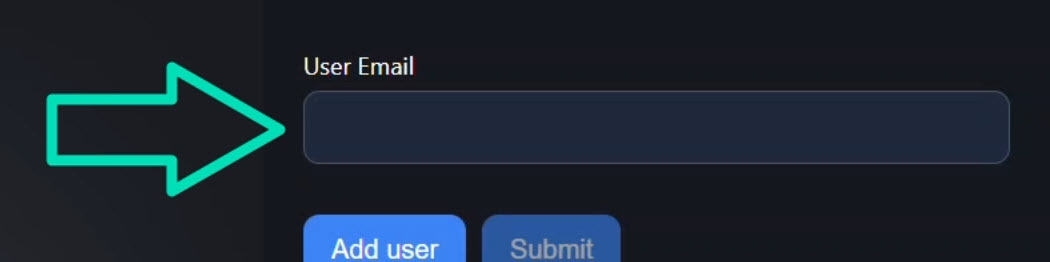
It’s a dynamic form that starts with one email text field:
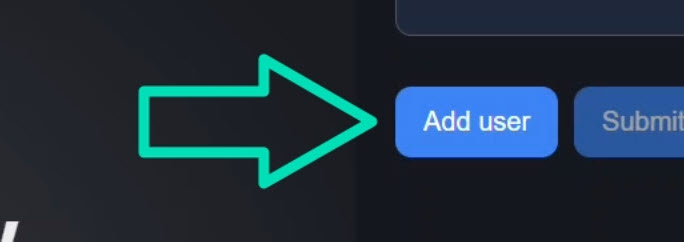
It has a button to add another email field dynamically:
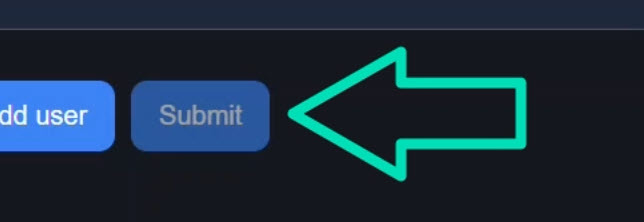
It also has a submit button that’s disabled until the form is valid:
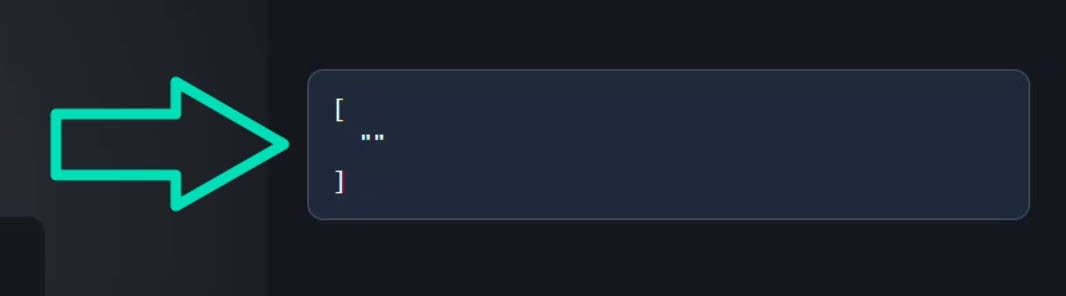
And below all of this, it has a live JSON preview of the form’s current value:
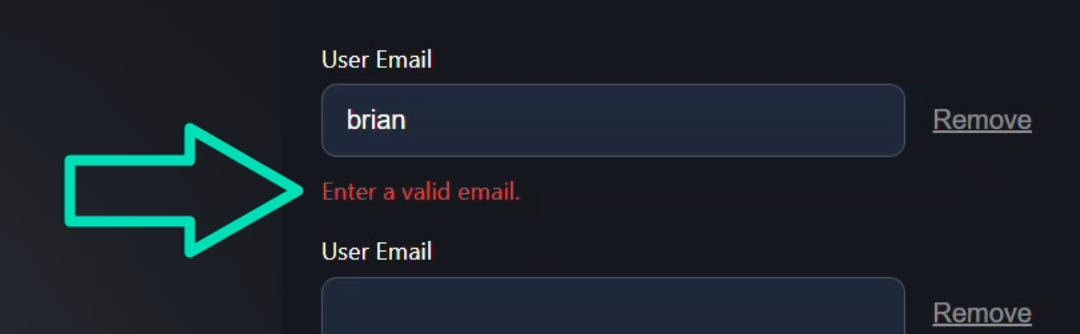
When we click the “Add user” button, it creates a new email field.
If the field is invalid, we show a validation message:
And once the email becomes valid, the message disappears.
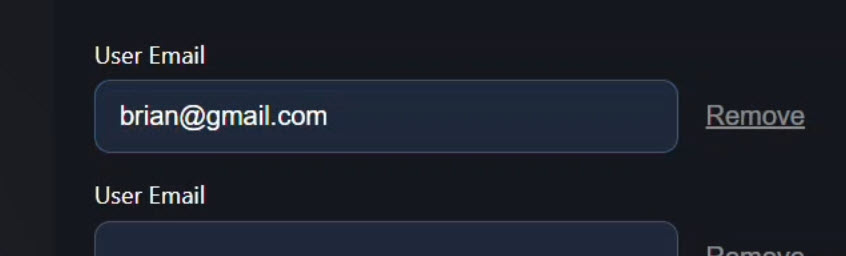
Removing the empty field, updates the form’s validity, enabling the submit button:

Everything behaves exactly as we’d expect.
So this is our working baseline.
Now let’s look at the code that powers all of this before we flip it over to Signal Forms.
How This Works with Reactive Forms (Before the Upgrade)
In the current version, we’re using the classic Reactive Forms module.
We define a FormArray of controls, each representing an email address:
protected emails = new FormArray<FormControl<string>>([
    new FormControl<string>('', {
        nonNullable: true,
        validators: [
            Validators.required,
            Validators.email
        ]
    })
]);
The form starts with one entry, validated to be both required and a valid email format.
The component also provides an add() method that pushes a new control into the array:
protected add() {
    this.emails.push(new FormControl<string>('',
        {
            nonNullable: true,
            validators: [
                Validators.required,
                Validators.email
            ]
        })
    );
}
Then, there’s a remove() method that removes the given control, by index, but only when there’s more than one field:
protected remove(index: number) {
    if (this.emails.length > 1) this.emails.removeAt(index);
}
In the template we loop through the FormArray to render each email field, remove button, and validation message.
@for (ctrl of emails.controls; let i = $index; track ctrl) {
    <div class="row">
        ...
    </div>
}
The input is bound using the formControl directive:
<input [formControl]="ctrl" />
The remove button only shows when more than one field exists:
@if (emails.length > 1) {
    <button type="button" (click)="remove(i)">
        Remove
    </button>
}
The validation message appears when the control is both touched and invalid:
@if (ctrl.touched && ctrl.invalid) {
    <p class="error">Enter a valid email.</p>
}
The submit button is disabled until the form is valid:
<button
    type="button"
    [disabled]="emails.invalid"
    (click)="submit()">
    Submit
</button>
And finally, the form’s raw value is displayed via JSON for debugging:
<pre class="preview">
    {{ emails.getRawValue() | json }}
</pre>
So far, very standard Reactive Forms.
Now let’s switch everything to Signal Forms.
Meet Signal Forms: Angular’s Next-Gen Form API
Angular’s new Signal Forms API lets us describe forms using signals instead of Reactive Forms classes.
This feature is experimental, not for production yet, but it’s a huge step toward a cleaner, more intuitive way to model form state.
Our goal: convert the entire dynamic email form to Signal Forms without changing how it behaves.
Step-by-Step: Converting Reactive Forms to Signal Forms
The first big change is removing the old FormArray entirely along with all of the Reactive Forms imports.
Instead, we’ll create a signal() named “model”, which will represent our entire form state.
import { form } from '@angular/forms/signals';

model = signal<{ id: string, value: string }[]>([{
    id: crypto.randomUUID(),
    value: ''
}]);
Each item in the model() signal holds:
- A stable ID (to ensure template updates stay consistent when fields are removed)
- A string value representing the email
Next, we use the new form() function to wrap this model in a Field Tree, which keeps UI, validation, and state in sync automatically:
protected emails = form(this.model, root => {});
Inside the form builder callback, we apply our validators using:
applyEach()to loop through each item in the listrequired()to require a valueemail()to require a valid email format
import { ..., applyEach, required, email } from '@angular/forms/signals';

protected emails = form(this.model, root => {
    applyEach(root, item => {
        required(item.value);
        email(item.value);
    });
});
Now we refactor our add() method with the model signal directly instead of adding FormControls to the FormArray:
protected add() {
    this.model.update(list => [...list, {
        id: crypto.randomUUID(),
        value: ''
    }]);
}
Each time the add() method is called, we add a new item to the list with a unique ID and an empty value.
Then we need to update the remove() method to remove the item at the given index from the model signal:
protected remove(index: number) {
    this.model.update(list =>
        list.filter((_, i) => i !== index));
}
Finally, we need to import the new Field directive which we’ll use to replace the old formControl directive in the template:
import { ..., Field } from '@angular/forms/signals';

@Component({
    selector: 'app-email-list',
    ...,
    imports: [CommonModule, Field]
})
Alright, let’s switch to the HTML.
Updating the Template for Signal Forms
In the template, we need to update the loop to remove the controls property and to also track items using their new stable id:
Before:
@for (ctrl of emails.controls; let i = $index; track ctrl) {
    ...
}
After:
@for (ctrl of emails; let i = $index; track model()[i].id) {
    ...
}
Next, we need to replace the formControl binding with the new field directive, binding it to the email field’s value property:
<input [field]="ctrl.value" >
Then, we need to update the remove button condition to reference the signal’s current state:
@if (emails().value().length > 1) {
    <button type="button" (click)="remove(i)">
        Remove
    </button>
}
Next, we need to update the validation message to check touched and invalid signals instead of control properties:
@if (ctrl().touched() && ctrl().invalid()) {
    <p class="error">Enter a valid email.</p>
}
After this, we need to update the submit button’s disabled state to use signal-based state:
<button
    type="button"
    [disabled]="emails().invalid()"
    (click)="submit()">
    Submit
</button>
And finally, we need to replace the raw form value dump with the new model signal instead:
<pre class="preview">
    {{ model() | json }}
</pre>
That’s it, no behavior changes, no new UI, just a modern reactive form under the hood.
Testing the Upgraded Signal Form
Once we save and refresh…
- Adding fields still works
- Validation still works
- Removing fields still works
- Form validity still controls the submit button
- The JSON output still updates instantly
The UI is unchanged, but the reactive system behind it is entirely new.
Sometimes switching to Signal Forms reduces the amount of code, but in this case the benefit is really about conceptual alignment:
✅ The form is now fully signal-driven
✅ Works seamlessly with computed signals, linked signals and effects
✅ No FormArray or FormControl plumbing
✅ More consistent with the rest of Angular’s modern reactive patterns
Final Thoughts
That’s how you build a dynamic form using nothing but signals and the new Signal Forms API.
This feature is still experimental, but when it hits stable Angular, it’s going to simplify forms like never before.
If this helped you, be sure to subscribe and leave a comment, it really helps other Angular developers find this content.
And hey — if you want to rep the Angular builder community, check out the Shieldworks “United by Craft” tees and hoodies here. They’re built for the ones who code like it’s a trade!
Additional Resources
- The demo app BEFORE any changes
- The demo app AFTER making changes
- Angular Signal Forms GitHub (Experimental)
- Angular FormArray Docs
- My course “Angular: Styling Applications”
- My course “Angular in Practice: Zoneless Change Detection”
- Get a Pluralsight FREE TRIAL HERE!
Try It Yourself
Want to experiment with the final version? Explore the full StackBlitz demo below.
If you have any questions or thoughts, don’t hesitate to leave a comment.