The Many Personalities of Angular’s viewChild (the Read Parameter)
Angular's viewChild() signal query is powerful, but the read parameter unlocks advanced scenarios most developers never discover. Instead of just querying components and elements, you can read specific tokens, directives, or providers, accessing lower-level APIs and creating more flexible component architectures. This tutorial demonstrates how to use the read parameter to query ElementRef, ViewContainerRef, TemplateRef, and custom tokens, showing real-world examples that simplify component code.
Stackblitz Project Links
Check out the sample project for this tutorial here:
Project Setup: Demo App Overview
Here’s the app we’ll be working with in this tutorial:

It’s a simple Angular component that’s going to be used to demonstrate the read parameter in the viewChild() signal query.
Now if you’ve never heard of the read parameter, don’t worry, many Angular developers haven’t and that’s exactly why I’m making this tutorial!
Right now, this thing is pretty boring.
It’s just a box with some text and a button that doesn’t do anything yet.
But by the end of this tutorial, this single element is going to demonstrate four completely different ways we can access it from our component code.
Let’s start by examining the template for this component.
The first thing we find is a div with a template reference variable named #reference:
<div
    #reference
    class="demo-box"
    appHighlight
    [highlightColor]="'lightblue'">
    <p>This element demonstrates all "read" parameter types</p>
</div>
This is the box that we saw in the screenshot of the app in the browser.
This div also has an appHighlight directive applied to it as well.
Then, below that div, we have an ng-template and it also has the same reference variable too:
<ng-template #reference>
    <div class="template-content">Template content added!</div>
</ng-template>
Inside of this template, there’s a div with a simple message.
ng-template is Angular’s way of defining a chunk of HTML that doesn’t render by default, it’s like having a blueprint that we can use later.
Normally, using the same reference twice would be confusing.
Here, it’s intentional to show how and why the read parameter is useful.
And finally, below all of that, we have a button that calls a run() function when clicked:
<footer>
    <button (click)="run()">Run Demo</button>
</footer>
Okay, that’s the template, now let’s take a look at the TypeScript for this component.
Right now it’s pretty empty, it just has a run() function that does nothing:
import { ChangeDetectionStrategy, Component } from "@angular/core";
import { HighlightDirective } from "../highlight";

@Component({
    selector: 'app-demo',
    templateUrl: './demo.html',
    styleUrl: './demo.scss',
    changeDetection: ChangeDetectionStrategy.OnPush,
    imports: [HighlightDirective],
})
export class DemoComponent {
    protected run() {
    }
}
viewChild() Explained: Default Behavior
What we want to do now is access the element from our template, so how do we do that?
Well, with the viewChild() signal query of course!
private readonly elementRef = viewChild('reference');
By default, Angular just returns something with the matching reference, often whichever comes first in the template.
- If the
divcomes first → we get an ElementRef - If the
ng-templatecomes first → we get a TemplateRef
This default behavior is unreliable when multiple elements share the same reference name.
That’s where the read parameter comes in.
ElementRef: Taking Control with the Read Parameter
Now, I’m going to modify the viewChild() to be explicit about what we want.
Let’s add an options parameter with the read property set to ElementRef:
private readonly elementRef = viewChild('reference', { read: ElementRef });
By adding this, we explicitly tell Angular:
“Give me the
ElementReffor this reference, no guessing required.”
This makes the code more predictable and maintainable.
Now, let’s actually do something with this ElementRef.
Let’s add a CSS class to change the appearance of our div.
To safely manipulate the DOM in Angular, I need to inject the Renderer2 service:
private renderer = inject(Renderer2);
This works in all environments, including server-side rendering, unlike direct DOM manipulation.
Now we can use the Renderer2 to add a CSS class called “highlighted” to our element, and we’ll also log out the element to the console:
protected run() {
    const element = this.elementRef();
    if (element) {
        this.renderer.addClass(element.nativeElement, 'highlighted');
        console.log('ElementRef:', element);
    }
}
Now when we click the “Run demo” button, the box turns yellow:

That’s our “highlighted” CSS class in action.
And in the console, we’re getting an ElementRef just like we’d expect:

This just shows how the read parameter ensures consistency even if the template changes.
It’s important to note here that order still matters, even with the read parameter.
If I move the ng-template before the div, we’ll actually get an error in the console now:

This is because now we’re trying to add a class to the comment element inserted from the ng-template which we can’t do.
So just keep this in mind when using viewChild() with the same reference name.
ViewContainerRef: Dynamic Content Injection
Now here’s where things start to get interesting.
The same element can unlock new capabilities depending on what you ask for with read.
Let’s add another viewChild() for the same reference, but this time using ViewContainerRef:
private readonly containerRef = viewChild('reference', { read: ViewContainerRef });
Now, you may be asking yourself…
“What’s a
ViewContainerRef?”
Think of it as a content injection point.
It’s like having a container where you can dynamically add components, templates, or other content at runtime.
It’s a powerful tool for dynamic UIs.
Now let’s add a condition for this and then add a console log if it exists.
Also, we’ll do more with this in a minute, but for now let’s use the Renderer2 again to add a class to this div using the ViewContainerRef this time:
protected run() {
    ...

    const container = this.containerRef();
    if (container) {
        this.renderer.addClass(container.element.nativeElement, 'has-content');
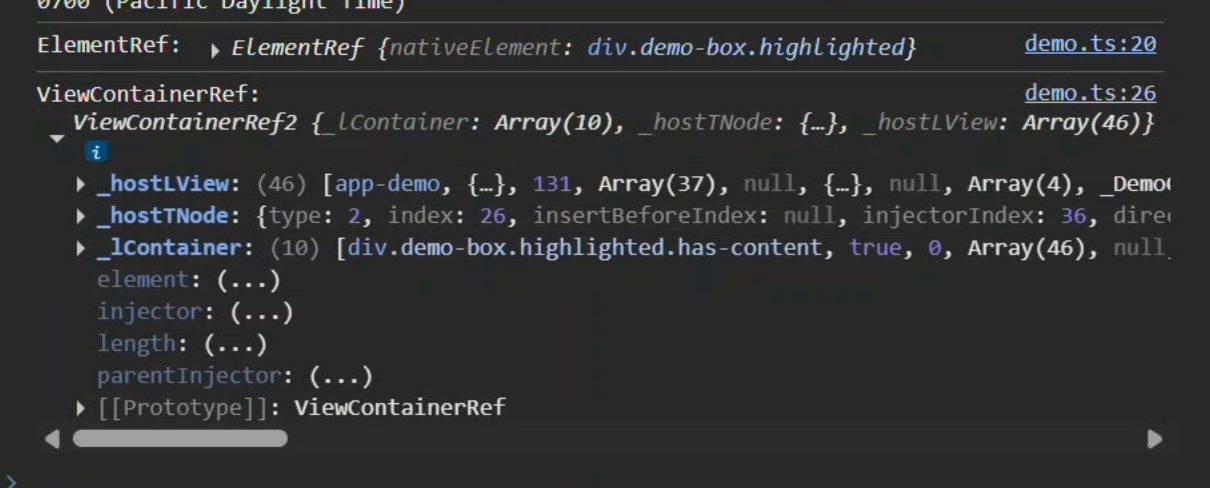
        console.log('ViewContainerRef:', container);
    }
}
This will show that we can access the same element through different reference types.
When we click the button now, we get a dotted border around the div because this new class is being applied:
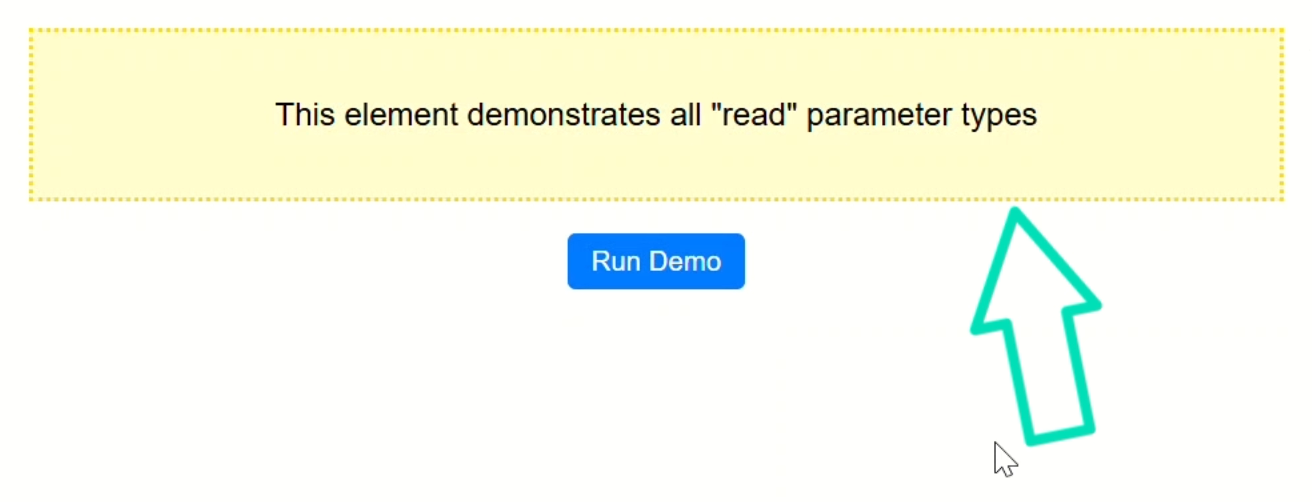
And in the console, we now have both an ElementRef and a ViewContainerRef logged out, both pointing to the same DOM element but giving us different capabilities:
Pretty cool, right?
Now let’s do more with this ViewContainerRef.
TemplateRef: Accessing and Injecting Templates
As we saw above, we have an ng-template with the same reference name.
Well, we can use this ViewContainerRef to dynamically inject that template content into our div.
First, we need to use the reference variable again to ask Angular for a TemplateRef using the read parameter:
private readonly templateRef = viewChild('reference', { read: TemplateRef });
Even though the div and ng-template share the same #reference variable, Angular now gives us the template because that’s what we requested.
With TemplateRef plus ViewContainerRef, we can now:
- Create an embedded view from the template
- Dynamically inject that content into the
div
Here’s what that looks like:
protected run() {
    ...

    const template = this.templateRef();
    if (template && container) {
        container.createEmbeddedView(template);
        console.log('TemplateRef:', template);
    }
}
Suddenly, static markup becomes flexible and dynamic.
Now when we click the button, we get the template content added to our div:
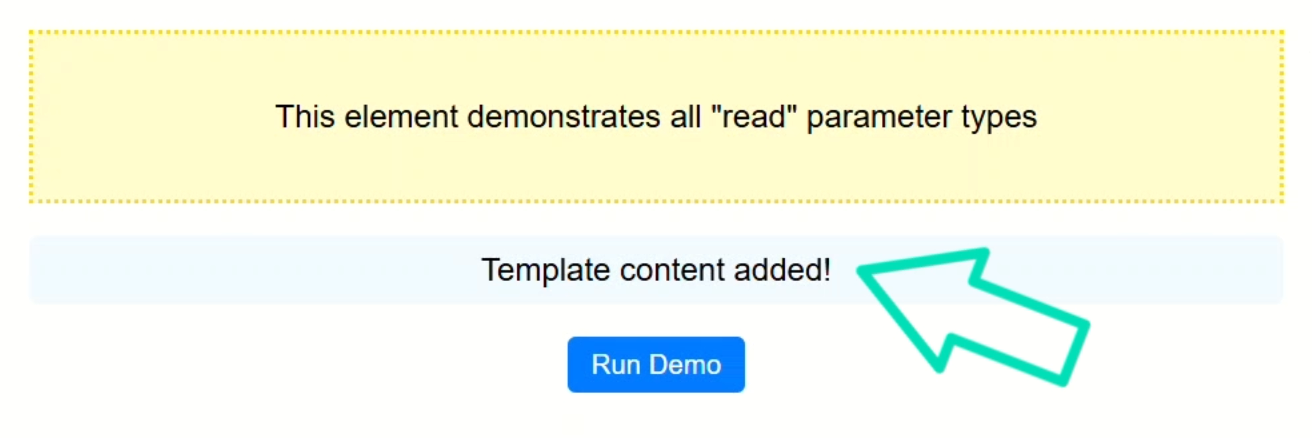
And in the console, we now have all three reference types logged:
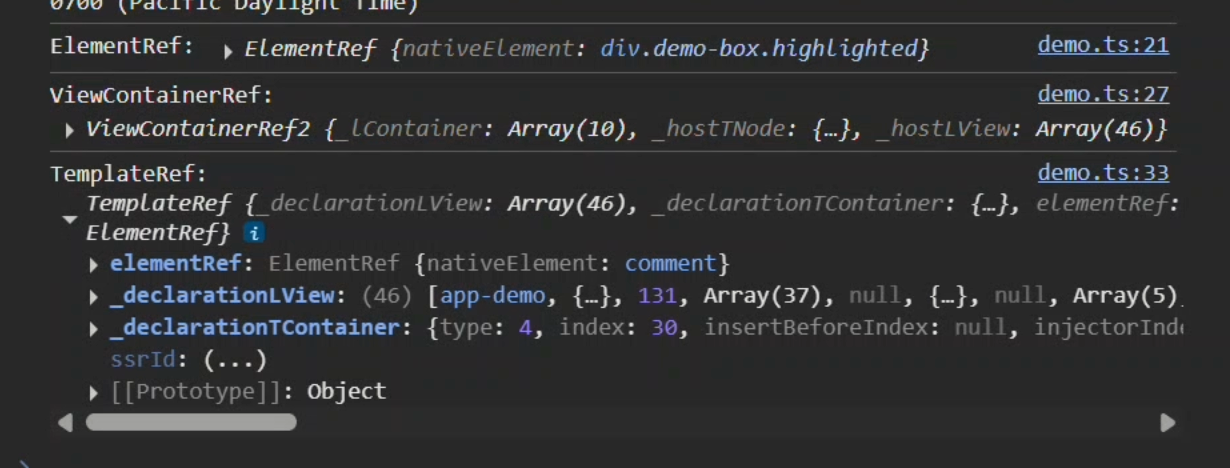
ElementRef→ for DOM manipulationViewContainerRef→ for content injectionTemplateRef→ for the template itself
Directive Access: The Final Superpower
But wait, there’s more!
Remember the appHighlight directive applied to our div?
We can get direct access to that directive instance too with the read parameter:
private readonly directiveRef = viewChild('reference', { read: HighlightDirective });
Okay, now let’s log this out in the run() method just like the others:
protected run() {
    ...

    const directive = this.directiveRef();
    if (directive) {
        console.log('Directive:', directive);
    }
}
Now when we click the button, we get the directive instance logged out too:
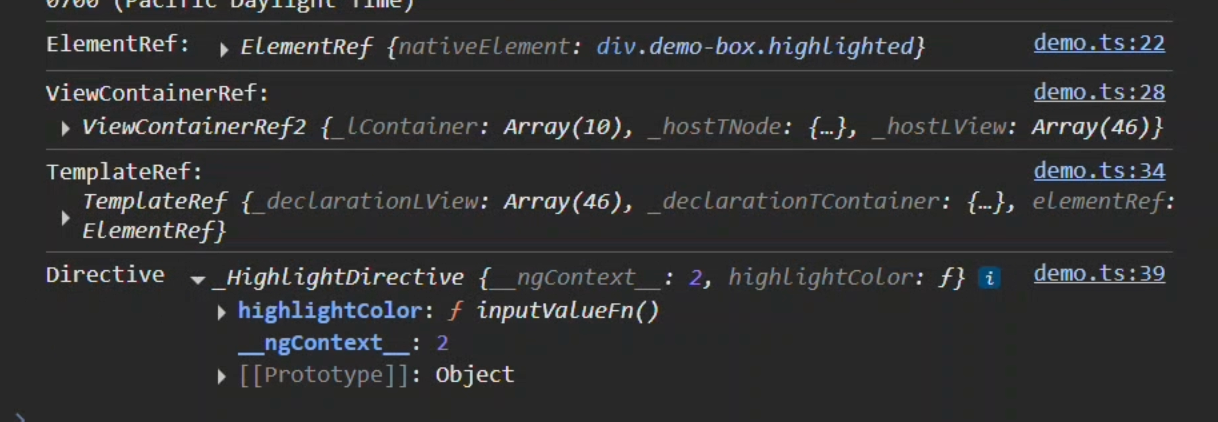
This means we can:
- Call methods on the directive
- Change its properties
- Interact with it programmatically
One template reference, multiple possibilities.
Recap & Key Takeaways
So there you have it, the viewChild() read parameter.
This is one of those Angular features that’s incredibly powerful but criminally underused.
Here’s what you need to remember, the read parameter lets you get exactly what you need from any template reference:
ElementRef→ Direct DOM accessViewContainerRef→ Dynamic contentTemplateRef→ Template accessDirectives→ Programmatic access to directive instances
One reference, several superpowers.
Same element, completely different capabilities.
If this blew your mind, subscribe for more hidden Angular gems.
Additional Resources
- The demo app BEFORE any changes
- The demo app AFTER making changes
- Referencing component children with queries
- Angular API Reference: Renderer2
- Tutorial: Signal Queries – viewChild() and contentChild() Explained
- Tutorial: Angular Component Communication with Signals
- My course “Angular: Styling Applications”
- My course “Angular in Practice: Zoneless Change Detection”
Want to See It in Action?
Want to experiment with the final version? Explore the full StackBlitz demo below. If you have any questions or thoughts, don’t hesitate to leave a comment.


