Angular CDK Overlay: Scroll Strategies
In the Angular CDK there are a lot of cool, exciting, and helpful features. And the Overlay Module is one of the most powerful. It’s used to create things like dialogs, tooltips, menus, custom dropdowns and more. I’ve already created a couple of posts on the Overlay Module, one where I cover the basics of setting them up, and another where I demonstrate different ways that they can be positioned within the viewport. If you’re unfamiliar with these concepts and haven’t read those, you should do that before rreading this one because we will build off the examples that we created in them. Here, we’ll be focused on how we want an overlay to react when scrolling the container it’s positioned within.
The overlay module provides us with four scrolling behaviors out of the box:
- Reposition
- Block
- Close
- Noop
In this post we’ll take a close look at each one. Alright, let’s get to it!
Why we Need to Handle Scrolling When Using the CDK Connected Overlay
One of the core concepts that we learned about in the Overlay basics post is that the physical markup for the overlay is injected at the end of the document just before the closing body tag. And this is what makes it so useful. This means that it can always be placed above any other content and is not constrained in any way by the containers that wrap the origin element.
But, the fact that it is detached from the thing that we are positioning it in relation to, is actually problematic in some ways. Handling scroll is one of those problematic scenarios.
If the markup was injected near the origin element, then we wouldn’t need to do anything on scroll, it would just scroll with the origin. But, there’s lots of issues with that too which is why we need the overlay.
Good news for us, we have several different options to handle scrolling. We can use any one of four, what are known as, Scroll Strategies provided in the Overlay module. We can even create our own custom strategy if we want but that’s a topic for another post.
Using the CDK Overlay Reposition Scroll Strategy
The first strategy we’ll be looking at will be the Reposition strategy. With this position strategy, the popup gets repositioned as its parent scrolling container is scrolled. It makes it appear as if its markup is physically placed near its origin in the DOM.
Ok, so here’s the demo project that we’ve been working on the last few posts with the Overlay module.
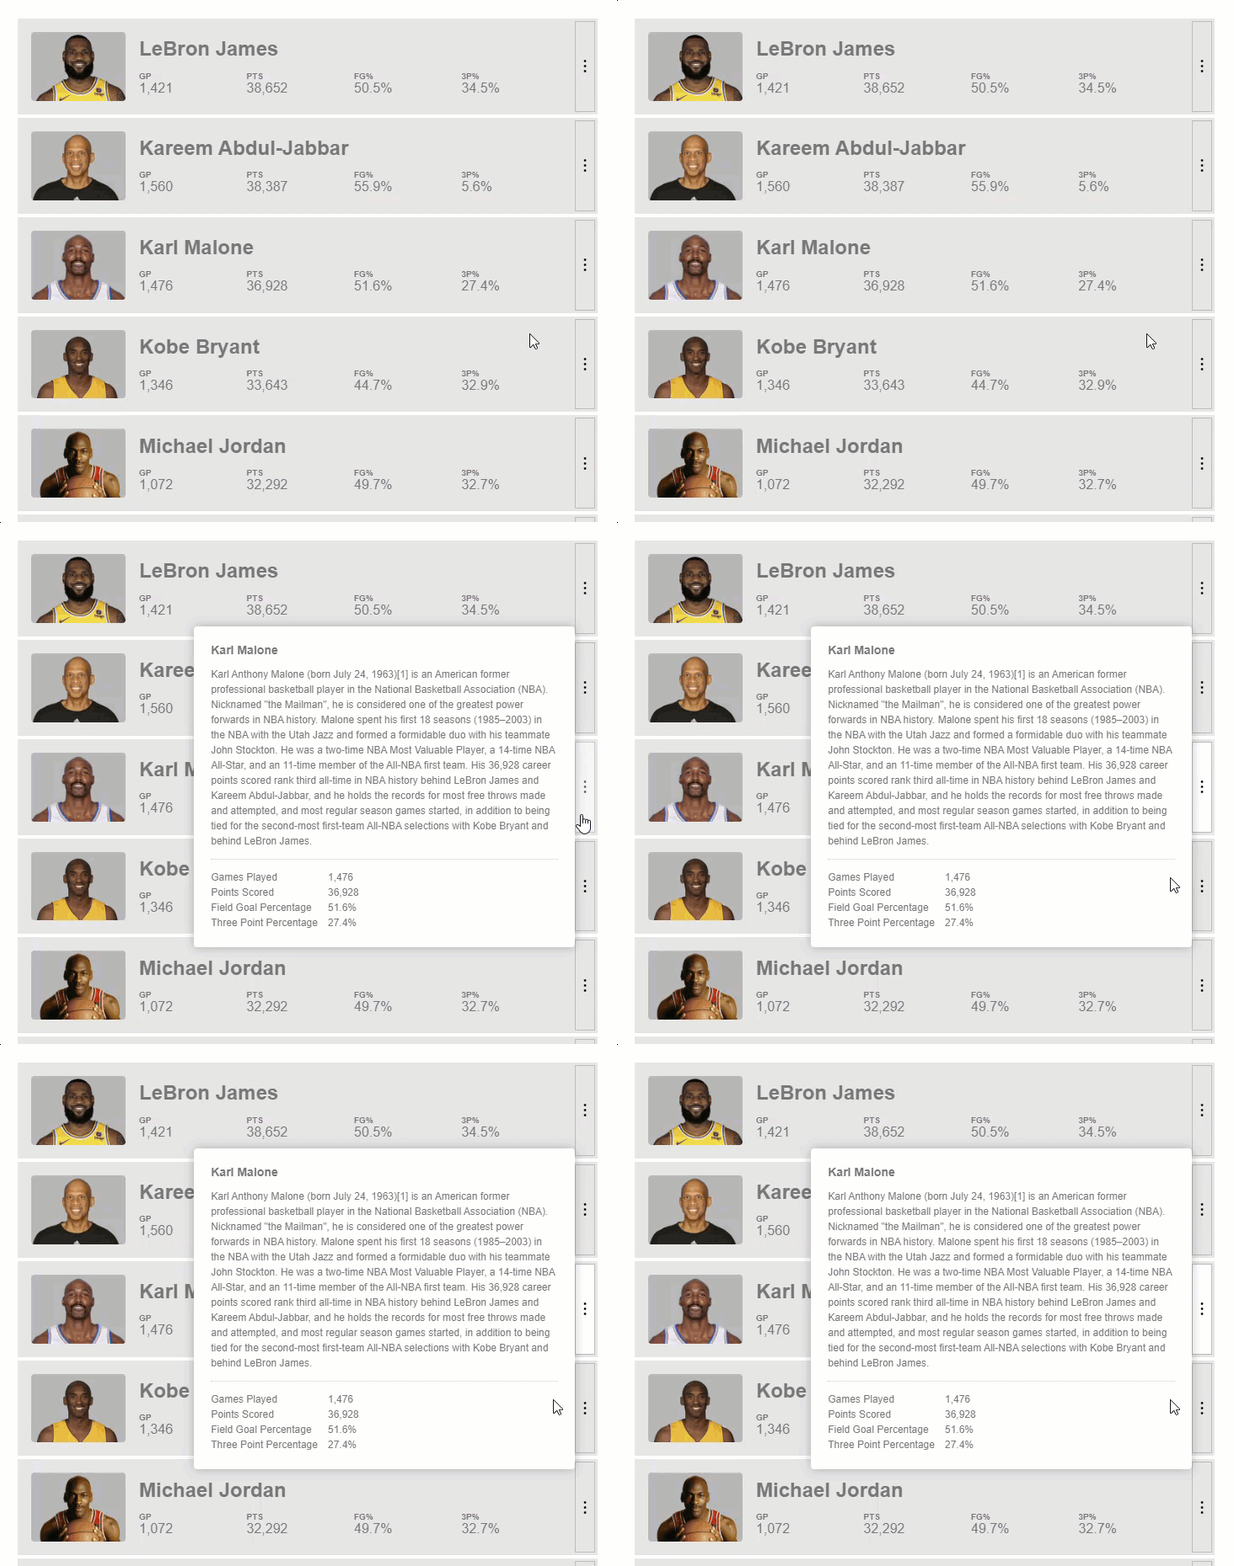
We have a list of notable NBA players, and they each have a button that triggers a popup that we created using the cdkConnectedOverlay directive. Now, before we can configure a position strategy for this pop-up, we need to first inject in the Overlay service within our constructor.
player.component.ts
import { ..., Overlay } from '@angular/cdk/overlay';
...
export class PlayerComponent {
    ...
    constructor(private overlay: Overlay) {}
}
Now, we can create a property called scrollStrategy. We’ll set this property to a provided scroll strategy from the Overlay service and then we’ll use it via an input on our cdkConnectedOverlay in the template. To set this to a scroll strategy, we need to add access scrollStrategies from the Overlay service and then we can use the reposition() strategy function.
export class PlayerComponent {
    ...
    protected scrollStrategy = this.overlay.scrollStrategies.reposition();
    ...
}
And now, we can pass it to the directive in the template. To do this we use the cdkConnectedOverlayScrollStrategy input. And we simply pass it our scrollStrategy property.
player.component.html
<ng-template
    cdkConnectedOverlay
    ...
    [cdkConnectedOverlayScrollStrategy]="scrollStrategy">
    ...
</ng-template>
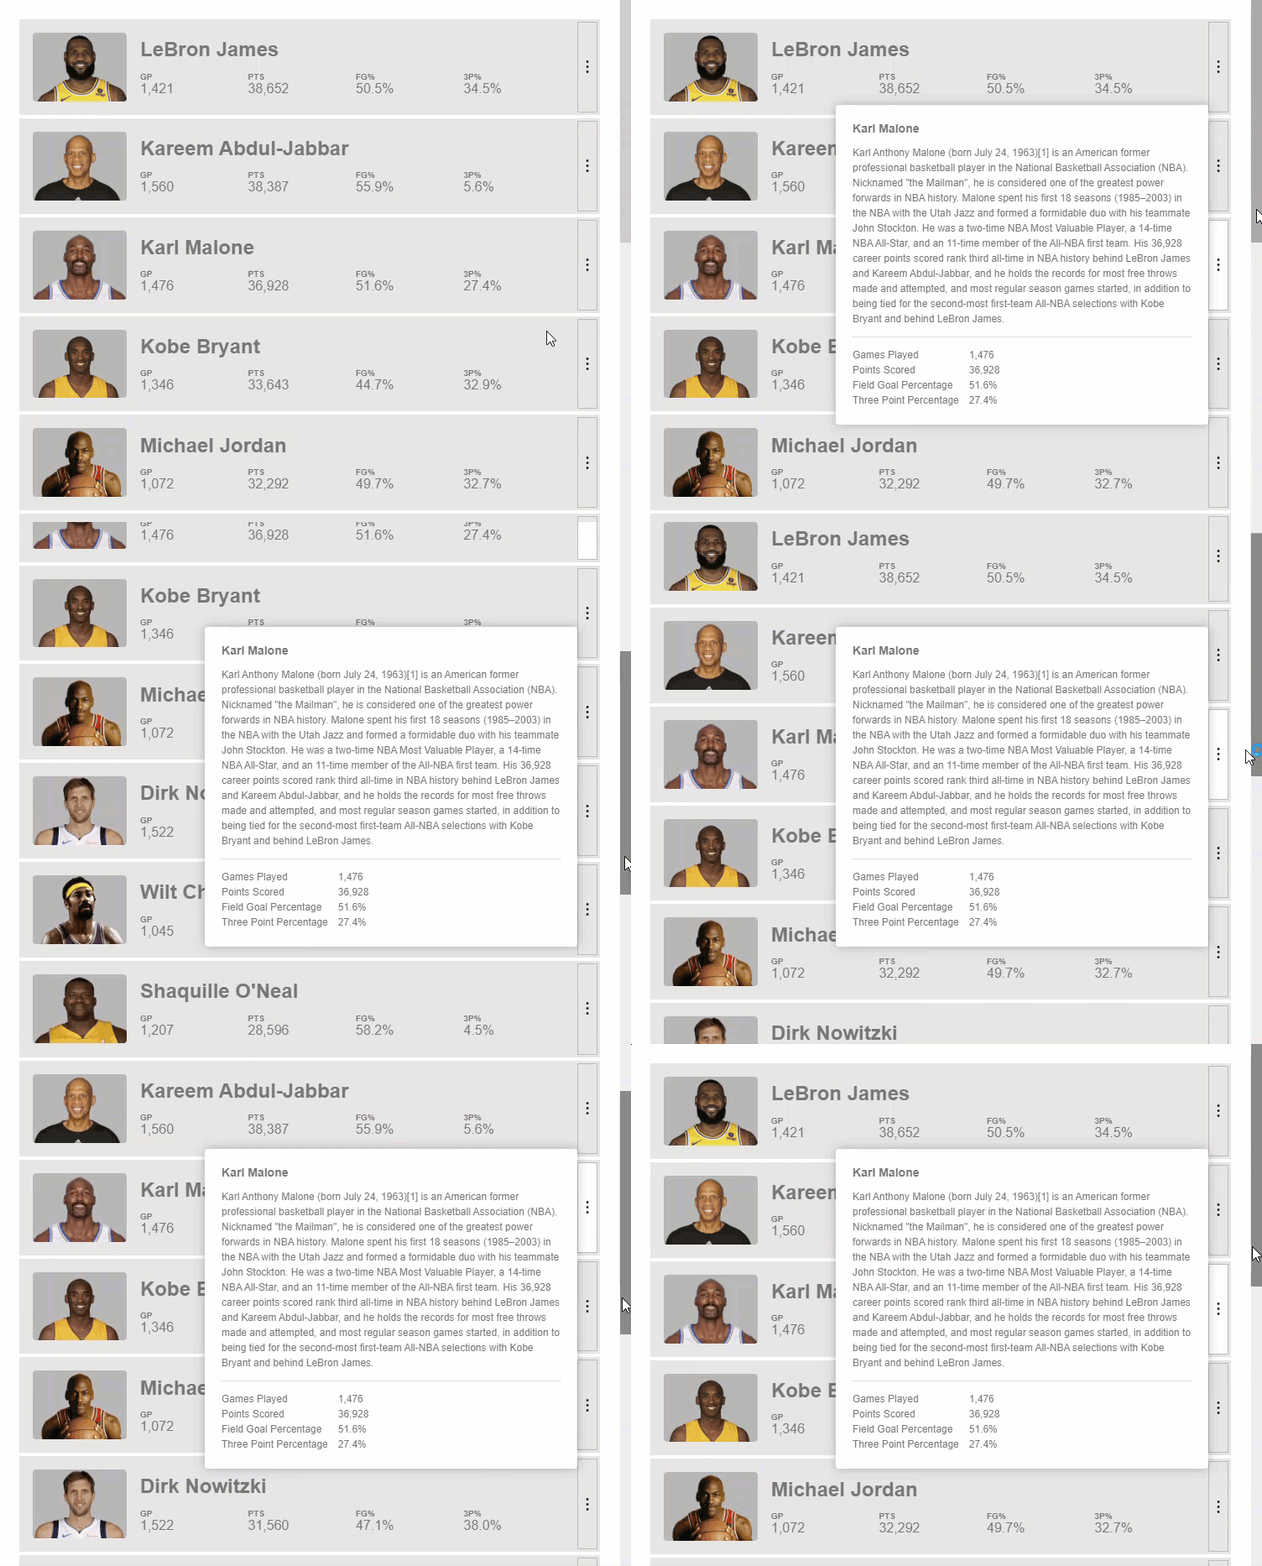
Now, when we open up a pop-up, and then as we scroll, we can see that it scrolls along with the origin.
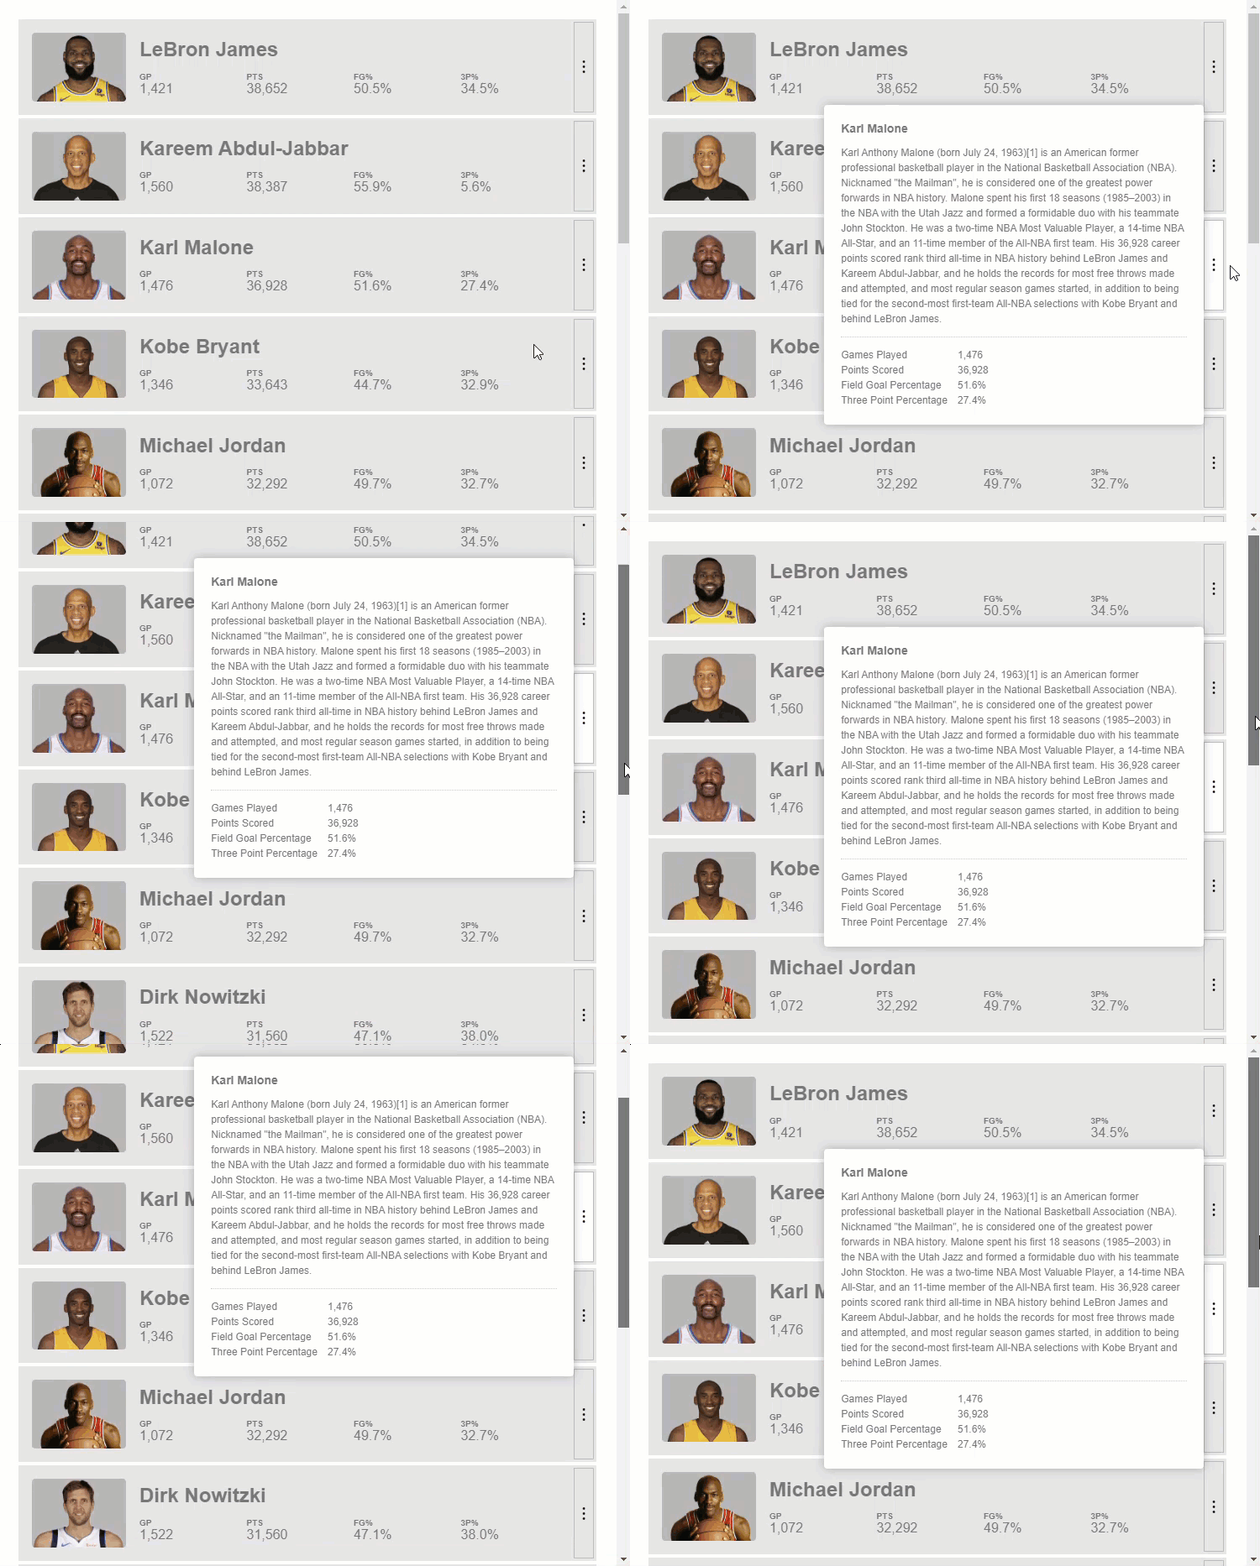
Pretty crazy because the overlay has to actually recalculate its positioning while scrolling. But it’s surprisingly performant.
Now, the reposition strategy is actually the default behavior for this directive, so if this is what we want, we don’t need to pass a strategy to the directive at all. So just keep that in mind.
Using the CDK Overlay Block Scroll Strategy
Ok, next up we’re going to look at the “block” strategy. This strategy will actually prevent us from scrolling the container while the popup is open. So, now that we have everything set up, to change to another strategy is really simple. We just need to switch from the reposition() method to the block() method instead.
export class PlayerComponent {
    ...
    protected scrollStrategy = this.overlay.scrollStrategies.block();
    ...
}
Now when we open the popup, and try to scroll, nothing happens.
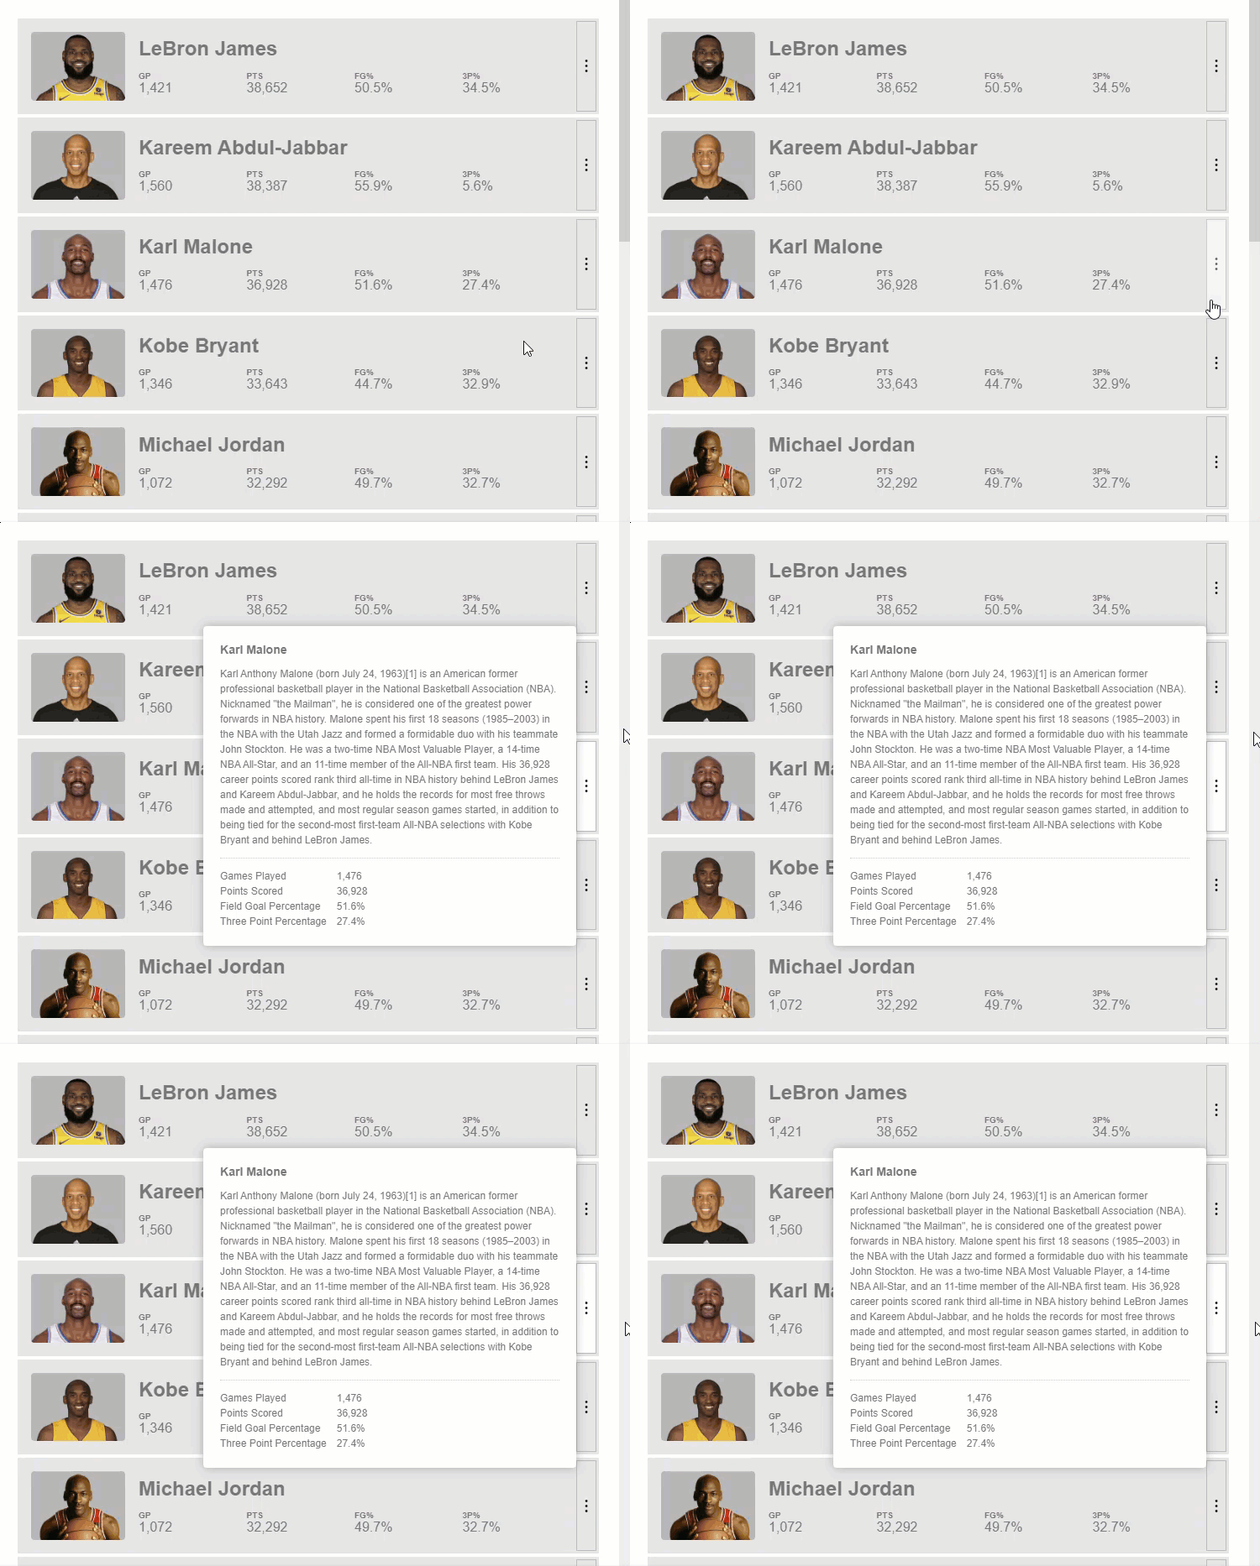
So that’s another option, next up we’ll look at the “close” strategy.
Using the CDK Overlay Close Scroll Strategy
This one is pretty self-explanatory, but just in case it’s not clear, this strategy will close the overlay when scrolling. To use it, we simply need to replace the block() method with the close() method instead.
export class PlayerComponent {
    ...
    protected scrollStrategy = this.overlay.scrollStrategies.close();
    ...
}
There, now when we scroll the pop-up is closed.
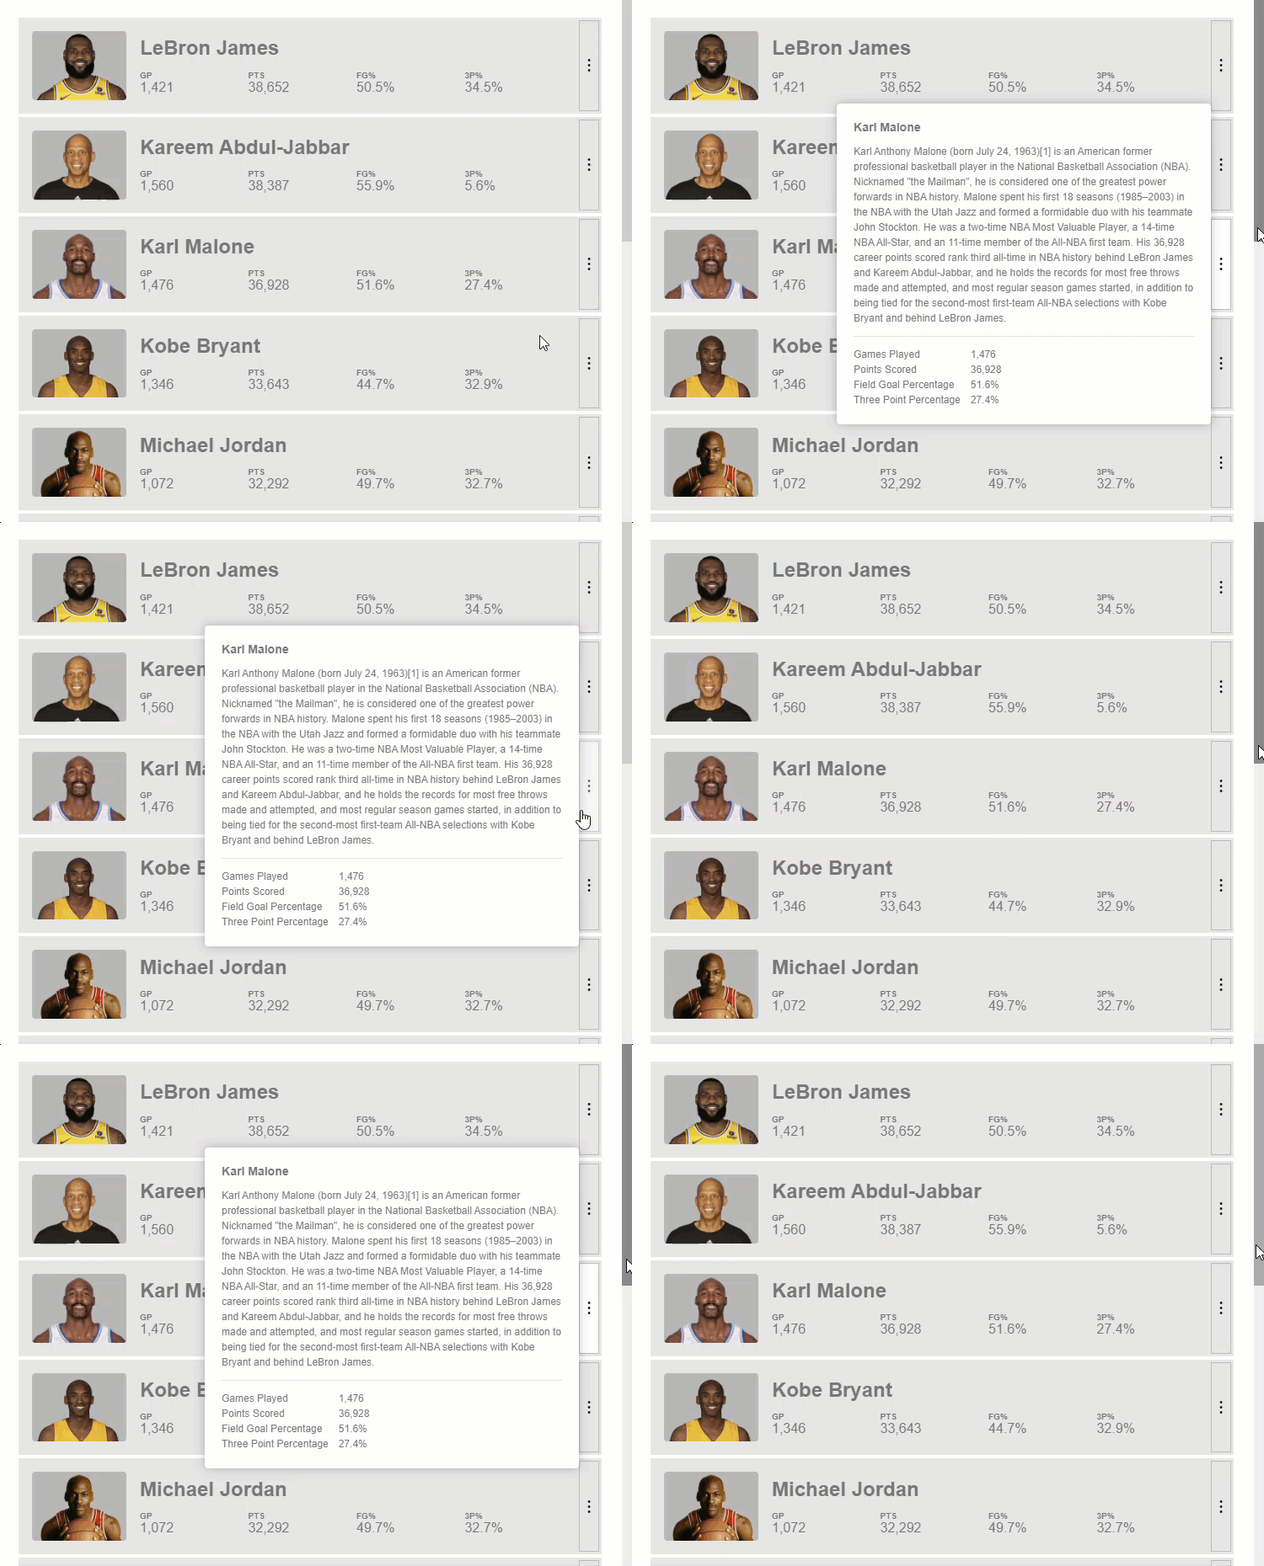
Using the CDK Overlay Noop Scroll Strategy
Last up we have the noop strategy. This strategy just doesn’t do anything when we scroll. It doesn’t reposition, block, or close. Instead, it does nothing. Once again, let’s replace the close method with noop this time.
export class PlayerComponent {
    ...
    protected scrollStrategy = this.overlay.scrollStrategies.noop();
    ...
}
There, now as we scroll, we can see nothing happens.
Ok so there’s all of the built-in scroll strategies but there’s one more important aspect when it comes to connected overlays and scrolling. It has to do with the scrolling container itself.
How to Handle Overlay Scroll Strategies With Many Scrolling Containers Using the cdkScrollable directive
Right now, our scrolling container is our root element, the HTML element.
global_styles.scss
html {
    ...
    overflow-y: auto;
    overflow-x: hidden;
}
If we were to move the overflow styles off of the HTML element to an element within our app component instead.
app.component.scss
section {
    ...
    overflow-y: auto;
    overflow-x: hidden;
}
And then, if we switch back to use the reposition scroll strategy.
player.component.ts
export class PlayerComponent {
    ...
    protected scrollStrategy = this.overlay.scrollStrategies.reposition();
    ...
}
When we open our pop-up and scroll, we can see that the pop-up is no longer repositioning to keep itself attached to the origin.

It’s almost like we’re using the noop strategy that we just learned about, but we’re not. This is because we need to let the overlay know that our scrolling container is actually a different element now. By default, if we don’t explicitly specify the scrolling container, it will fall back to the root element. In many cases this won’t work.
More good news though, this is pretty easy to do. We need to first import the CdkScrollable class in the component where our new scrolling container lives. In this example, it’s within our app component.
main.ts
@Component({
    selector: 'app-root',
    imports: [..., CdkScrollable],
    ...
})
Now in the template we can add the cdkScrollable directive on the scrolling container itself which is the section element.
app.component.html
<section cdkScrollable>
    ...
</section>
And now, the overlay will use this for its scrolling context.

So, when we open it up again and scroll, it’s correctly getting repositioned again.
Alright, so you now have several different ways to handle pop-ups and scrolling. Stay tuned for more posts on the Overlay module in the future!
Want to See It in Action?
Check out the demo code and examples of these techniques in the stackblitz example below. If you have any questions or thoughts, don’t hesitate to leave a comment.