How Angular Components Should Communicate in 2025
Component communication in Angular has evolved from traditional inputs/outputs to modern two-way binding with model inputs, reducing boilerplate and simplifying parent-child data flow. This tutorial demonstrates three component communication patterns: one-way data flow with inputs/outputs, two-way binding with model inputs, and when to use each approach. You'll learn how to implement real-time communication between parent and child components using modern Angular patterns.
Setting the Stage: The Starter Code
Here’s the super simple Angular app that we’ll be working with in this example:
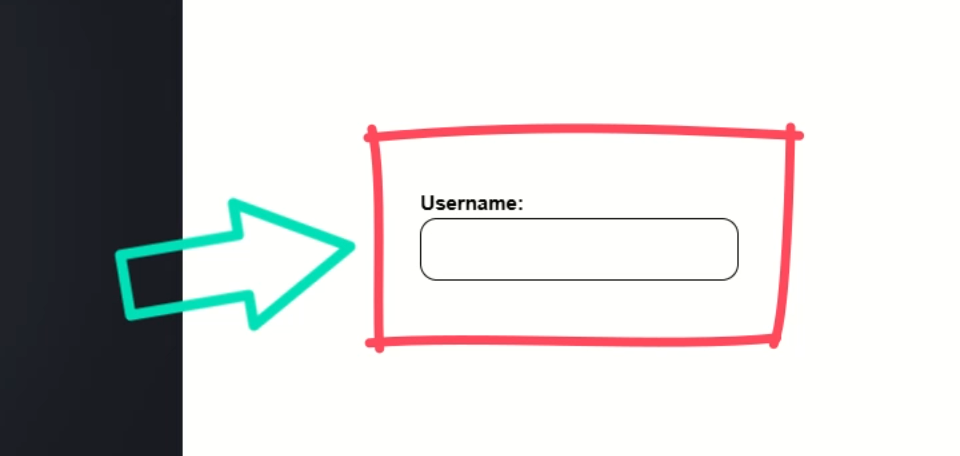
It’s just a component that will eventually let us type in a username and reflect that value in both the parent and child components.
Let’s start by looking at the existing code for this component:
import { ChangeDetectionStrategy, Component } from "@angular/core";

@Component({
  selector: "app-username-field",
  templateUrl: "./username-field.component.html",
  styleUrl: "./username-field.component.scss",
  changeDetection: ChangeDetectionStrategy.OnPush,
})
export class UsernameFieldComponent {}
Right now, it’s just a plain shell component — no inputs, no outputs, no internal state — just an empty class ready to go.
Now, let’s switch and look at the root app component where this username-field component is included:
import { ChangeDetectionStrategy, Component } from "@angular/core";
import { bootstrapApplication } from "@angular/platform-browser";
import { UsernameFieldComponent } from "./username-field/username-field.component";

@Component({
  selector: "app-root",
  template: ` <app-username-field></app-username-field> `,
  imports: [UsernameFieldComponent],
  changeDetection: ChangeDetectionStrategy.OnPush,
})
export class App {}
This component doesn’t have any signals or bindings yet.
We’ve got the <app-username-field> component in place, but there’s nothing being passed into it or coming out of it yet.
So, let’s wire up a basic communication flow — starting with component inputs and outputs.
Building Parent-Child Communication with input() and output()
Inputs allow data to flow into a child component from a parent, and outputs flow data from the child component back up to the parent.
For this example, we’ll be using the input() and output() functions from Angular — these are the new functional equivalents of the classic decorators.
Wiring Up the Child Component
First, let’s define a “username” property.
This property will be a signal input with a default value of an empty string:
import { ..., input } from "@angular/core";

...

export class UsernameFieldComponent {
  username = input("");
}
This will allow the parent to pass a value down into this component.
Next, let’s create another property named “usernameChange”.
This property will be an output, and it will emit a string value:
import { ..., output } from "@angular/core";

...

export class UsernameFieldComponent {
  ...
  usernameChange = output<string>();
}
This component will use this output to send updates back to the parent.
Next, we need to add a function to handle input events from our textbox.
This function will be called when the value entered into the textbox changes.
Let’s call it “onInput”, and it will take in an Event parameter.
We’ll use this event to get the current value of the textbox.
Once we have the value, we emit it to the parent with the output by simply passing it to the emit() method:
export class UsernameFieldComponent {
  ...
  onInput(event: Event) {
    const value = (event.target as HTMLInputElement).value;
    this.usernameChange.emit(value);
  }
}
Okay, I think that’s everything we need here — let’s switch to the template and bind that logic to our input element.
Let’s start by using property binding to bind the “username” input to the value property on our input element:
<input type="text" [value]="username()" />
This sets the textbox input’s value to whatever the parent passes in via the “username” input.
Next, we’ll use the input event to call our “onInput()” function:
<input type="text" [value]="username()" (input)="onInput($event)" />
So now, whenever the user types in the textbox, we’ll emit the value back to the parent.
Binding the Parent Component
Okay, that should be everything we need to add to this component, so let’s switch to the root component.
Here, let’s define a signal to hold the username.
I’ll call it “username”, and I’ll set the initial value to “Brian”:
import { ..., signal } from '@angular/core';
...
export class App {
    protected username = signal('Brian');
}
Now we’ll bind this signal to the child component’s “username” input:
<app-username-field [username]="username()" />
This means the initial value we’ll see in the input should now be “Brian”.
And now, we can use our new custom “usernameChange” event to update the value of this “username” signal:
<app-username-field
  [username]="username()"
  (usernameChange)="username.set($event)"
/>
Also, just to make all of this more clear in the example, let’s show the current value in the parent component template below the <app-username-field> component:
<p>Hello, {{ username() }}!</p>
Alright, let’s save and try this all out:
Nice, the initial value “Brian” shows up in both the parent and child components and when I type something else… look at that!
The child sends the new value back to the parent, and both stay in sync.
Pretty cool, right?
These two components are now communicating back and forth with each other and updating values as needed.
But what if I told you all of this could be further simplified and written more elegantly?
Refactoring with model() for Cleaner Code Using Two-Way Binding
The input() and output() concept worked great, and if we were only using one or the other, I’d probably leave it as is.
But we can clean this particular example up using Angular’s new model() input.
This allows us to leverage two-way binding with less code overall.
Cleaning it Up with model()
First, let’s switch back to the username-field.component.ts.
I can remove the output because we won’t need it anymore.
Next, I’ll change the input over to a model() input instead:
import { ..., model } from "@angular/core";

...

export class UsernameFieldComponent {
  username = model("");
  ...
}
This special type of input gives us a signal that allows us to propagate values back to the parent component — eliminating the need for a separate input and output.
Okay, now that we’re working with a signal, we need to set the value in our “onInput()” function.
Instead of emitting, we just update the signal directly:
Before:
export class UsernameFieldComponent {
  ...
  onInput(event: Event) {
    ...
    this.usernameChange.emit(value);
  }
}
After:
export class UsernameFieldComponent {
  ...
  onInput(event: Event) {
    ...
    this.username.set(value);
  }
}
Okay, that’s all we need to do here, let’s switch back over to the root component.
The first thing I’m going to do is remove the “usernameChange” event binding since the child doesn’t emit this event anymore.
Then we can use Angular’s built-in two-way binding syntax, often referred to as “banana-in-a-box”, because of the parentheses inside of the square brackets:
<app-username-field [(username)]="username" /></app-username-field>
This connects the parent’s signal directly to the child’s model input.
Updates will now flow both ways automatically, from the parent to the child, and from the child to the parent.
Let’s save and see it in action:
Nice, just like the previous example, it starts with “Brian” in both the parent and the child.
And if I update the value, it’s still in sync.
But now the code is simplified, and just as powerful.
Wrapping Up: Cleaner Code, Better Communication
So there you have it, we started with the traditional input() and output() setup for component communication, then refactored it into something leaner and cleaner using the new model() input.
With just a few small changes, we made our code easier to follow and let Angular do more of the heavy lifting for us.
If you found this helpful, don’t forget to subscribe and check out my other Angular tutorials for more tips and tricks!
Additional Resources
- The demo app BEFORE any changes
- The demo app AFTER making changes
- Accepting Data with Input Properties
- Custom Events with Outputs
- Model Inputs Official Docs
- My course: “Styling Angular Applications”
Want to See It in Action?
Check out the demo code showcasing these techniques in the StackBlitz project below. If you have any questions or thoughts, don’t hesitate to leave a comment.