Angular effect(): React to Signal Changes with Side Effects (v19+)
Reacting to signal changes for side effects like logging, API calls, or DOM manipulation requires a different approach than computed signals, which are read-only and template-focused. Angular's effect() function executes code when signals change, making it perfect for debugging, analytics, and imperative operations that can't be handled in templates. This tutorial demonstrates when and how to use effect() effectively, while also covering when NOT to use it (see the linked tutorial for common mistakes).
Angular Signals Tutorial Series:
- Create Signals with computed() - Learn about computed signals
- When NOT to Use effect() - Common effect() mistakes and alternatives
- Signal Inputs & output() - Replace @Input/@Output with signals
The Effect Function
The effect() function works a lot like the computed() function. It allows us to react when the value of a Signal or multiple Signals change.
When using an effect, you can count on it to run at least once, and then it will only run when a Signal within it changes.
Why Use an Effect When You can Use a Computed Signal?
With all of that said, if you are familiar with computed signals, you are probably asking yourself, “why would I use an effect?”
Well, that’s a good question. The truth is, you should use a computed signal if you can. An effect should only be used when a computed signal won’t work. They are handy for things like debugging, or executing code that that can’t be run using the standard template syntax.
So, in this post we’ll look at a couple of different use cases. Up first, let’s look at a simple example, logging out the value of a signal as it changes.
Debugging a Signal Value with the Effect Function
In this post, we’ll be using a demo application “Petpix”. In this app, we have a “details” button in the bottom right corner of each image.

Right now, it doesn’t do anything when we click it. But, if we look at the code for this button, currently it toggles the value of a “detailsVisible” signal when clicked.
photo-details.component.html
<button (click)="detailsVisible.set(!detailsVisible())">
    ...
</button>
Now, let’s say we need to troubleshoot this signal value for some reason. This is a great use case for the effect function.
Now, in order to use this function, we need to use it within an “injection context”. The easiest way to do this is use the constructor.
Within the constructor, we just need to add the effect function. Then, within the callback, we can log out the value of our “detailsVisible” signal.
photo-details.component.ts
import { ..., effect } from "@angular/core";

export class PhotoDetailsComponent {
    ...
    constructor() {
        effect(() => {
            console.log('Visible', this.detailsVisible());
        });
    }
}
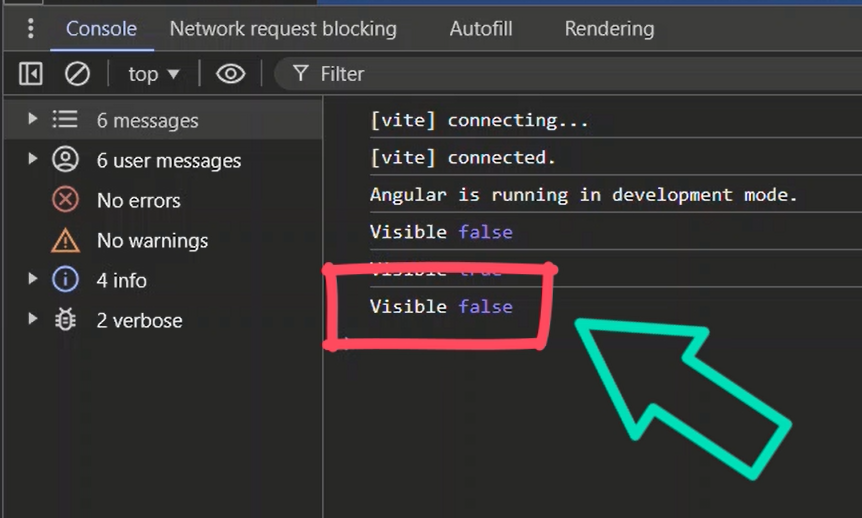
Now, we should be able to save and see the value of the signal in the console when we click the button.
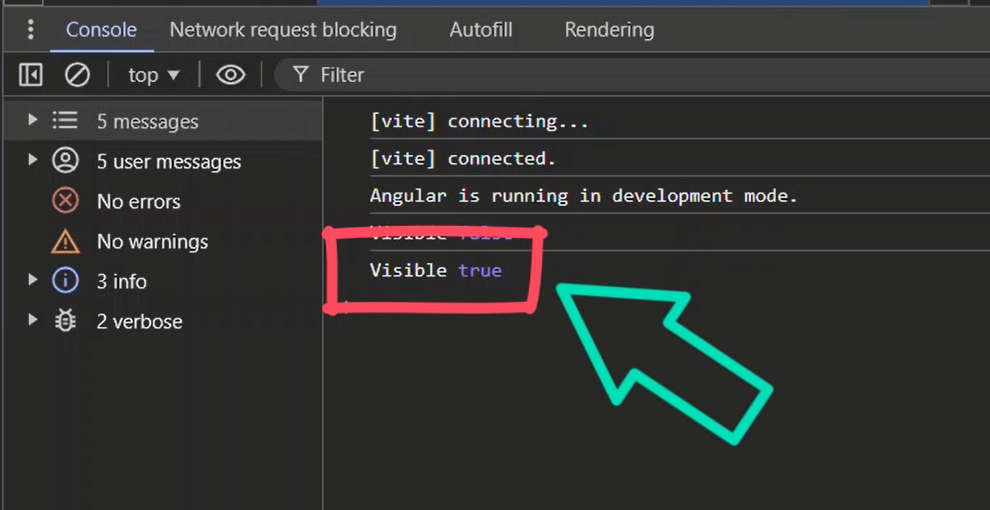
Ok, we can see that the value is true after we click it, and when we click it again, false is logged out.
So, an effect can come in handy when troubleshooting signals.
Using the Effect Function to Call a Service When a Signal Value Changes
An effect can also be used in situations where we simply need to react to the change of a signal. Like, when we need to call a service.
In this example, we want to call our modal service to open a modal when the signal value changes.
In our constructor, we’re already injecting our modal service.
photo-details.component.ts
import { inject } from '@angular/core';
import { ModalService } from "../../modal/modal.service";

export class PhotoDetailsComponent {
    ...
    private modal = inject(ModalService);
}
So, we can add an effect. Then, within the callback, if our “detailsVisible” signal changes to true, we can call the open method on our modal service. This method requires a CdkPortal instance which we already have access to with a viewChild. So, we just need to pass the portal as a parameter to our modal service open() method.
photo-details.component.ts
import { CdkPortal } from '@angular/cdk/portal';

export class PhotoDetailsComponent {
    protected modalContent = viewChild<CdkPortal>(CdkPortal);
    private modal = inject(ModalService);

    constructor() {
        if (this.detailsVisible()) {
            this.modal.open(this.modalContent()!);
        }
    }
}
This portal contains the content to be displayed in the modal for the given image.
So, now let’s save and click the details button to see how it looks.

Now the modal opens up with the info for this image when the button is clicked and the signal is changed.
So, that’s another handy use case for an effect, calling a service when a signal value changes.
Using the Effect Function to Execute Timer-Based Logic After a Signal Value Changes
Another useful scenario is to execute timer-based logic when a signal value changes.
So, let’s say we want the modal to open when the component is initialized, and then automatically close it after a certain time duration.
To do this, let’s add the ngAfterViewInit method. Then, within this method, let’s use our modal service to automatically open the modal on view init.
photo-details.component.ts
import { ..., AfterViewInit } from "@angular/core";

export class PhotoDetailsComponent {
    ...
    ngAfterViewInit() {
        this.modal.open(this.modalContent()!);
    }
}
Then, let’s add an effect within the constructor. Within this effect, let’s add a condition to check the value of our “image” input. Then let’s add a setTimeout function, and within this function, let’s call the close method on our modal service after five seconds.
photo-details.component.ts
export class PhotoDetailsComponent {
    ...
    private modal = inject(ModalService);

    constructor() {
        effect(() => {
            if (this.image()) {
                setTimeout(() => this.modal.close(), 5000);
            }
        });
    }
}
So, now it should open the modal when the component is initialized, the modal should remain open for five seconds, and then it should automatically close.
So, let’s save and see how it looks.

We can see the modal opened and then closed automatically after five seconds.
So, this code triggers the component to initialize which causes the modal to open up. It also triggers the effect to run because the “image” input value changed which starts the five second timer. Then once that timer completes, the close method is called, and the modal is closed.
So, this is another handy use for the effect function.
Updating a Form Control Value with the Effect Function
Now, just to give you another idea of a use case for the effect function, let’s look at an example where we set the value of a form control when the value of a signal input changes.
In this example, we’ll be working with our description form component. This component has a “description” Form Control for the description textarea.
description-form.component.ts
import { FormControl, FormsModule, ReactiveFormsModule } from '@angular/forms';

export class DescriptionFormComponent {
    protected description = new FormControl<string>('');
}
This component also has an input for the “imageDescription” value.
description-form.component.ts
import { ..., input } from "@angular/core";

export class DescriptionFormComponent {
    imageDescription = input<string | null>();
}
What we want to do is, when this input value changes, we want to set the value of the form control to the value of this input.
So, let’s add a constructor and an effect. Within this effect, let’s call the setValue() function on our description form control and pass it the value of our “imageDescription” input.
description-form.component.ts
export class DescriptionFormComponent {
    ...
    constructor() {
        effect(() => {
            this.description.setValue(this.imageDescription()!);
        });
    }
}
Ok, that should do it. Let’s save and see how it works.

Now we have the description value automatically set within the textarea. And as we switch to the different images, we can see that the description value changes as the image changes.
So just another possible use case for an effect.
In Conclusion
The bottom line is that you should avoid using an effect if you can. But if you run into a scenario where a computed signal won’t work, you should consider an effect. And the examples you’ve seen here are not an exhaustive list, just a few ideas that could possibly require an effect.
I hope you found this tutorial helpful, and if you did, check out my YouTube channel for more tutorials about various topics and features within Angular.
Additional Resources
Want to See It in Action?
Check out the demo code and examples of these techniques in the Stackblitz example below. If you have any questions or thoughts, don’t hesitate to leave a comment.


