Create a Basic Flip Animation
There are certain animations that are commonly found in a lot of different applications. They are common because people are used to the way they feel, and they are good at conveying interactions and the meaning behind them. One of these types of animations is a flip animation where you have some content and then, through some sort of interaction, it needs to flip over and reveal the content from the opposite side. We’ll this is what we’re going to create in this example.
Enabling Animations in Your Application
Before we can create and add our flip animation, we need to include the animations module in our application. In order to do this, we need to add the “providers” array to our bootstrapApplication function. Then, we need to include the provideAnimations() function within this array.
main.ts
import { provideAnimations } from '@angular/platform-browser/animations';

bootstrapApplication(App, {
  providers: [
    provideAnimations()
  ]
});
Ok, now we can add animations.
Create and Add a Flip Animation
For this example, I’ve already created a basic animation component to get us started. If we look at the code for this component, we can see that there’s not too much to it.
animation.component.ts
import { Component, signal } from "@angular/core";

@Component({
    selector: 'app-animation',
    standalone: true,
    templateUrl: './animation.component.html',
    styleUrl: './animation.component.scss'
})
export class AnimationComponent {
    protected flipped = signal(false);
}
All we have is a “flipped” signal which is what we’ll use to trigger the flip animation.
If we look at the template, we can see that it too is pretty simple.
animation.component.html
<div class="container">
    <div class="box">Side A</div>
    <div class="box">Side B</div>
</div>
<button (click)="flipped.set(!flipped())">
    {{ flipped() ? 'Flip Back' : 'Flip' }}
</button>
We have a “container” div which is where we will apply our animation. This is the element that will be flipped.
<div class="container">
    ...
</div>
Within this container, we have the div for “Side A”, which is the element that we want to see before we flip it.
<div class="box">Side A</div>
Then, we have the div for “Side B” which we want to see after we flip it.
<div class="box">Side B</div>
Now the reason that we see “Side B” right now is because it’s stacked on top of “Side A” currently since it comes afterwards in the mark-up.
Then, under the container, we have the button that is used to toggle the “flipped” property when clicked.
<button (click)="flipped.set(!flipped())">
    {{ flipped() ? 'Flip Back' : 'Flip' }}
</button>
Ok, so that’s what we’re starting from, now let’s add the animation.
Creating the Basic Flip Animation
Ok, to add animations, we need to use the animations array in the component metadata.
animation.component.ts
@Component({
    selector: 'app-animation',
    ...
    animations: [
    ]
})
Within this array, we need to add a trigger() function from the animations module. Then we need to give this trigger a name, let’s call it “flip”.
animation.component.ts
import { trigger } from '@angular/animations';

animations: [
    trigger('flip', [
    ])
]
Now, for this animation, we aren’t going to be able to do everything with Angular animations alone. We’re going to need to add a little bit off CSS too.
What we are going to handle with Angular animations is the flipping between false and true states based on our “flipped” property. So, we can add the first state with the state() function from the animations module.
Then we need to provide the state as a string to this function. We’ll start with the default state, when our flipped property value is false. So, we need to add “false” as a string for this default state.
animation.component.ts
import { ..., state } from '@angular/animations';

animations: [
    trigger('flip', [
        state('false')
    ])
]
Now, we need to provide a style object for this state using the style() function from the animations module. We’ll be using the transform property to flip this container. So, for our default state we can just set our transform property to “none”.
animation.component.ts
import { ..., style } from '@angular/animations';

animations: [
    trigger('flip', [
        state('false', style({ transform: 'none' }))
    ])
]
Ok, that’s it
Now we need to add another state for our “true”, flipped state. Then, we need to add the style object for the style we want to animate to. For this, we want to rotate the container element halfway around the y-axis. So, we’ll use the transform property and then we’ll use the rotateY() function, and we’ll rotate one hundred and eighty degrees.
animation.component.ts
animations: [
    trigger('flip', [
        state('false', style({ transform: 'none' })),
        state('true', style({ transform: 'rotateY(180deg)' }))
    ])
]
Ok, now we have both states.
Next, we need to set up a transition between these two states. For this, we can use the transition() function from the animations module.
For this function we need to provide an expression for the states to transition between. In this case we’ll animate from the false state to true.
animation.component.ts
import { ..., transition } from '@angular/animations';

animations: [
    trigger('flip', [
        ...
        transition('false <=> true')
    ])
]
The way that we ensure this transition will run both when switching from “false” to “true” and “true” to “false” is with the arrow “<=>” pointing both directions between the “false” and “true” values.
Ok, now to finish this off, we need to add the animate() function from the animations module. This is where we can provide the duration and optionally, an easing function. Let’s go with a duration of point eight seconds and then let’s go with ease-in-out to give the animation some easing.
animation.component.ts
animations: [
    trigger('flip', [
        ...
        transition('false <=> true', animate('0.8s ease-in-out'))
    ])
]
Ok, that’s everything we will be adding as far as Angular animations go. So, let’s go ahead and wire this up in the template now.
Binding the Animation in the Component Template
To bind this animation to the value of our signal, we wrap the trigger in square brackets, and then we just need to add our “flipped” property.
animation.component.html
<div [@flip]="flipped()" class="container">
    ...
</div>
So, when “flipped” is false we will be in our default “false” state, then when it switches to true, we’ll transition to our flipped, “true” state.
Ok, now we have the flipping part of the animation set up but remember, I mentioned that we need to add some CSS.
Adding Basic CSS Needed for the Animation
Well, first we need to stack “Side A” on top of “Side B”. We can do this by adding a z-index to the “Side A” div.
animation.component.scss
.box {

    &:first-child {
        z-index: 1;
    }

}
Ok, now we need to flip the “Side B” div one hundred and eighty degrees so that when we flip the container, it will be facing in the correct direction.
animation.component.scss
.box {

    &:last-child {
        transform: rotateY(180deg);
    }

}
Also, we need to set backface-visibility to “hidden” on our container.
animation.component.scss
.container {
    backface-visibility: hidden;
}
This prevents the back of the flipped element from showing when facing the opposite direction.
Ok, let’s give it a try.
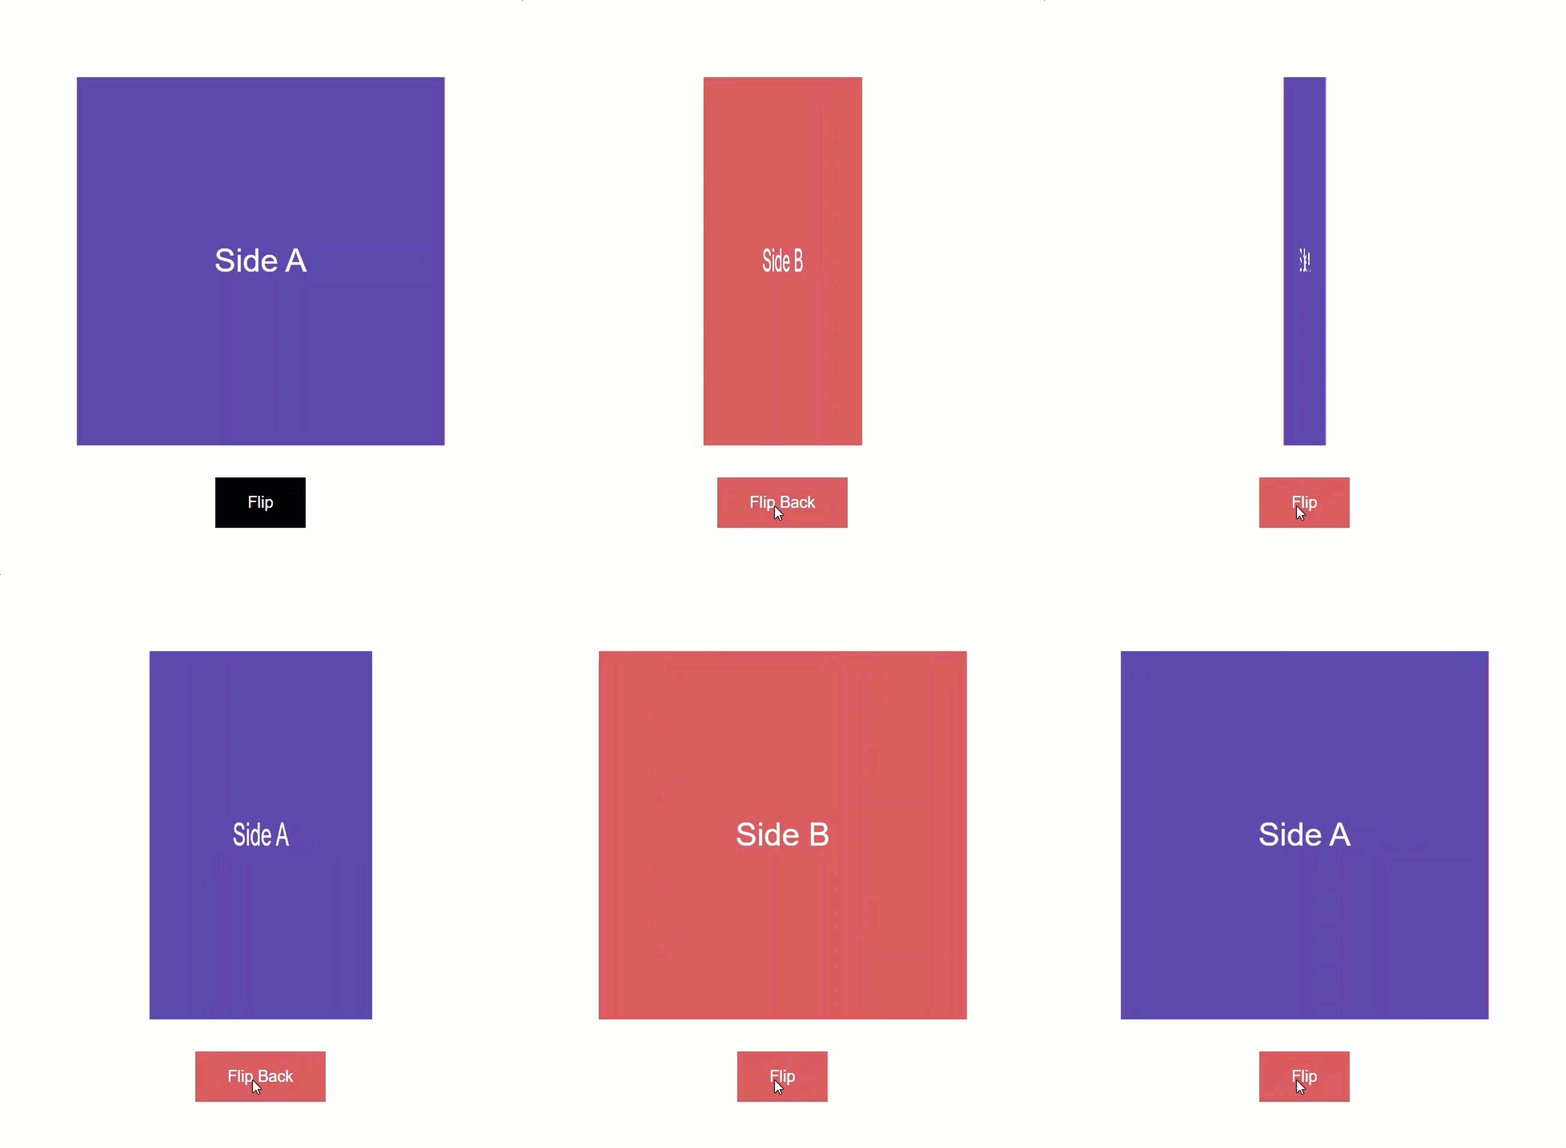
Now when we click the button, we can see that it flips back and forth. But, it doesn’t look great does it? It really looks more like it’s simply shrinking and growing. Well, this is because we need to add some 3D effects to these elements.
The first thing we need to do is add the perspective property to the element containing the animated container. In this case, that’s our host element. Let’s go with a value of one thousand pixels.
animation.component.scss
:host {
    perspective: 1000px;
}
This property will provide depth to the animation.
Next, we need to add a transform-style to the container with a value of preserve-3d.
Ok, now let’s try it again.
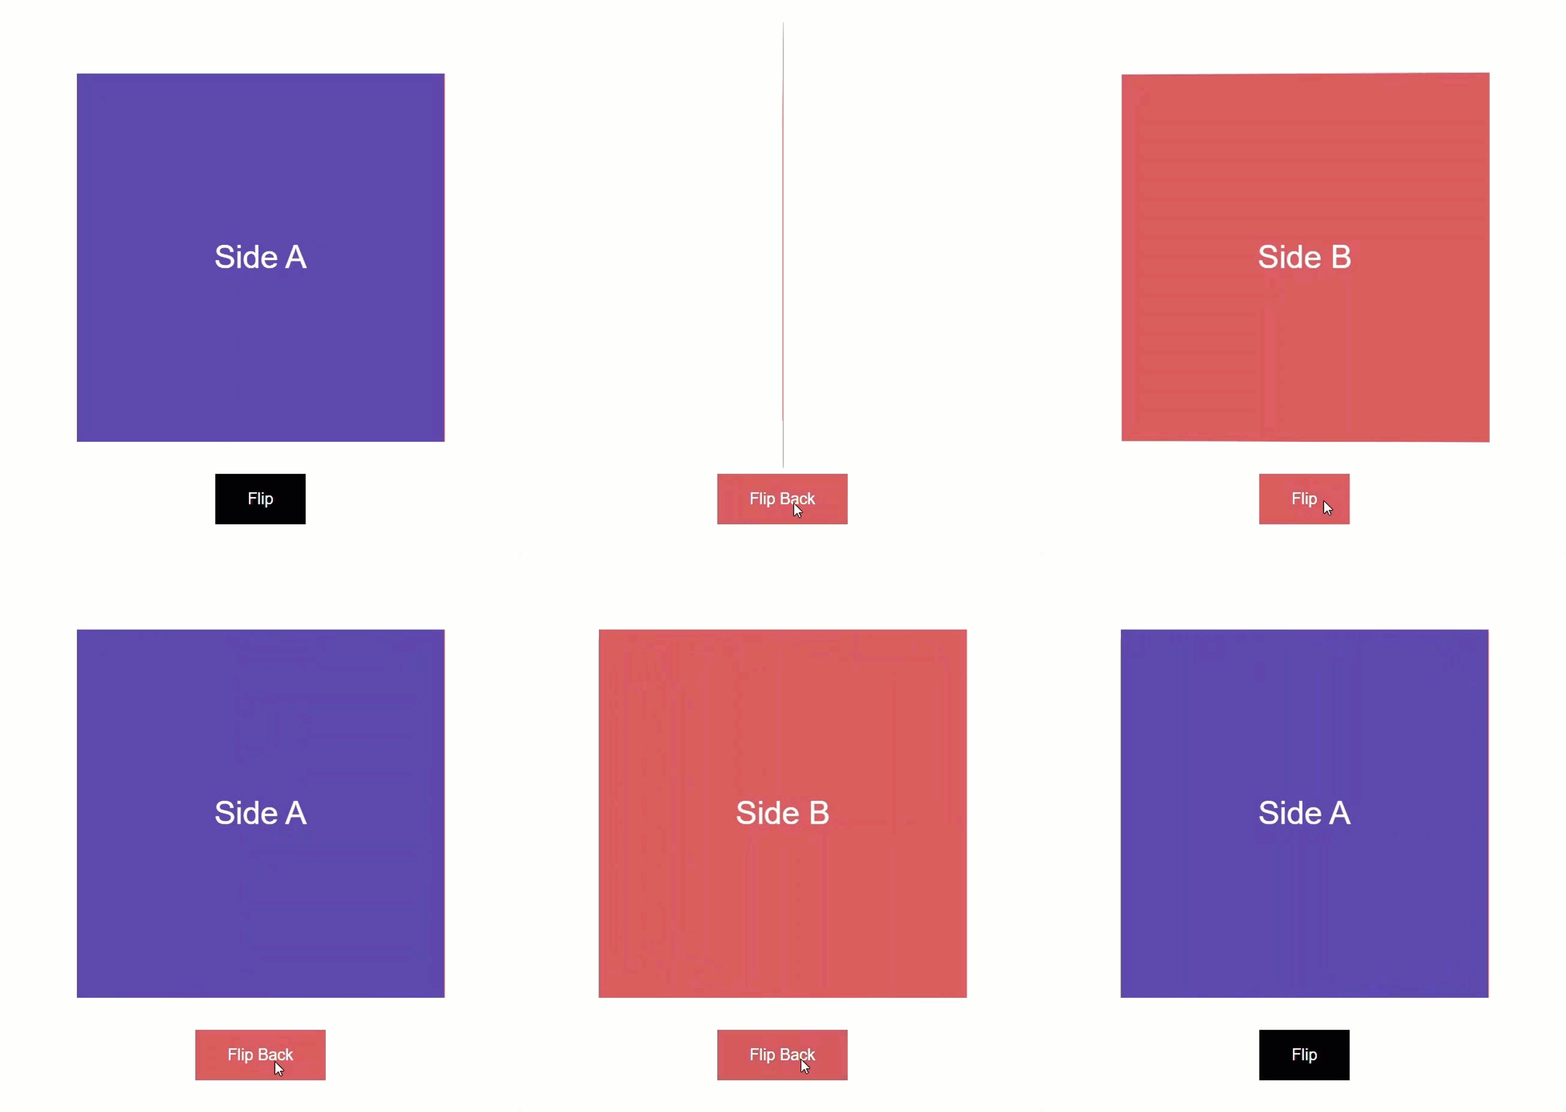
There, that’s much better. It has a much nicer 3D effect now.
Switching the Flip Animation Direction
Now, what if we want to flip the card the other way, like if we want it to flip to the left instead of to the right? We’ll this is really easy, we just need to animate to negative one hundred and eighty degrees instead.
animation.component.ts
animations: [
    trigger('flip', [
        state('true', style({ transform: 'rotateY(-180deg)' }))
    ])
]
There, now let’s save and try this out.
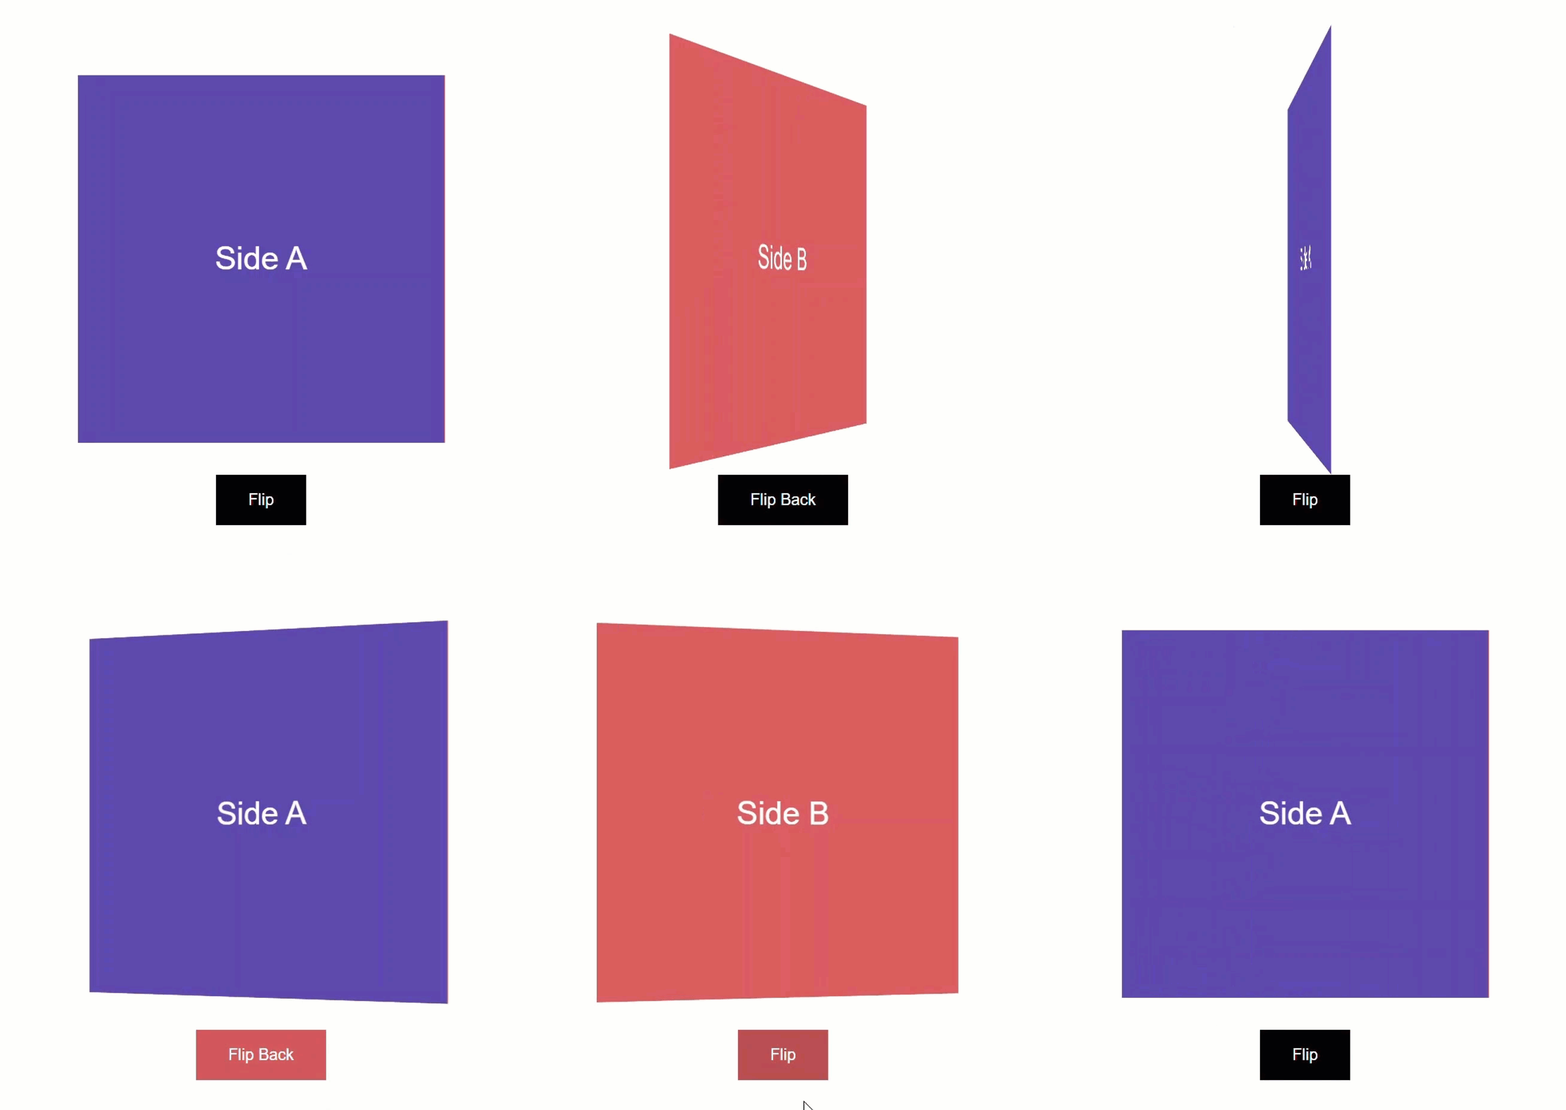
So, it’s subtle, but now it’s flipping the opposite direction.
And what if we want to flip in a vertical direction instead of horizontal? Well, this is easy too. We just need to switch to rotate on the x-axis instead with the rotateX() function.
animation.component.ts
animations: [
    trigger('flip', [
        state('true', style({ transform: 'rotateX(180deg)' }))
    ])
]
And we’ll need to change our CSS value to rotateX() too.
animation.component.scss
.box {

    &:last-child {
        transform: rotateX(180deg);
    }

}
Ok, now let’s try again.
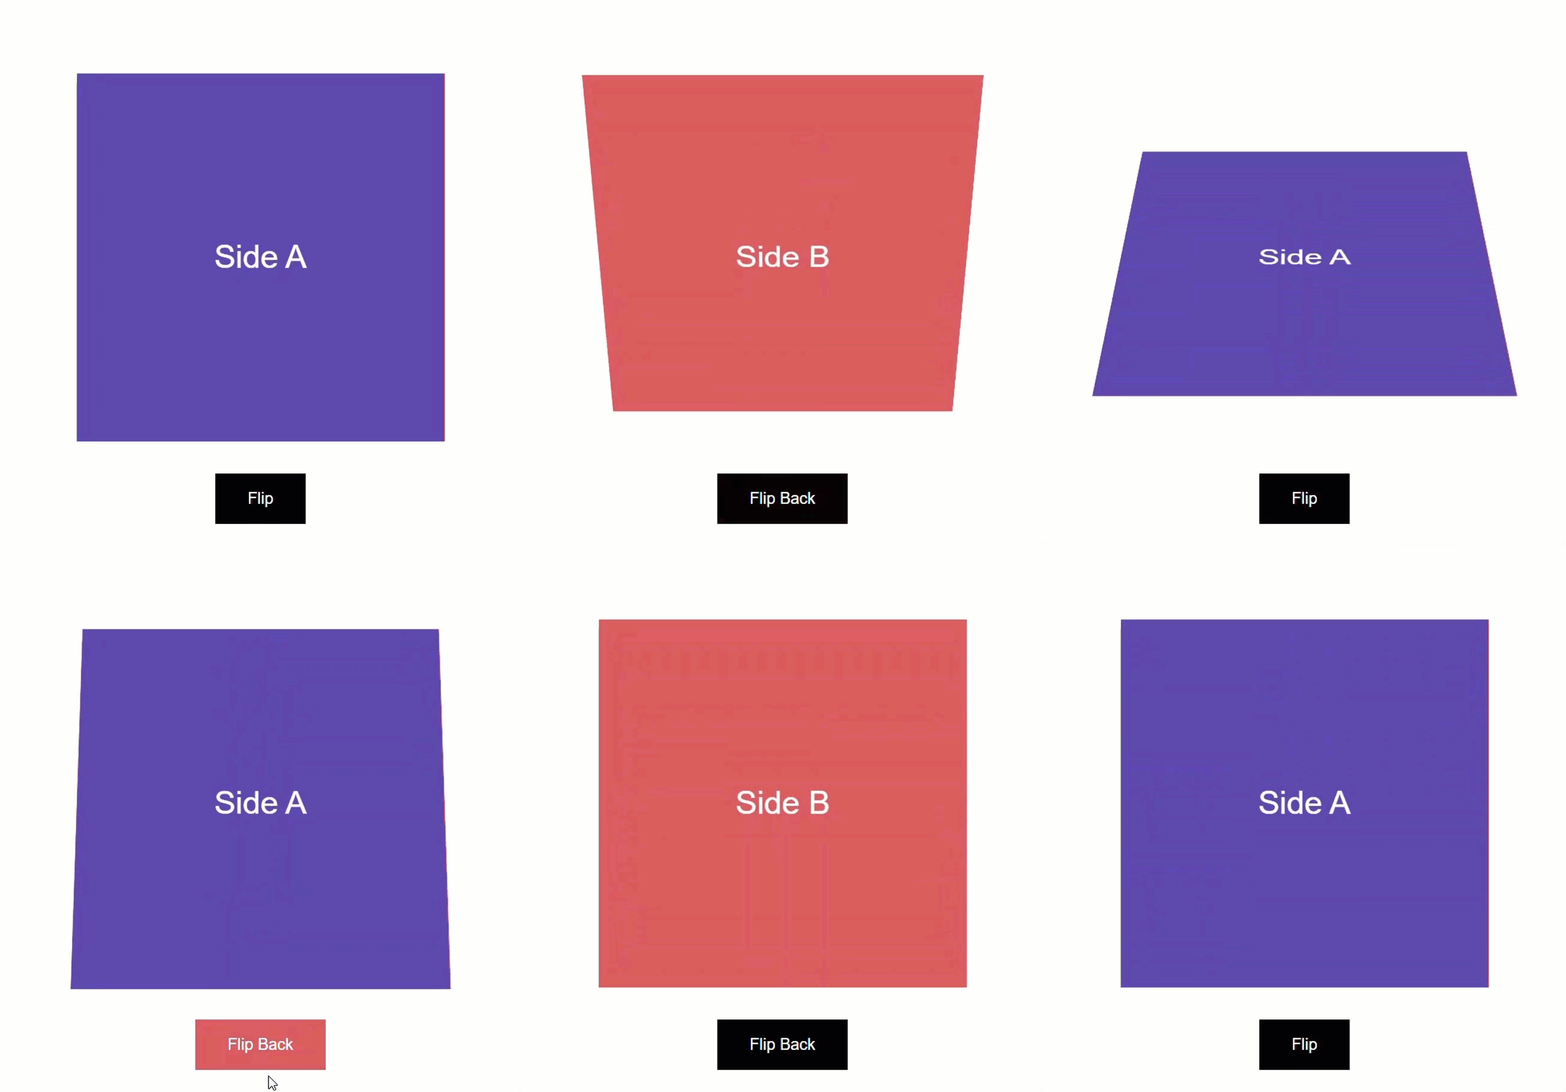
Nice, now it’s flipping in a vertical direction.
So now you have everything you need to create a basic flipping animation.
But you don’t really need to do all of this if you don’t want to.
Installing and Using the Bootjack Bounce Animation Library
I’ve been in the process of creating a collection of commonly used UI animations and have been putting them into an installable Angular library called ngx-bootjack-bounce.
The idea is that you’ll be able to reach for the animations in this library rather than create them from scratch over and over again.
So instead, you can install and use it if you want.
Now at the moment, I only have a slide animation and a flip animation in it, but hopefully by the time you’re watching this video, there’s more available.
To use this library, you can install it in your angular app using this command.
npm i ngx-bootjack-bounce
Now, let’s look at how to use it.
Adding the Animation from the Library
Now, I have installed the library in this project so I’m ready to use the animations within it.
To add the same flip animation we just built in the first half of this video, we can add the btjFlipHorizontal() animation function instead of the existing animation.
animation.component.ts
import { btjFlipHorizontal } from 'ngx-bootjack-bounce';

@Component({
    selector: 'app-animation',
    ...
    animations: [
        btjFlipHorizontal()
    ]
})
Then we just need to go into the template where we can swap out the “flip” trigger with the “btjFlipHorizontal” trigger instead.
animation.component.html
<div [@btjFlipHorizontal]="flipped()" class="container">
    ...
</div>
Now, we can go into the SCSS and we can actually include the styles from the library.
animation.component.scss
@use 'ngx-bootjack-bounce/styles';
Then we can remove the perspective, the transform-style, the backface-visibility, the z-index, the transform, and even the grid from the container.
All of these styles are included in the styles from the library so they can all be removed.
Ok, now let’s save and see how it works.

Nice, it’s working like we’d expect. So that’s definitely easier.
Switching the Flip Animation Direction
We can even flip directions with this animation pretty easily too.
To do this, we can add the BtjFlipDirection enum from the library and we can use the “Reverse” value.
animation.component.ts
import { ..., BtjFlipDirection } from 'ngx-bootjack-bounce';

@Component({
    selector: 'app-animation',
    ...
    animations: [
        btjFlipHorizontal(BtjFlipDirection.Reverse)
    ]
})
Ok, now let’s save and try it again.

Nice, now it’s flipping the opposite direction.
We can also flip the animation in the vertical direction too.
To do this, we just need to switch to the btjFlipVertical animation function instead.
animation.component.ts
import { btjFlipVertical } from 'ngx-bootjack-bounce';

@Component({
    selector: 'app-animation',
    ...
    animations: [
        btjFlipVertical()
    ]
})
Then, we just need to switch the trigger name in the template.
animation.component.html
<div [@btjFlipVertical]="flipped()" class="container">
    ...
</div>
Ok, let’s save and see how this works.

Nice, now it flips vertically.
Customizing the Animation Duration with Params
And, if we want to slow the animation down or speed it up, we can provide a custom duration with animation params.
To do this, we’ll need to switch the animation binding to an object. Then we’ll pass a “value” to this object based on our “flipped” signal. This will trigger the appropriate state for the animation when the value changes.
Next, we can add the “params” object where we can set our duration param. Let’s switch to five seconds to really slow it down.
animation.component.html
<div [@btjFlipVertical]="{
        value: flipped(),
        params: {
            duration: '5s'
        }
    }"
    class="container">
    ...
</div>
And there we go, now it rotates really slow.
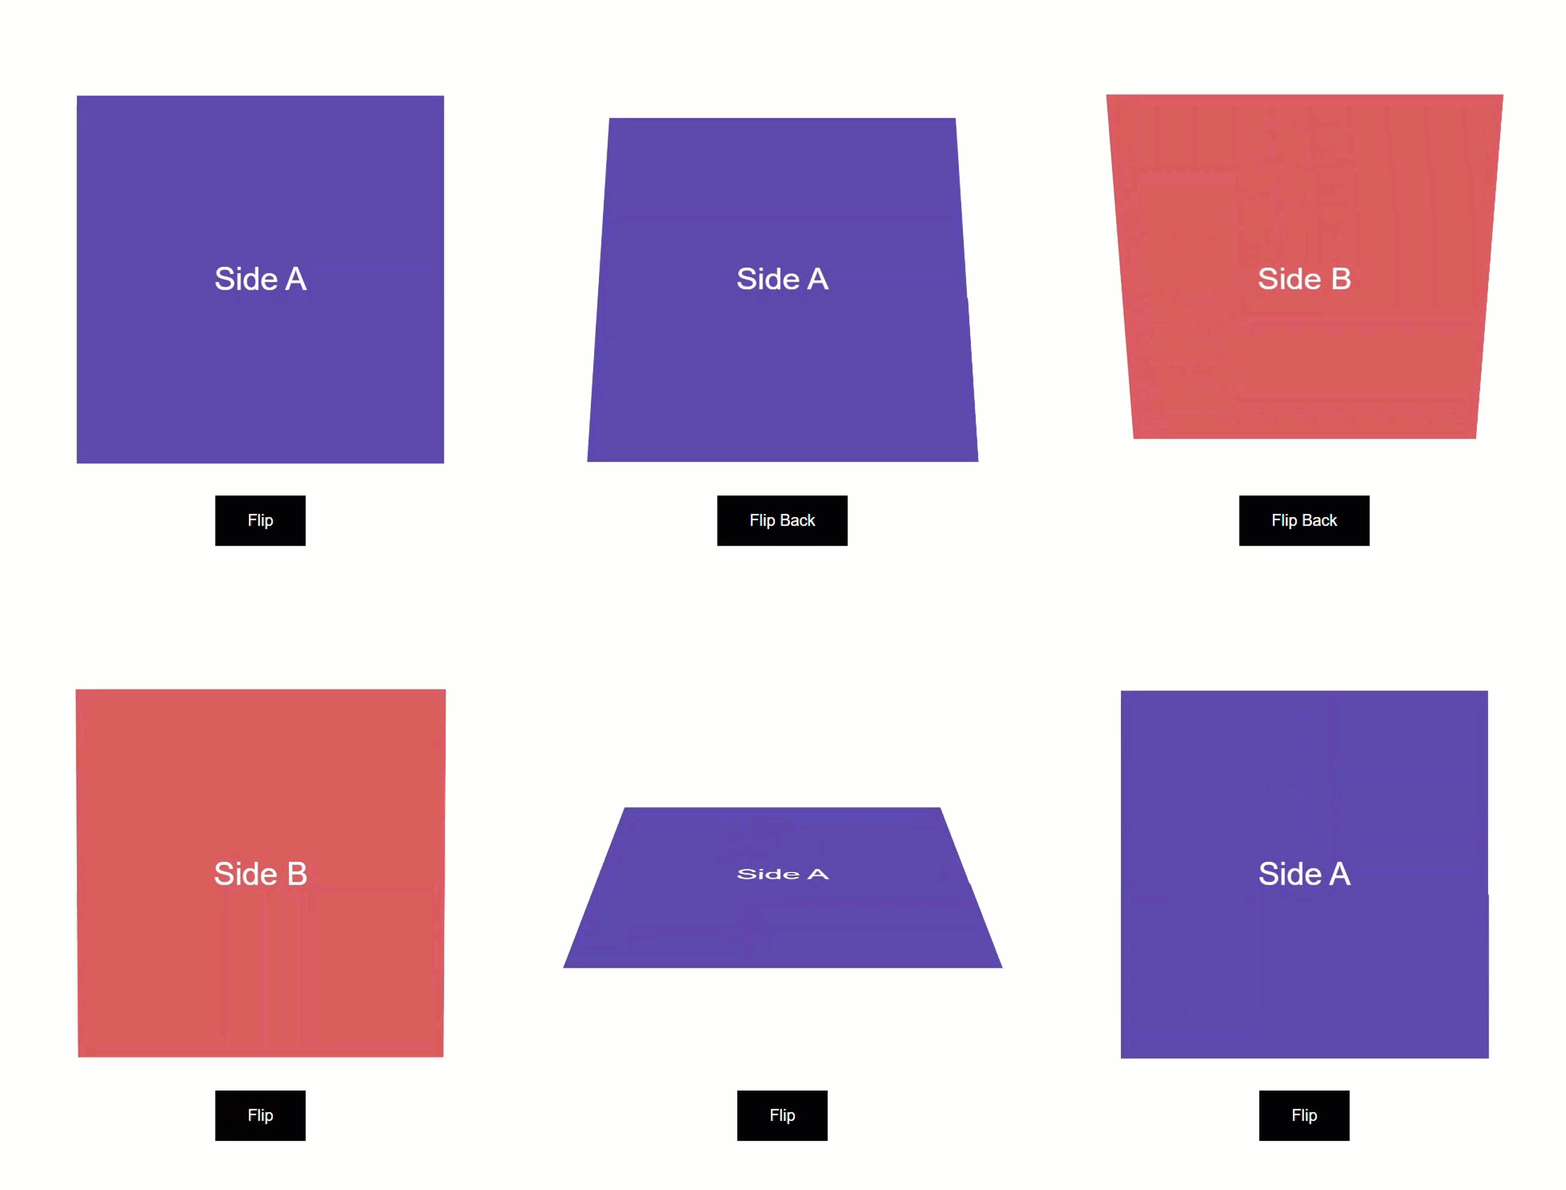
Pretty cool right?
This library just makes it a little easier than creating all that yourself, and also makes it so you don’t need to create the same animations over and over again.
In Conclusion
Ok, so now you should have a pretty good idea on how to create a basic flip animation in Angular. Realistically, it’s pretty easy right?
But if you don’t want to create one and maintain it in your project, feel free to use my library.
I hope you found this tutorial helpful, and if you did, check out my YouTube channel for more tutorials about various topics and features within Angular.
Additional Resources
- The demo BEFORE animations
- The demo AFTER animations
- The demo using the Bootjack Bounce library
- My Angular Animations YouTube Playlist
- Introduction to Angular animations
- Bootjack Bounce Animation Library
Want to See It in Action?
Check out the demo code and examples of these techniques in the Stackblitz example below. If you have any questions or thoughts, don’t hesitate to leave a comment.