Still Using ControlValueAccessor? It Might Be Overkill 🤷
ControlValueAccessor requires multiple interface methods, providers, and boilerplate code, making simple custom form controls unnecessarily complex. Modern Angular provides simpler alternatives using signal inputs and direct FormControl bindings, eliminating the need for ControlValueAccessor in many cases. This tutorial demonstrates how to build custom form controls without ControlValueAccessor, reducing code complexity while maintaining full form integration and validation support.
Demo: How the Angular Rating Form Works Before Refactoring
Let’s start by looking at the current app setup.
We’ve got a basic profile form with two fields: a “name” input and a custom star rating component.
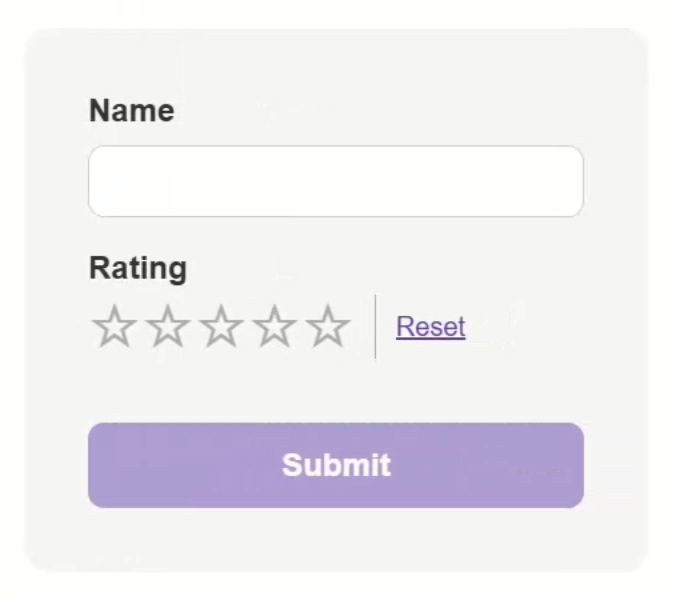
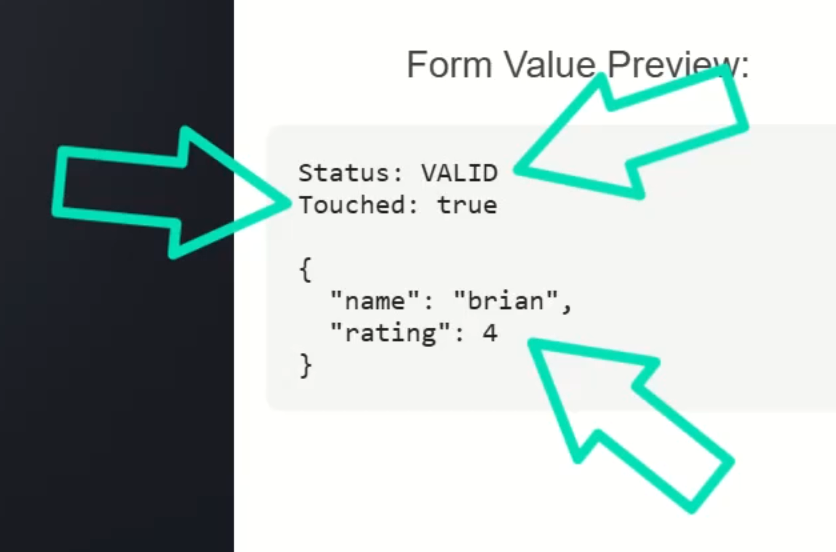
As you interact with the form, typing in a name or selecting a rating, the form state updates in real-time within the view, including the touched status and form value.
Everything works fine… but we’re about to make it a lot simpler.
Exploring the Reactive Form Setup in Angular
In the profile form component, we have a standard reactive form setup.
The FormGroup has two controls: a required “name” control and a “rating” control that starts at negative one with a minimum validator of zero to ensure a value is selected:
protected form = new FormGroup({
    name: new FormControl('', {
        validators: Validators.required,
        nonNullable: true
    }),
    rating: new FormControl(-1, {
        validators: Validators.min(0),
        nonNullable: true
    }),
});
We also have a “resetRating()” method that resets the control and updates its validation status:
protected resetRating() {
    const control = this.form.controls.rating;
    control.reset();
    control.updateValueAndValidity();
}
Now let’s look at the template.
The custom rating stars component uses formControlName, which means it had to implement ControlValueAccessor behind the scenes to make this function as an Angular form control:
<app-rating-stars
    formControlName="rating"
    (reset)="resetRating()">
</app-rating-stars>
That’s where the complexity begins.
Inside the Custom Rating Component: No Native Input Required
Looking at the rating stars component template, you’ll notice it doesn’t use any native <input> or other form elements, it’s all custom markup:
<div class="stars">
    @for (star of stars; let i = $index; track i) {
        <span
            (click)="rate(star)"
            [class.filled]="star <= value">
            {{ star <= value ? '★' : '☆' }}
        </span>
    }
    <button (click)="resetRating()">Reset</button>
</div>
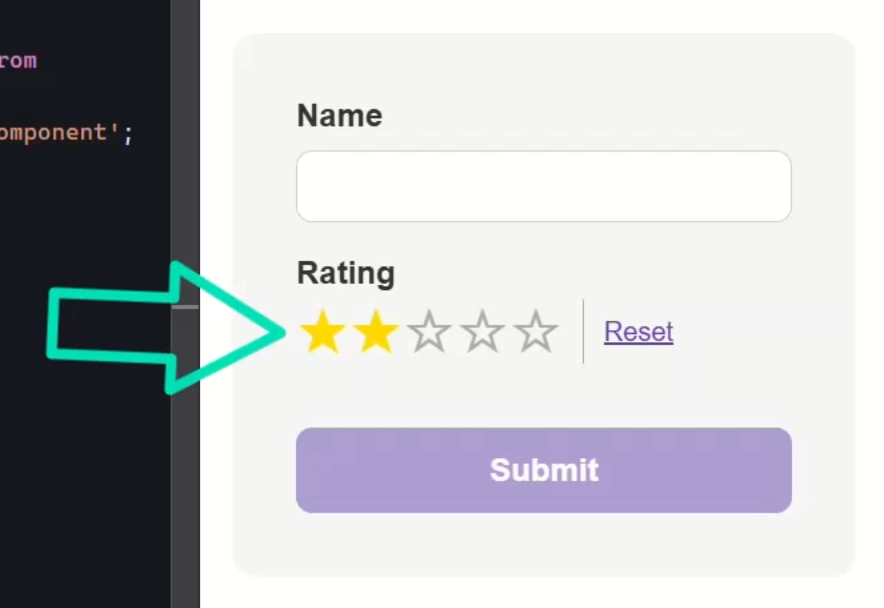
Clicking a star triggers the “rate()” function and the current rating is tracked using a “value” property.
So even though this is a custom UI, we’re essentially pretending it behaves like a native <input>.
That’s why we had to implement ControlValueAccessor.
Why ControlValueAccessor Can Be Overkill for Simple Angular Components
Let’s switch to the TypeScript for this component to see how.
First, we can see the providers array where we’re registering NG_VALUE_ACCESSOR:
import { ..., NG_VALUE_ACCESSOR } from '@angular/forms';

@Component({
    selector: 'app-rating-stars',
    ...,
    providers: [{
        provide: NG_VALUE_ACCESSOR,
        useExisting: forwardRef(() => RatingStarsComponent),
        multi: true,
    }]
})
We’re also implementing the ControlValueAccessor interface:
import { ..., ControlValueAccessor } from '@angular/forms';

export class RatingStarsComponent implements ControlValueAccessor {
    ...
}
Implementing ControlValueAccessor means we need to define multiple required methods, maintain internal state with a “value” property, and register “onChange()” and “onTouched()” callbacks:
protected value = -1;

writeValue(value: any): void {
    this.value = value || -1;
}

registerOnChange(fn: any): void {
    this.onChange = fn;
}

registerOnTouched(fn: any): void {
    this.onTouched = fn;
}

private onChange: (value: number) => void = () => {};
private onTouched: () => void = () => {};
For a control that just returns a number, that’s a lot of boilerplate.
Step-by-Step Guide: Replace ControlValueAccessor with Angular Signal Inputs
Let’s refactor it.
First, we remove the providers and the ControlValueAccessor interface, along with all the associated methods.
We can also remove the old “value” property and “reset” output.
Instead, we’ll add a new signal input called “control”, which gives us direct access to the parent FormControl:
control = input.required<FormControl<number>>();
Now we need to change the way the “rate()” function works.
We’ll use this new “control” input to set the value with the “setValue()” method, we’ll also mark it as “dirty” and “touched”:
protected rate(star: number) {
    this.control.setValue(star);
    this.control.markAsDirty();
    this.control.markAsTouched();
}
We also need to update the “resetRating()” function.
We need to reset the control and update its value and validity.
This ensures that, not only the control value is reset, but the form state is also updated:
protected resetRating() {
    this.control().reset();
    this.control().updateValueAndValidity();
}
The result? A much leaner component that no longer tracks internal state, it reacts entirely based on the passed-in control now.
Back in the parent profile form component, we remove formControlName and the “(resetRating)” output.
Instead, we pass the control directly to the component using the new “control” input:
<app-rating-stars [control]="form.controls.rating"></app-rating-stars>
We can simplify the form logic further by removing the old “resetRating()” method as well.
Okay, let’s save and test it:
Nice, the form works just like before, but now it’s cleaner, and much easier to work with!
Setting an Initial Value
Now, let’s make sure that it works properly with an initial value too.
Let’s start with a value of two:
protected form = new FormGroup({
    ...,
    rating: new FormControl(2, {
        validators: Validators.min(0),
        nonNullable: true
    })
});
This simulates a scenario where a user has previously saved data:
Nice. When the form loads, the rating component reflects the correct value automatically, no extra work required.
Handling Disabled State
Now, we should also add support for disabling this control.
Let’s set it up so that it’s disabled out of the gate:
protected form = new FormGroup({
    ...,
    rating: new FormControl(
        {
            value: 0,
            disabled: true
        },
        {
            validators: Validators.min(0),
            nonNullable: true
        })
});
Now, back over in the rating stars component, we can check the disabled state and apply a class accordingly:
<span
      (click)="rate(star)"
      [class.disabled]="control().disabled">
      ...
</span>
Okay, now we just need to add some CSS for this state in our component styles:
.disabled {
    pointer-events: none;
    opacity: 0.4;
}
Now let’s save and see how it works:

Nice, with a bit of styling, the stars dim and become non-interactive.
Again, no special logic needed for change tracking.
Wrap-Up: When You Don’t Need ControlValueAccessor
Here’s the big takeaway: You don’t always need ControlValueAccessor to build custom form controls in Angular.
If you’re building something like a star rating, slider, or toggle that just talks to a form control, signal inputs and direct bindings can be a much simpler and more effective approach.
No providers. No interfaces. No boilerplate.
The result? Smaller components, cleaner code, and better maintainability.
If you found this helpful, don’t forget to subscribe and check out my other Angular tutorials for more tips and tricks!
Additional Resources
- The demo app BEFORE any changes
- The demo app AFTER making changes
- ControlValueAccessor (API Docs)
- FormControl (API Docs)
- Signals in Angular
- Reactive Forms (Guide)
- FormControlDirective (for
formControlName) - My course: “Styling Angular Applications”
Want to See It in Action?
Check out the demo code showcasing these techniques in the StackBlitz project below. If you have any questions or thoughts, don’t hesitate to leave a comment.


