Angular Deferred Loading with Animations: Performance and UX (v19+)
Loading content users never see wastes bandwidth and slows initial page loads, hurting performance metrics and user experience. Angular's deferred loading feature lets you load components only when they're needed, reducing initial bundle size and improving Core Web Vitals. This tutorial demonstrates how to combine deferred loading with animations, creating smooth transitions as components enter the viewport. Note: This uses Angular's deprecated animations module—modern alternatives are available.
Setting the Scene: Our Current Application
Here’s the Angular application that we’ll be using for this tutorial:

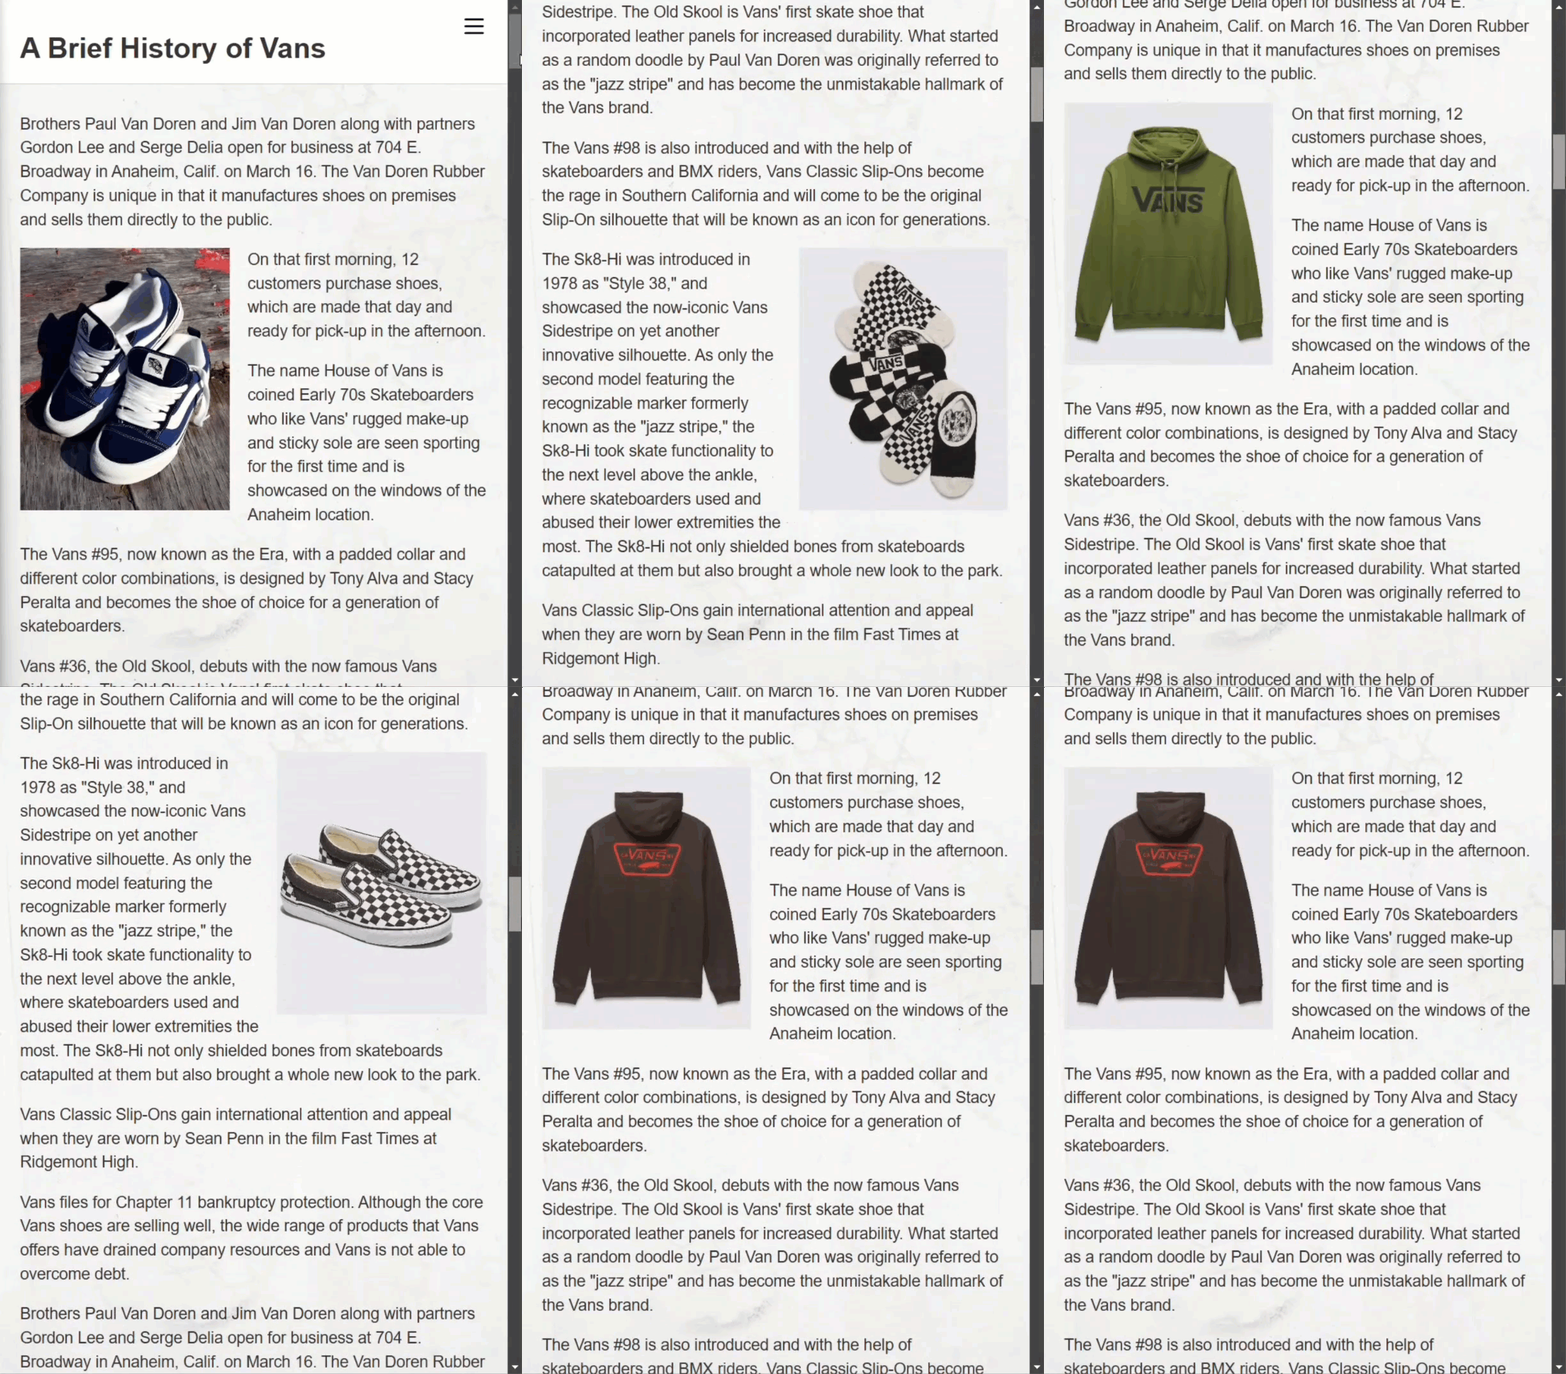
We have a bunch of content with several images mixed in.
The bummer is that this page is pretty long, and it has multiple product images throughout.
The user may come to this page, click a product link near the top, and never reach the images lower in the page.
But they still have to load all of the content, including the images, even though they never saw them.
Well we’re going to fix this with Angular’s new deferred loading concept.
And when we do, we’ll also enhance the user’s experience a little by adding a cool animation effect as they enter the view.
But, first we need to understand how it works currently though right?
Understanding the Current Implementation
In this tutorial, we have a page component that contains all of the content and images that we see.
Sprinkled throughout the content in this component, we see a product container component:
<p>
    ...
</p>
<app-product-container
    class="start"
    [product]="products[0]">
</app-product-container>
<p>
    ...
</p>
<app-product-container
    class="end"
    [product]="products[1]">
</app-product-container>
<p>
    ...
</p>
This is the component that loads the product images.
It’s a super simple component, it just includes another product component:
<app-product [product]="product()"></app-product>
It also includes the basic style to contain these image components and float them left or right:
:host {
    cursor: pointer;
    display: block;
    transition: scale 0.25s ease-in, filter 0.25s ease-in;

    &:hover {
        scale: 1.125;

        figcaption {
            opacity: 1;
        }
    }

}

figure {
    container-type: inline-size;
    margin: 0;
    position: relative;
}

figcaption {
    background: rgba(black, 0.35);
    color: white;
    font-size: 13cqi;
    font-weight: bold;
    inset: 0;
    opacity: 0;
    place-content: center;
    padding-inline: 12cqi;
    position: absolute;
    text-align: center;
    transition: opacity 0.25s ease-in;
    word-break: break-word;
}

.image {
    background-image: var(--backgroundImage);
    background-size: cover;
    background-position: center;
    width: 100%;
    height: auto;
    aspect-ratio: var(--aspectRatio);
}
And the product component is where we display the image and the title of the product:
<figure [style.--backgroundImage]="'url(../assets/' + product().id + '.webp)'">
    <div class="image"></div>
    <figcaption>{{ product().title }}</figcaption>
</figure>
Ok, so that’s how everything works right now.
Let’s add deferred loading to these components and then add the animations.
Optimizing Performance with Viewport-Based Component Loading
To defer the load of these components, we need to first wrap the product component, in our product container component template, in a @defer block:
@defer {
    <app-product [product]="product()"></app-product>
}
Then, we need to provide the trigger that will let Angular know when to load this component.
In this case, we’re concerned with when the items enter the viewport, so we can use on viewport:
@defer (on viewport) {
    <app-product [product]="product()"></app-product>
}
This trigger uses an intersection observer behind the scenes to monitor when the item enters the viewport.
The final piece that we need here is an element to monitor for this intersection observer.
By default, it uses @placeholder content, which will work fine in our case, so let’s add a div with a “placeholder” class:
@defer (on viewport) {
    <app-product [product]="product()"></app-product>
} @placeholder {
    <div class="placeholder"></div>
}
What we need this placeholder to do is take up the entire space that our product component will too so that we don’t see any content reflowing or shifting when switching between the placeholder and the deferred content.
So, in the CSS, let’s make sure this placeholder fills 100% of the height and width of the host container:
.placeholder {
    height: 100%;
    width: 100%;
}
That should be everything we need to properly defer this content, let’s save see how it works:

Everything looks the same right?
This means that everything is indeed deffered like we want.
It’s just all happening so fast that we can’t see the difference.
But this should be beneficial to users because they will no longer have to download all of the content for these components when the view is loaded initially.
Instead, they will now be loaded only when scrolled into the viewport.
Ok, now that we have these properly deferred, let’s add the animation.
Enhancing Deferred Loading with Angular Animations
We will add this animation in the product component itself.
We start by adding the “animations” property:
@Component({
    selector: 'app-product',
    ...,
    animations: [
    ]
})
Then we need to use the trigger() function from the Angular animations module.
This trigger requires a name, we’ll just call it “animation” in this case:
import { trigger } from '@angular/animations';

animations: [
    trigger('animation', [
    ])
]
Next, we need to add a transition with the transition() function from the same animations module.
Here, we want to animate this component when it enters the DOM, and with Angular animations, we can do this using a special “:enter” alias:
import { ..., transition } from '@angular/animations';

animations: [
    trigger('animation', [
        transition(':enter', [
        ])
    ])
]
Now we’re ready to add our animation.
For this, we’ll use the animate() function, also from the animations module.
When we use this function, we need to pass in a duration for the animation, let’s go with 1.25 seconds.
For the animation that I want to add, it’s going to have a few different stages, so we’ll use the keyframes() function from the animations module.
import { ..., animate, keyframes } from '@angular/animations';

animations: [
    trigger('animation', [
        transition(':enter', [
            animate('1.25s', keyframes([
            ])
        ])
    ])
]
Then, we’ll use the animation style() function.
We’ll start with a scale of 0.7, an opacity of 0.7 too, and we’ll translate -300% along the x-axis.
Also, for our keyframe animation, this will be the starting point so we need to add an offset of 0:
import { ..., style } from '@angular/animations';

keyframes([
    style({
        scale: 0.7,
        opacity: 0.7,
        translate: '-300% 0',
        offset: 0
    })
])
Ok, that’s what we’ll start with.
Now the first portion of this animation will be to animate in from the left, scaled down with a reduced opacity, so let’s add another style().
It will have the same scale and opacity, but this time we’ll translate to the original position.
This portion of the animation will take up 80% of the total animation duration so we’ll add an offset of 0.8:
keyframes([
    style({
        scale: 0.7,
        opacity: 0.7,
        translate: '-300% 0',
        offset: 0
    }),
    style({
        scale: 1,
        opacity: 1,
        translate: '0 0',
        offset: 0.8
    })
])
Ok, now we need one more style() for our final state.
This time it will be fully scaled up, fully opaque, not translated, and its offset will be 1:
keyframes([
    style({
        scale: 0.7,
        opacity: 0.7,
        translate: '-300% 0',
        offset: 0
    }),
    style({
        scale: 1,
        opacity: 1,
        translate: '0 0',
        offset: 0.8
    }),
    style({
        scale: 1,
        opacity: 1,
        translate: '0 0',
        offset: 1
    })
])
Ok, that should be everything that we need for the animation itself, now all that’s left is to add the trigger to the component host.
For this, we can use the host property.
We can bind our “animation” trigger with the “@” symbol and use an empty string for the value:
@Component({
    selector: 'app-product',
    ...,
    host: {
        '[@animation]': ''
    }
})
This will just ensure that the animation is properly added to the host and will run whenever the component is inserted in the DOM.
In our case this will happen when the @defer block fires and shows the deferred content.
Let’s save and see how it looks now:

Nice, now as we scroll down, each of these components animate as they enter the viewport.
Of course, this example is pretty simple.
I’m sure you could take it much further depending on how creative you are.
In Conclusion
So, that’s it!
We’ve successfully optimized our Angular app by using deferred loading to improve performance and added smooth animations to enhance the user experience.
This approach not only reduces unnecessary loading but also keeps your app feeling modern and engaging.
I hope this tutorial helps you level up your Angular skills.
If you found it useful, check out my other Angular tutorials for more tips and tricks!


