Event Listening in Angular: The Updated Playbook for 2025
Event handling in Angular has evolved significantly, with modern patterns replacing deprecated decorators and improving type safety. This updated tutorial demonstrates the latest event listening techniques in Angular, covering template event bindings, host event bindings, Renderer2 for global events, and the output() function for component communication. You'll learn when to use each approach and how to avoid deprecated patterns like @HostListener and @Output decorators.
Event Binding: Still The Everyday Tool
First up, we have basic event binding.
In my previous tutorial, I mentioned that this should basically be the default way to listen to events, and only if it doesn’t work would you need something else.
Well, this is still true even in modern Angular.
It can easily be added any time you need to react to a click, a focus, a blur, or any other event along those lines.
All you need to do is simply add parentheses with the event name inside.
In this case we are listening to focus, blur, and input events on this textbox.
When any of these events fire, we add a message to our messages array:
<input
    type="text"
    id="textbox"
    (focus)="messages.push('input focus')"
    (blur)="messages.push('input blur')"
    (input)="messages.push('input input')"
/>
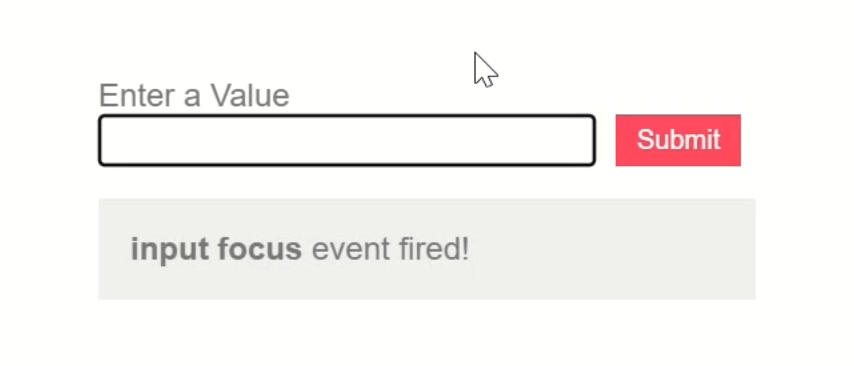
So, when we focus in the input, we see a message for the focus event:
When we blur, we get a message for that event too.

Then when we type in the textbox, the input event fires.
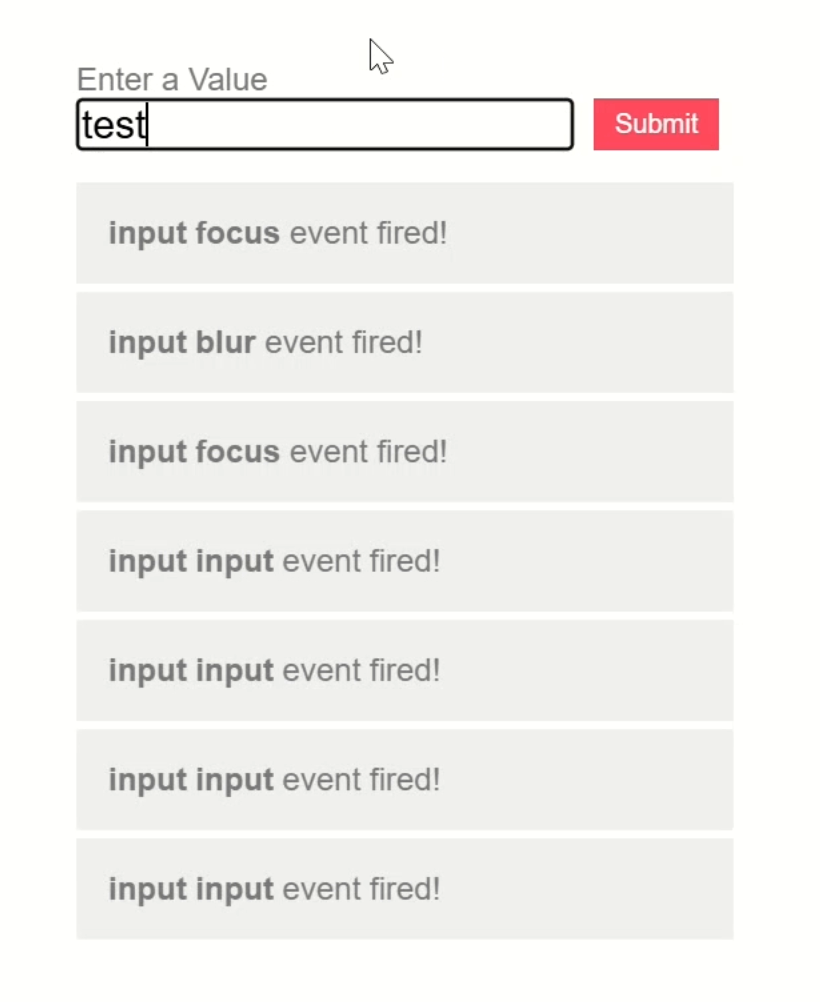
This type of event binding in Angular is simple and effective.
But, it won’t always work.
Host Event Binding: The Modern Angular Way
Sometimes you may find that you need to bind to events on the host element of a component or directive.
In my previous tutorial we had a custom host-listener directive:
import { Directive, EventEmitter, HostListener, Output } from '@angular/core';

@Directive({
    selector: '[appHostListener]',
})
export class HostListenerDirective {
    @Output() buttonClick = new EventEmitter<PointerEvent>();
    @HostListener('click', ['$event'])
    handleHostClick(event: PointerEvent) {
        event.preventDefault();
        this.buttonClick.emit();
    }
}
Now I’m not sure how realistic of an example this directive is because all it does is listen for a click event on the host and then emit that event.
It’s really basic, but in that tutorial, we used the @HostListener decorator to listen for those click events because that was the right way to do it at the time.
But now, the @HostListener decorator is no longer recommended for use.
Instead, we should use the host metadata property on the component or directive.
In this object, we bind to events just like we do in the template: we use parentheses with the event name.
Then we can just call our same function and pass it the event.
Then we can remove the decorator and its import:
import { Directive, output } from '@angular/core';

@Directive({
    selector: '[appHostListener]',
    host: {
        '(click)': 'handleHostClick($event)'
    }
})
export class HostListenerDirective {
    private handleHostClick(event: PointerEvent) {
        ...
    }
}
This is the modern way to listen to events on component or directive host elements.
In this example component we’re currently using this directive on the “submit” button:
<button
    appHostListener
    (buttonClick)="messages.push('button click')">
    Submit
</button>
When the click event from the host is emitted, we add a “button click” message:
So don’t use the @HostListener decorator anymore, this is the new way to do it.
Custom Events: Outputs (Updated)
Now, something else that we were doing in this directive was using the @Output decorator and an EventEmitter to emit this custom event:
import { ..., EventEmitter, Output } from '@angular/core';

export class HostListenerDirective {
    @Output() buttonClick = new EventEmitter<PointerEvent>();
    ...
    handleHostClick(event: PointerEvent) {
        ...
        this.buttonClick.emit();
    }
}
This is because @Output and EventEmitter were the standard for custom events, but now it’s all about the output() function.
So, we can just switch this to the new output() function and we can remove the EventEmitter because it’s no longer needed when using this new function:
buttonClick = output<PointerEvent>();
Other than that, it basically stays the same.
Just use the emit() function to send out the event. (We actually had this wrong in the original example!):
this.buttonClick.emit(event);
So, don’t use the old @Output decorator and EventEmitter anymore, use the new output() function instead.
Global Events: Renderer2 Listeners
Okay, now what about listening to global events?
Well, just like the previous tutorial, when we need to listen to global events in Angular, we can still use the Renderer2 class and its listen() method like we’re doing here:
ngOnInit() {
    this.bodyClickListener = this.renderer.listen(
        document.body,
        'click',
        (event) => {
            this.messages.push('body click');
        }
    );
}
The idea here is to use the Renderer2 listen() method, passing in the element you want to listen on, in this case, the body.
Then we pass the event that we want to monitor, in this case it’s click events on the body.
When listening to events like this, though, we have to handle the cleanup manually to prevent performance issues, which is what we’re doing here in the ngOnDestroy lifecycle hook:
ngOnDestroy() {
    this.bodyClickListener?.();
}
So now, if we save, whenever we click anywhere in the body, an event fires:
This is more of a rare situation in Angular and really should be used as a last resort when nothing else will work.
Bonus: The model() Input Pattern
Ok, now we have the new kid on the block… model() inputs.
Think of this as two-way binding for the modern Angular era.
To add this concept, we’ll add a “value” property using the new model() function, and it’ll be typed as a string:
import { ..., model } from '@angular/core';

@Component({
    selector: 'app-example',
    ...
})
export class ExampleComponent implements OnInit, OnDestroy {
    value = model<string>();
    ...
}
Now, let’s jump to the template.
Here we’ll add a template reference variable to grab the current value, then we’ll wire up our input event to keep the model in sync:
<input
    type="text"
    ...
    #textbox
    (input)="
        messages.push('input input');
        value.set(textbox.value)"
/>
A model() input is like an input and an output in one, so it keeps the value in sync between the parent and child components.
So, if there was a value coming from the parent it would flow through like an input.
Then, when we change the value in the child, it gets emitted back up to the parent.
So, here we also need to bind the value of the textbox to the model as well:
<input
    ...
    [value]="value()"
/>
Now let’s switch to the root app component where this component is included.
The first thing we need to do is add a property, let’s call it “formValue”, and it will be a signal initialized to some default label:
import { ..., signal } from '@angular/core';

export class AppComponent {
    protected readonly formValue = signal('test');
}
Okay, now we can use the “banana in a box” syntax, that’s two-way binding, to bind to the value model() input:
<app-example [(value)]="formValue"></app-example>
It’s important to note that when using two-way binding like this, we don’t include the parentheses for the signal.
Now, there’s a slot in this component between the form and the list of events so here we’re going to output the value of this property so we can see how this works as we interact with the form:
<app-example [(value)]="formValue">
    <pre>Value: {{ formValue() }}</pre>
</app-example>
Let’s save and see how this looks:
Now, when the app is initialized, we can see that the value of this property is passed to the child just like a standard signal input.
But now, when we type in this field the value emits back to the parent and updates the property in the parent too.
So, just like that, you’ve got a value that flows smoothly between parent and child, updates reactively, and feels right at home in a modern Angular app.
Let’s Recap the Modern Angular Playbook
So now you’ve got five battle-tested ways to handle events in modern Angular.
Whether you like it simple, modern, or just a little fancy.
If you saw my original tutorial, now you’ve got the updated edition, complete with new syntax and a bonus modern approach.
Let’s recap:
-
Standard event binding: simple and works in most cases.
-
Host events now use the host property instead of the old decorator.
-
Custom events use the new output() function instead of the old decorator and EventEmitter.
-
Global events can still use Renderer2 but it should really be a last resort.
-
And then we have the new model() input, a modern two-way binding concept with signals.
If you found this helpful, don’t forget to subscribe and check out my other Angular tutorials for more tips and tricks!
Additional Resources
- The demo app BEFORE any changes
- The demo app AFTER making changes
- Angular: Adding event listeners
- Angular: Binding to the host element
- Model inputs
- Modern Inputs & Outputs in Angular
- Angular Renderer2 Documentation
- My course: “Angular: Styling Applications”
Want to See It in Action?
Want to experiment with the final version? Explore the full StackBlitz demo below. If you have any questions or thoughts, don’t hesitate to leave a comment.