Angular Page Titles: 3 Ways to Set Dynamic Titles
Static page titles hurt SEO rankings, confuse users with multiple tabs open, and violate accessibility guidelines. Angular provides multiple ways to set dynamic page titles, from simple route-based titles to complex dynamic titles that change based on component data. This tutorial demonstrates three approaches: using the Title service in components, setting titles in route configuration, and handling dynamic titles with route resolvers. You'll learn how to ensure every page has a unique, descriptive title.
The Demo App: Identifying the Issue
For this tutorial we’ll be using this simple Angular application:
It’s built using Angular Routing so as we navigate to different pages the view is updated properly with the content for the given route.
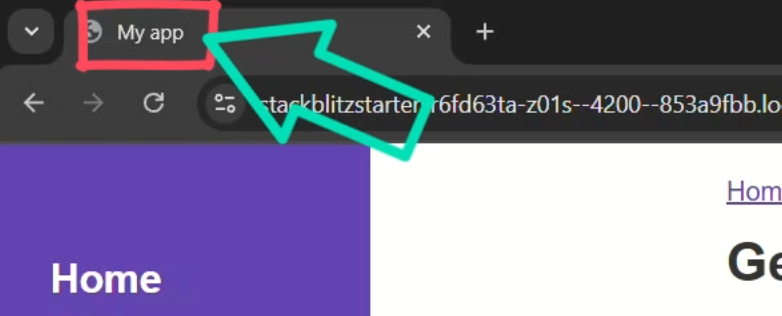
But, the problem is that the page title is not being properly updated as we navigate.
It just says “My app” no matter what page we navigate to:
In this tutorial, I’ll show you three ways to dynamically update page titles in Angular.
Method 1: Using the Title Service in a Component
First, let’s start with the basics.
Angular provides a built-in title service that we can use to set the page title dynamically.
Let’s use it to add the title to the “About” page.
To determine what component we are using for our “About” page, we can look in our route config file.
Here it is, this route maps to the About Component:
const routeConfig: Routes = [
  ...,
  {
    path: "about",
    component: AboutComponent,
  }
];
So, let’s open the code for this component.
Now, we need to inject the Title service using the inject() function.
Then, we can use the service to set the page title.
For this, we’ll use the setTitle() function from the service.
This function requires us to pass the title for this page as a string, so let’s add “About Us”:
import { inject } from '@angular/core';
import { Title } from '@angular/platform-browser';

export class AboutComponent {
  private titleService = inject(Title);

  constructor() {
    this.titleService.setTitle("About Us");
  }
}
Now, whenever this component loads, the page title should change to “About Us”.
Let’s save and see:
Okay, it’s still showing “My App” on the home page, but when we navigate to the “About” page now, it has the correct title.
So this is cool, right?
But we can make this better by setting the title dynamically when navigating between routes.
Method 2: Setting Titles Directly in the Route Config
Let’s start by removing everything that we just added in the About Component.
In a real-world app, you don’t want to hardcode your titles everywhere like this.
Instead, we’ll define them in our routes.
Let’s open back up the route config.
Now, it turns out that adding dynamic titles to routes is really easy.
We just need to add the “title” property to each route object where we pass the desired title as a string.
We’ll skip the title for the dynamic blog posts because we need to handle them differently:
const routeConfig: Routes = [
  {
    path: "",
    component: HomeComponent,
    title: "Welcome",
  },
  {
    path: "blog",
    component: BlogComponent,
    title: "Our Blog",
  },
  {
    path: "blog/post/:id",
    component: PostComponent,
  },
  {
    path: "about",
    component: AboutComponent,
    title: "About Us",
  },
  {
    path: "contact",
    component: ContactComponent,
    title: "Contact Us",
  },
  {
    path: "support",
    component: SupportComponent,
    title: "Get Support",
  },
];
Okay, that should be it, let’s save and see how it works now:

Nice, now we have titles for all of the pages.
Well, all pages except for the dynamic blog posts, right?
Method 3: Dynamic Titles with a Resolver
So what if your page title depends on dynamic route parameters, like these blog post titles?
Well, we can create a custom resolver.
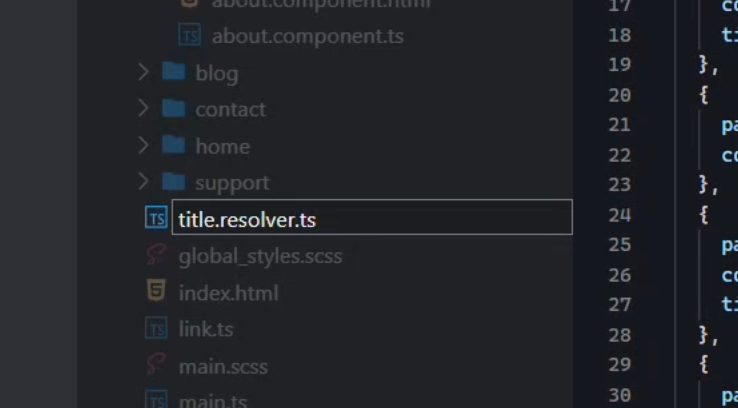
Let’s start by adding a title resolver file:
Okay, now let’s export a const named “titleResolver”.
This const will be typed as a ResolveFn which needs to be imported from the router module and it will return a string.
This function will have a “route” parameter.
Then, within this function we can simply return the value from the title route queryParam:
import { ResolveFn } from "@angular/router";

export const titleResolver: ResolveFn<string> = (route) => {
  return route.queryParams["title"];
};
Okay, that should be it.
Now, let’s switch back to the route config.
Then, let’s add the title property to the blog post route, and we can simply pass it the resolver function that we just created:
import { titleResolver } from './title.resolver';

const routeConfig: Routes = [
  ...,
  {
    path: 'blog/post/:id',
    component: PostComponent,
    title: titleResolver
  }
];
Okay, that should be everything we need so let’s save and see how it works:
Nice, now as we switch between the blog posts, the title is updated correctly.
Conclusion – Bringing It All Together
And that’s it! Now your Angular app’s page titles update automatically as users navigate.
You can use the Title service, the title property in your route config, or a resolver for dynamic titles.
No matter which way you do it, it improves SEO, user experience, and overall app polish!
If you found this helpful, don’t forget to subscribe and check out my other Angular tutorials for more tips and tricks!
Additional Resources
- The demo app BEFORE any changes
- The demo app AFTER making changes
- Angular Title Service Docs
- Angular Routing & Navigation Guide
- Angular Route Resolver Docs
Get Ahead of Angular’s Next Shift
Most Angular apps today still rely on reactive forms, but that’s starting to shift.
Signal Forms are new, and not widely adopted yet, which makes this a good time to get ahead of the curve.
I created a course that walks through everything in a real-world context if you want to get up to speed early: 👉 Angular Signal Forms Course
Want to See It in Action?
Check out the demo code showcasing these techniques in the StackBlitz project below. If you have any questions or thoughts, don’t hesitate to leave a comment.


