Angular Control Flow: Replace *ngIf, *ngFor, and ngSwitch the Modern Way (v19+)
Angular's new control flow syntax replaces the old structural directives (*ngIf, *ngFor, and ngSwitch) with a cleaner, more intuitive template syntax that doesn't require imports or wrapper elements. In this guide, you'll learn how to use @if, @for, and @switch to build modern Angular templates, understand when and why to migrate from the old directives, and discover the performance benefits of built-in tracking. All examples work with Angular v19+ and demonstrate production-ready patterns.
So, for those of us that are used to building things in Angular, we’re used to the structural directive *ngIf, and the concept of using an ng-template for the else condition when needed. Well, we don’t need this anymore with the new Control Flow syntax. Also, we no longer need to import the CommonModule to use them. Let’s take a look at an example.
Angular Control Flow Syntax for if/else Conditions
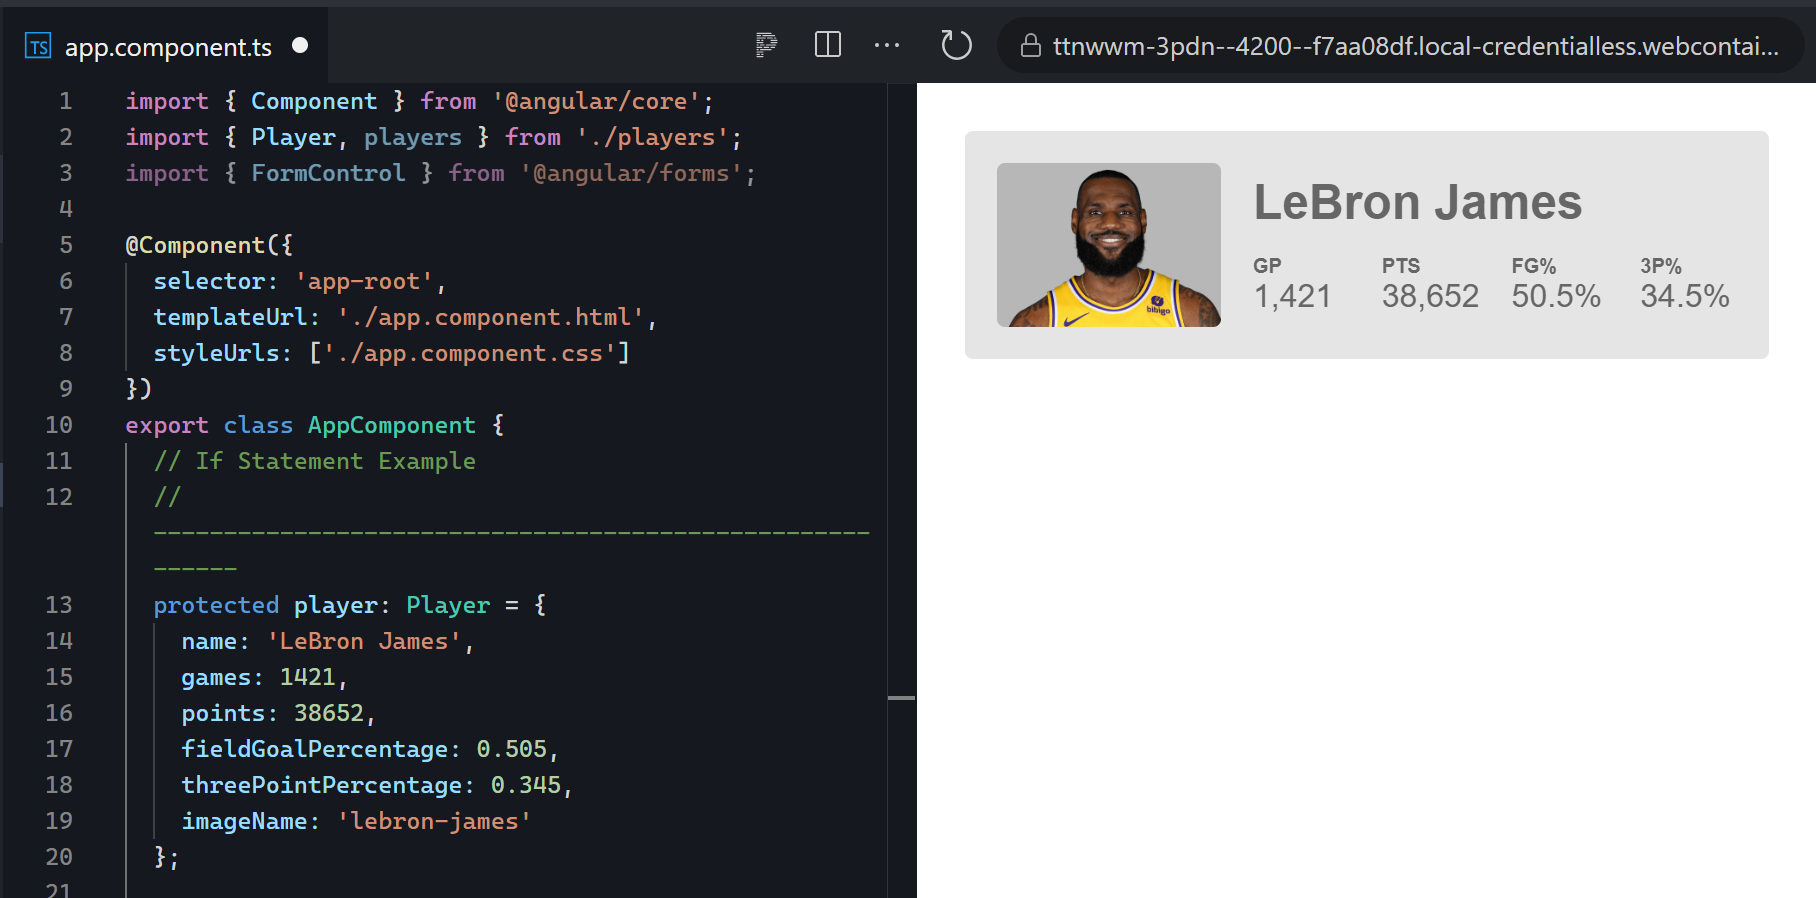
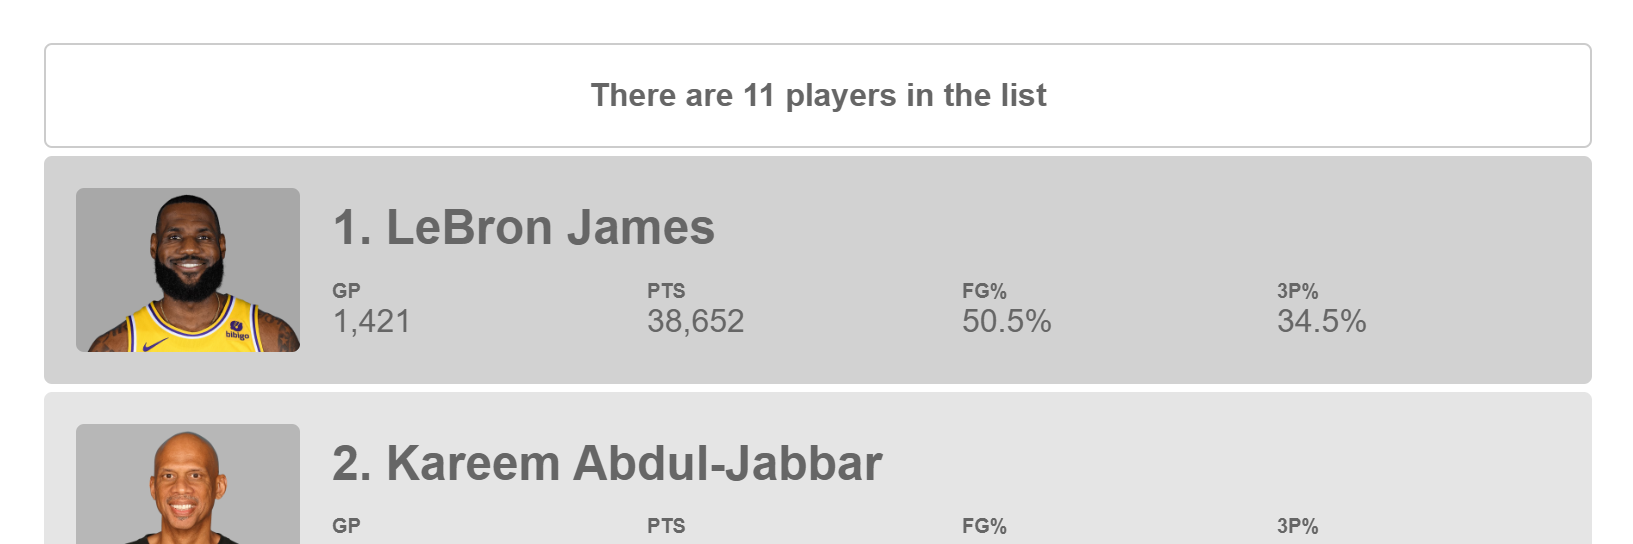
Ok, here in our component we have this player object consisting of some data about NBA player LeBron James.
app.component.ts
protected player: Player = {
    name: 'LeBron James',
    games: 1421,
    points: 38652,
    fieldGoalPercentage: 0.505,
    threePointPercentage: 0.345,
    imageName: 'lebron-james'
};
If we were to imagine that, in the real world, data like this may come from an API request where it may contain data or just be undefined. We would then need to conditionally use it within our template. In this case, we want to show our player component and pass it the player data only when it’s been defined. So, we need to use an if condition. For the new syntax, it’s similar to other templating languages like PHP, razor, and others.
We start with the @ symbol, then in parentheses we add our condition. Here it will be if our player value is truthy, and then we wrap whatever conditional item. In this case its our player component, with a player input, and that’s it.
app.component.html
@if (player) {
    <app-player [player]="player"></app-player>
}
Right now, of course, it’s showing because we have our data hard coded.
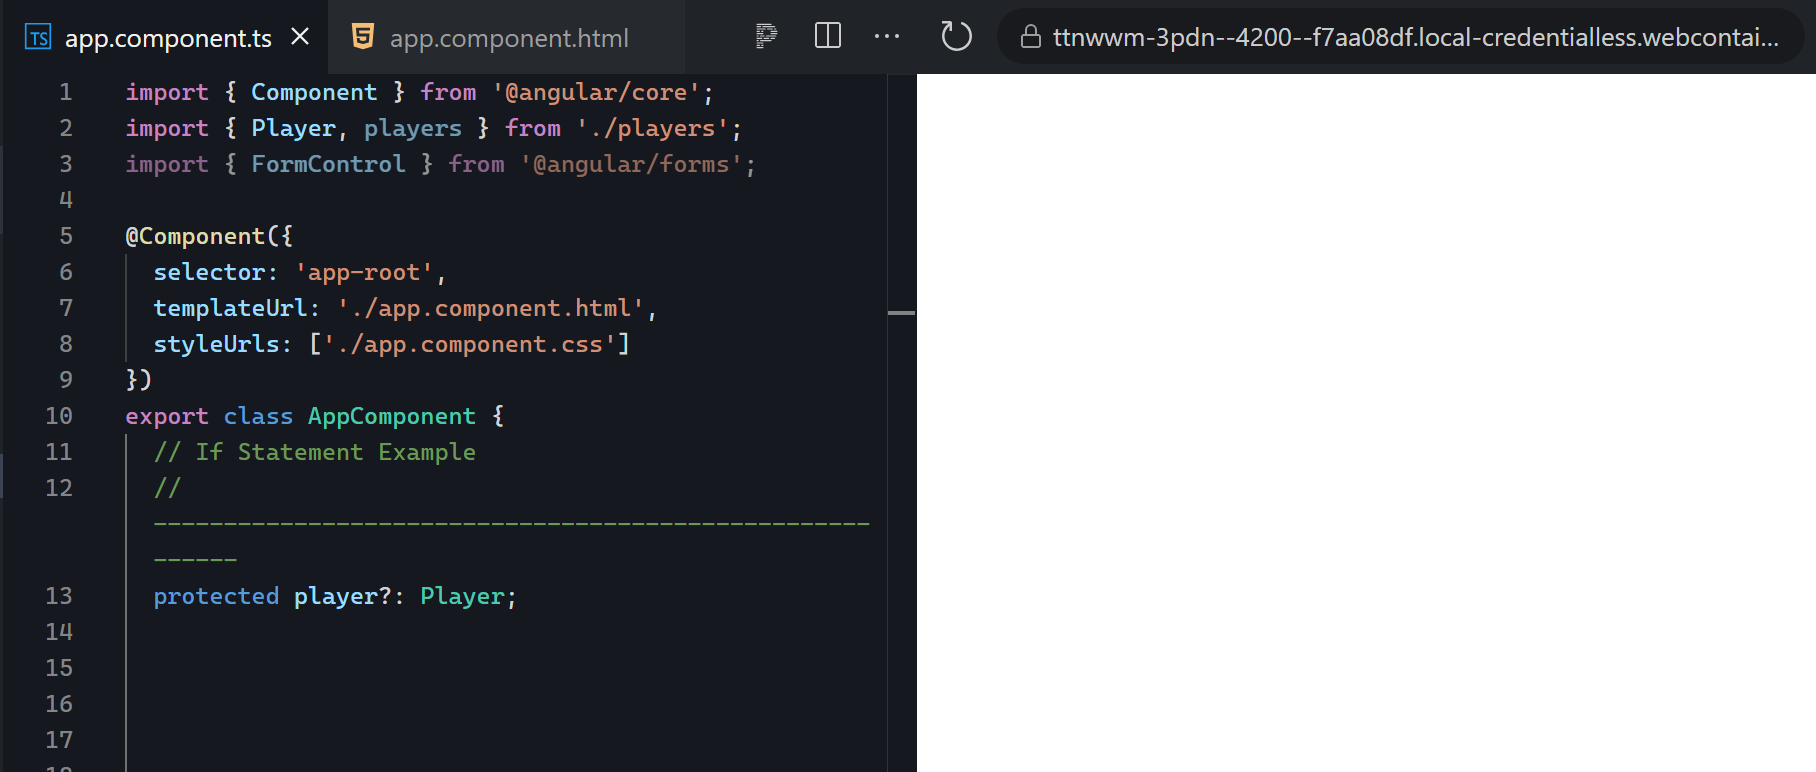
So let’s go clear it out.
protected player?: Player;
And, when we save, now we can see that it’s properly removed when no data is provided.
If we want to show a message when we have no data, we need to add an else statement. To do this, we just need to add another @ symbol, then the word “else”, then a new set of curly braces where we wrap our message.
@if (player) {
    <app-player [player]="player"></app-player>
} @else {
    <p>No player exists at this time</p>
}
Then, when we save this, we see that our message is properly displayed because we now have no data.

So that’s the new syntax replacing the old *ngIf/else.
Angular Control Flow Syntax for Switch Statements
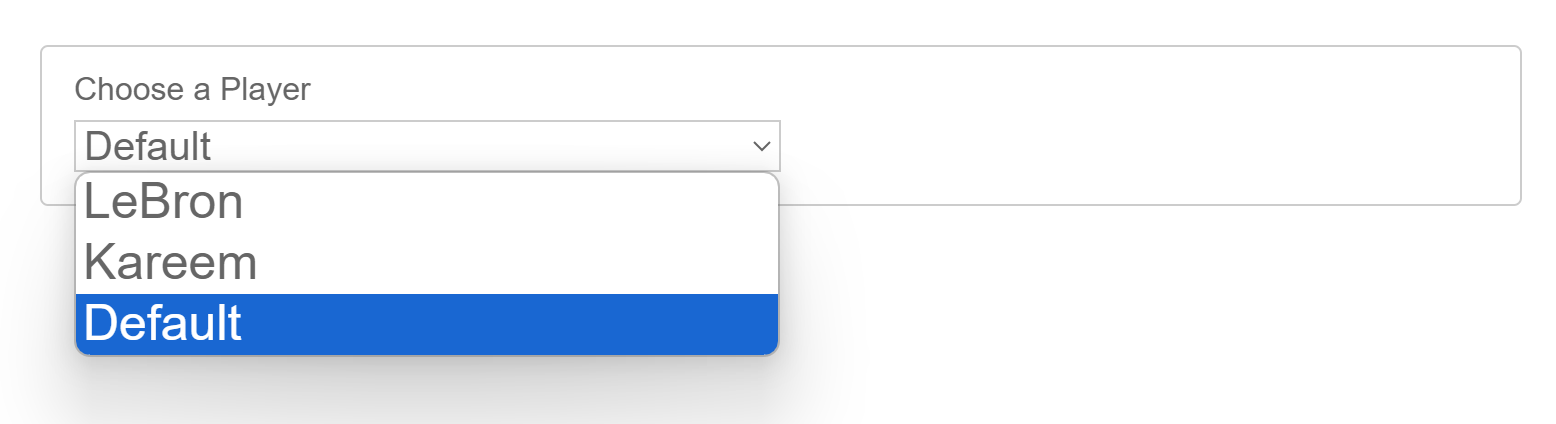
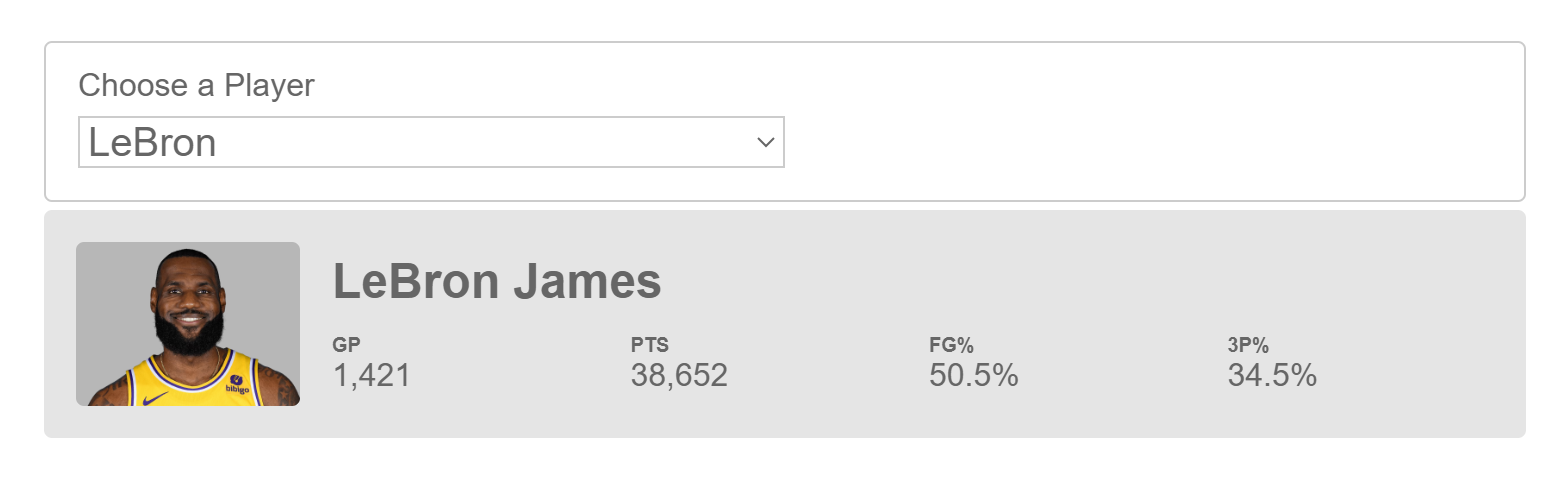
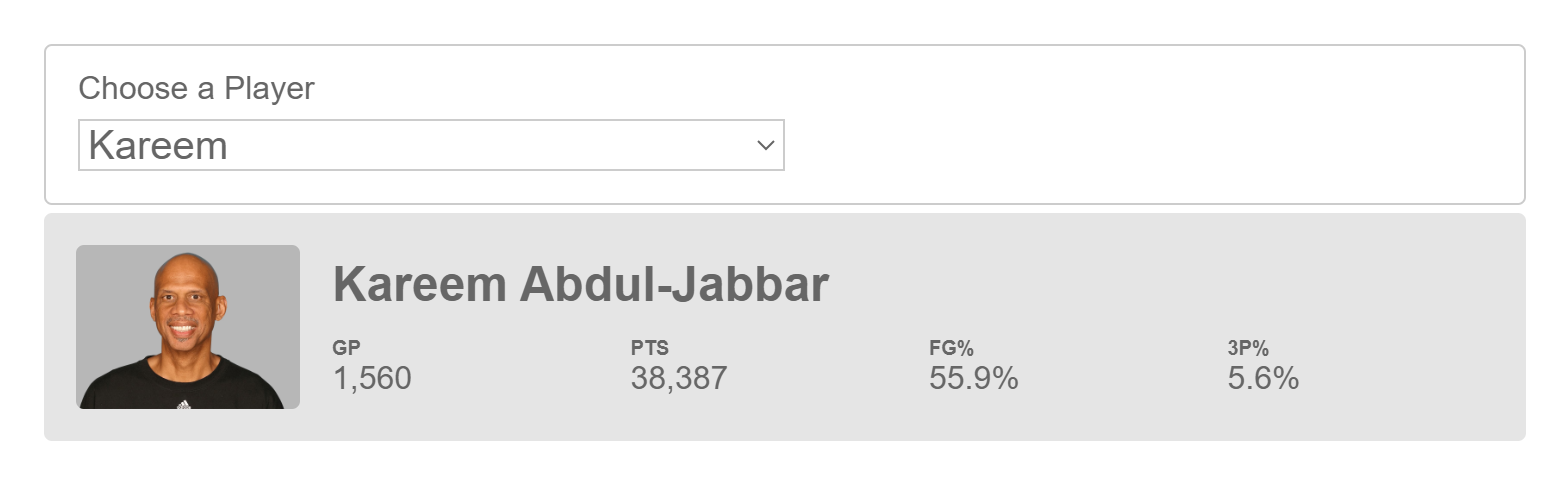
Next up, we have the new syntax for switch statements. We no longer need a wrapping element or ng-container in order to use an ngSwitch directive and each of its cases. In this example we have a select control where we can choose Lebron, Kareem, or leave it as the default player.
And, when we look at our data, we have three player objects, player one, LeBron, player two, Kareem, and player three, Karl Malone.
protected player1: Player = {
    name: 'LeBron James',
    games: 1421,
    points: 38652,
    fieldGoalPercentage: 0.505,
    threePointPercentage: 0.345,
    imageName: 'lebron-james'
};
protected player2: Player = {
    name: 'Kareem Abdul-Jabbar',
    games: 1560,
    points: 38387,
    fieldGoalPercentage: 0.559,
    threePointPercentage: 0.056,
    imageName: 'kareem-abdul-jabbar'
};
protected player3: Player = {
    name: 'Karl Malone',
    games: 1476,
    points: 36928,
    fieldGoalPercentage: 0.516,
    threePointPercentage: 0.274,
    imageName: 'karl-malone'
};
What we want to do in the template is show the appropriate player to match the value of our form control. This control will be a value of a string matching either Lebron, Kareem, or Default.
protected options = new FormControl<'LeBron' | 'Kareem' | 'Default'>('Default', { nonNullable: true });
So, back in our template, we’ll begin by adding the @ symbol followed by the word “switch”, then in parentheses, the value that we’ll want to switch on, in this case that will be our options control value.
@switch (options.value) {}
Now for our first case, we add the @ symbol, then the word “case”, followed by the value, LeBron for this case, in parentheses. Then, within curly braces, we add our player component with the player input, in this case it will be player one because that was Lebron in our data.
@switch (options.value) {
    @case ('LeBron') {
        <app-player [player]="player1"></app-player>
    }
}
Now we can simply copy all of this, paste, then change the case to Kareem, and the input to player two this time for Kareem’s data.
@switch (options.value) {
    @case ('LeBron') {
        <app-player [player]="player1"></app-player>
    }
    @case ('Kareem') {
        <app-player [player]="player2"></app-player>
    }
}
And then finally, we can add our default case. We’ll add the player component one last time here and we’ll pass it player three for Karl Malone.
@switch (options.value) {
    @case ('LeBron') {
        <app-player [player]="player1"></app-player>
    }
    @case ('Kareem') {
        <app-player [player]="player2"></app-player>
    }
    @default {
        <app-player [player]="player3"></app-player>
    }
}
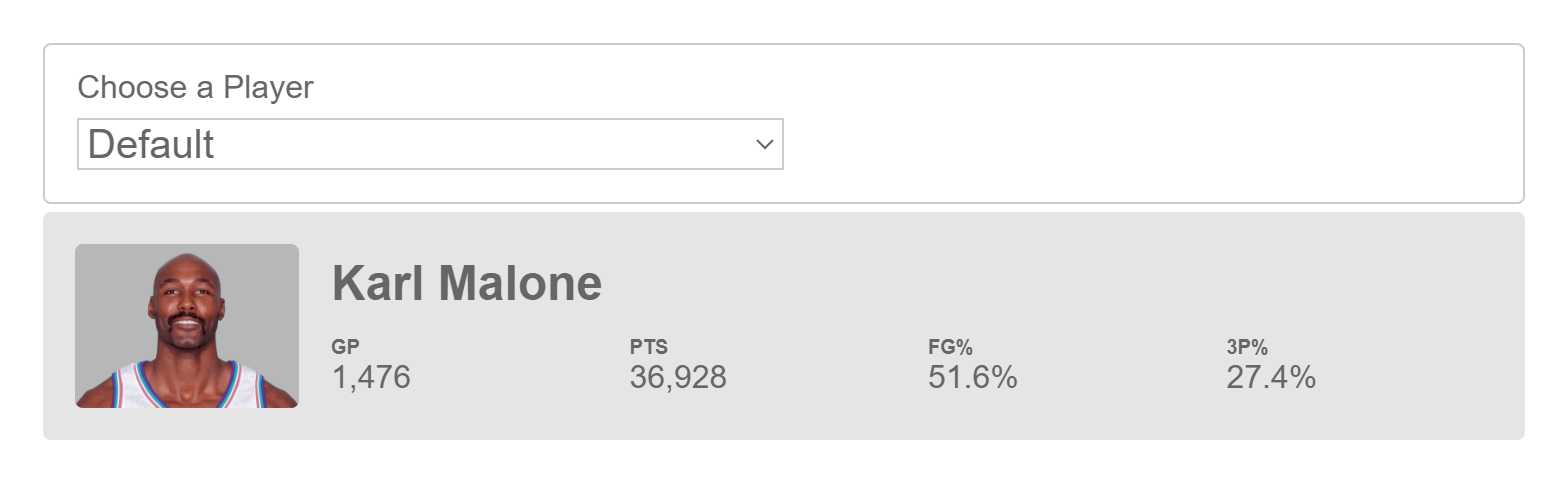
Ok, now when we save, we see Karl Malone since he was the default and our control value is set to default when initialized.
If we change to Lebron, the view is properly updated.
And likewise with Kareem.
So that’s the new switch syntax, up next, we have the final example in this post, a for loop.
Angular Control Flow Syntax for For Loops
When adding for loops in angular we used to need an element or ng-container for our *ngFor directive. Then we would need to create a variable from a list of options, and then much of the time, we needed to add a trackby function to help with performance. Well, it looks similar now but a little different.
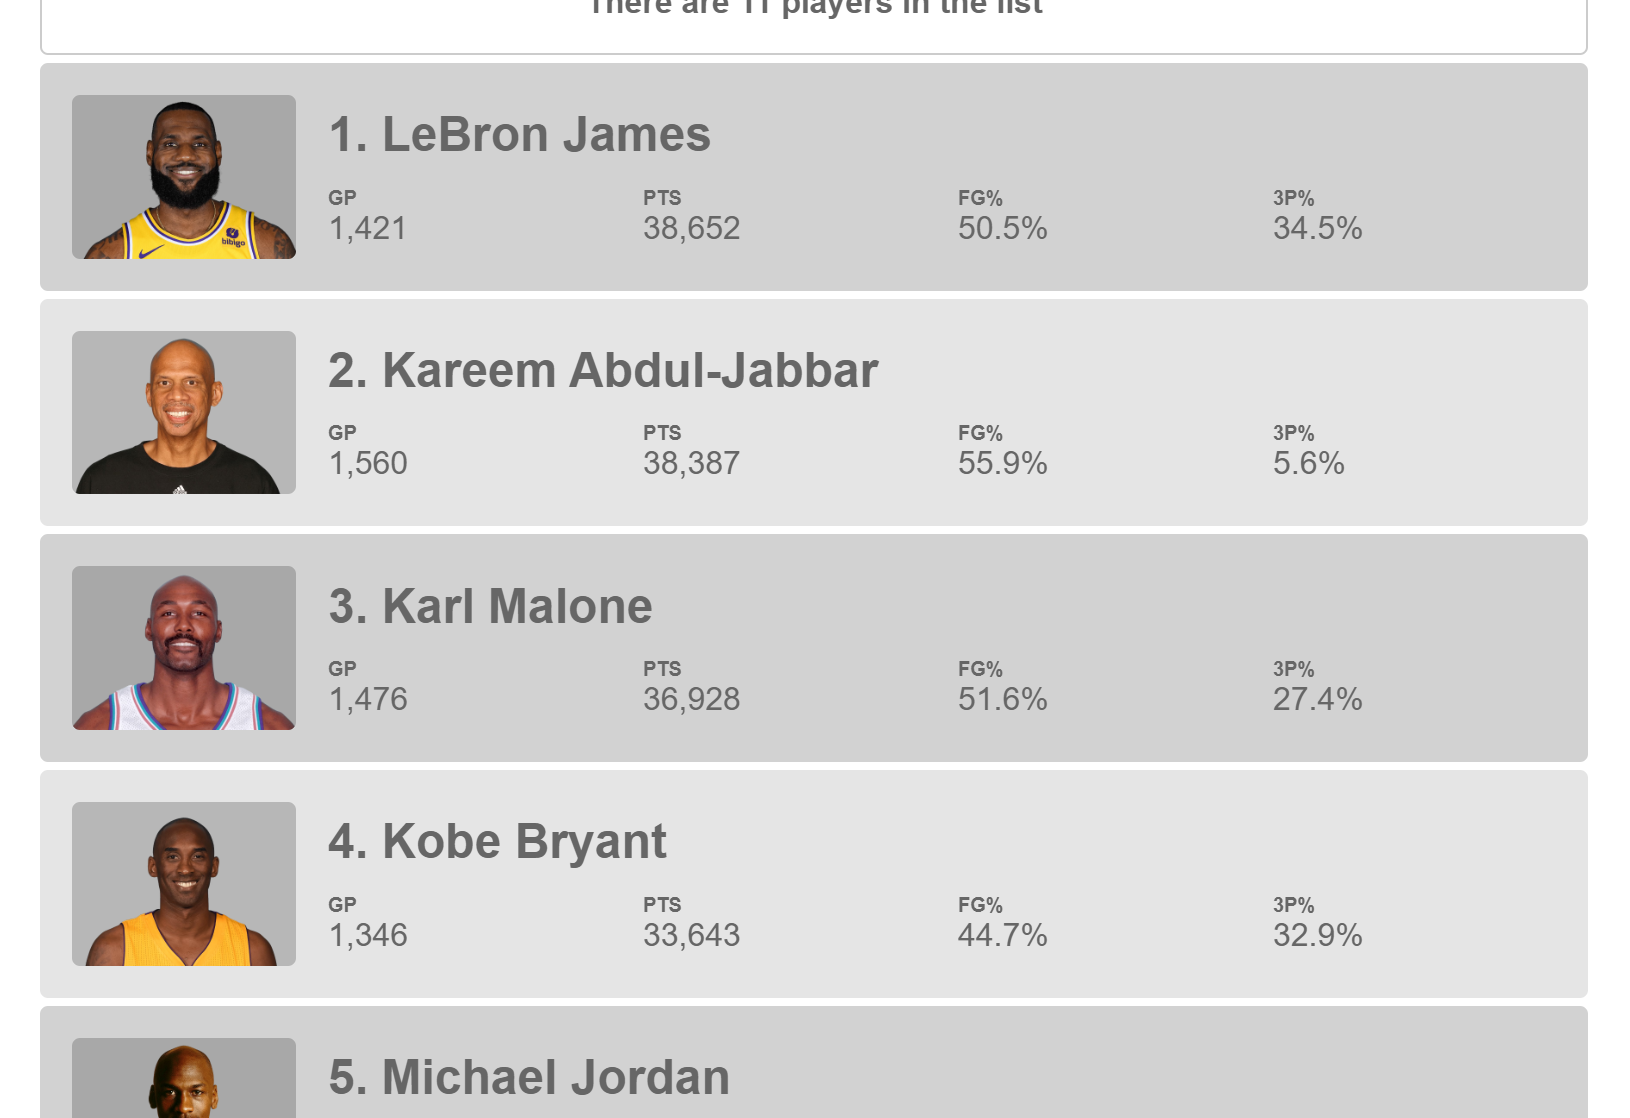
In this example, our list of players is larger and consists of all of these items.
players.ts
export const players = [
    {
        name: 'LeBron James',
        games: 1421,
        points: 38652,
        fieldGoalPercentage: 0.505,
        threePointPercentage: 0.345,
        imageName: 'lebron-james'
    },
    {
        name: 'Kareem Abdul-Jabbar',
        games: 1560,
        points: 38387,
        fieldGoalPercentage: 0.559,
        threePointPercentage: 0.056,
        imageName: 'kareem-abdul-jabbar'
    },
    {
        name: 'Karl Malone',
        games: 1476,
        points: 36928,
        fieldGoalPercentage: 0.516,
        threePointPercentage: 0.274,
        imageName: 'karl-malone'
    },
    {
        name: 'Kobe Bryant',
        games: 1346,
        points: 33643,
        fieldGoalPercentage: 0.447,
        threePointPercentage: 0.329,
        imageName: 'kobe-bryant'
    },
    {
        name: 'Michael Jordan',
        games: 1072,
        points: 32292,
        fieldGoalPercentage: 0.497,
        threePointPercentage: 0.327,
        imageName: 'michael-jordan'
    },
    {
        name: 'Dirk Nowitzki',
        games: 1522,
        points: 31560,
        fieldGoalPercentage: 0.471,
        threePointPercentage: 0.38,
        imageName: 'dirk-nowitzki'
    },
    {
        name: 'Wilt Chamberlain',
        games: 1045,
        points: 31419,
        fieldGoalPercentage: 0.54,
        threePointPercentage: 0,
        imageName: 'wilt-chamberlain'
    },
    {
        name: 'Shaquille O\'Neal',
        games: 1207,
        points: 28596,
        fieldGoalPercentage: 0.582,
        threePointPercentage: 0.045,
        imageName: 'shaquille-oneal'
    },
    {
        name: 'Carmelo Anthony',
        games: 1260,
        points: 28289,
        fieldGoalPercentage: 0.447,
        threePointPercentage: 0.355,
        imageName: 'carmelo-anthony'
    },
    {
        name: 'Moses Malone',
        games: 1329,
        points: 27409,
        fieldGoalPercentage: 0.491,
        threePointPercentage: 0.10,
        imageName: 'moses-malone'
    },
    {
        name: 'Elvin Hayes',
        games: 1303,
        points: 27313,
        fieldGoalPercentage: 0.452,
        threePointPercentage: 0.147,
        imageName: 'elvin-hayes'
    }
];
We want to list these players out in the template with a for loop. So, we start by adding the @ symbol again. Then, the word “for” followed by parentheses. In these parentheses, we create our variable, we’ll call it “player”. Then, like the old *ngFor, we use the word “of”, followed by our variable for our list of data, in this case players.
@for (player of players) {
}
Now, one of the key differences in the new syntax is that a track expression is mandatory. So, if we were to save this, we get an error letting us know what we’re missing.
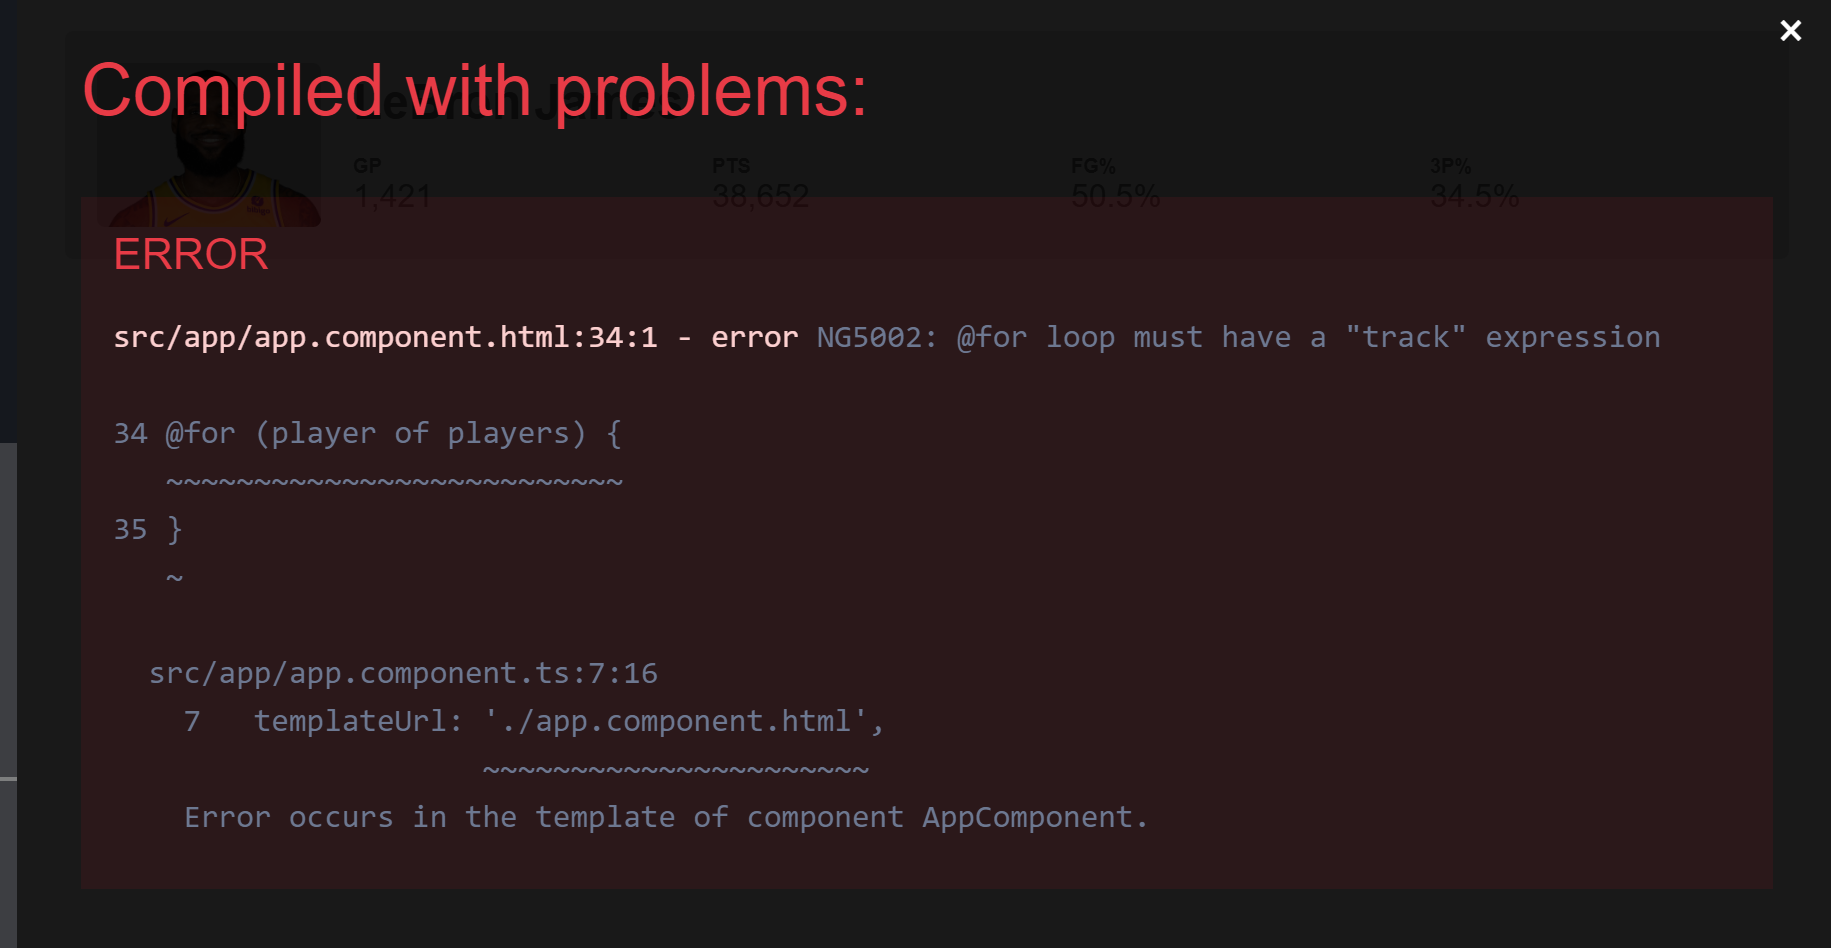
So, we need to add a semi colon, followed by the word “track”. Then we need to provide a unique value to track, something like an id, but in our case we’ll use the player name.
@for (player of players; track player.name) {
}
Ok, all that’s left now is to add our player component and pass it our player data.
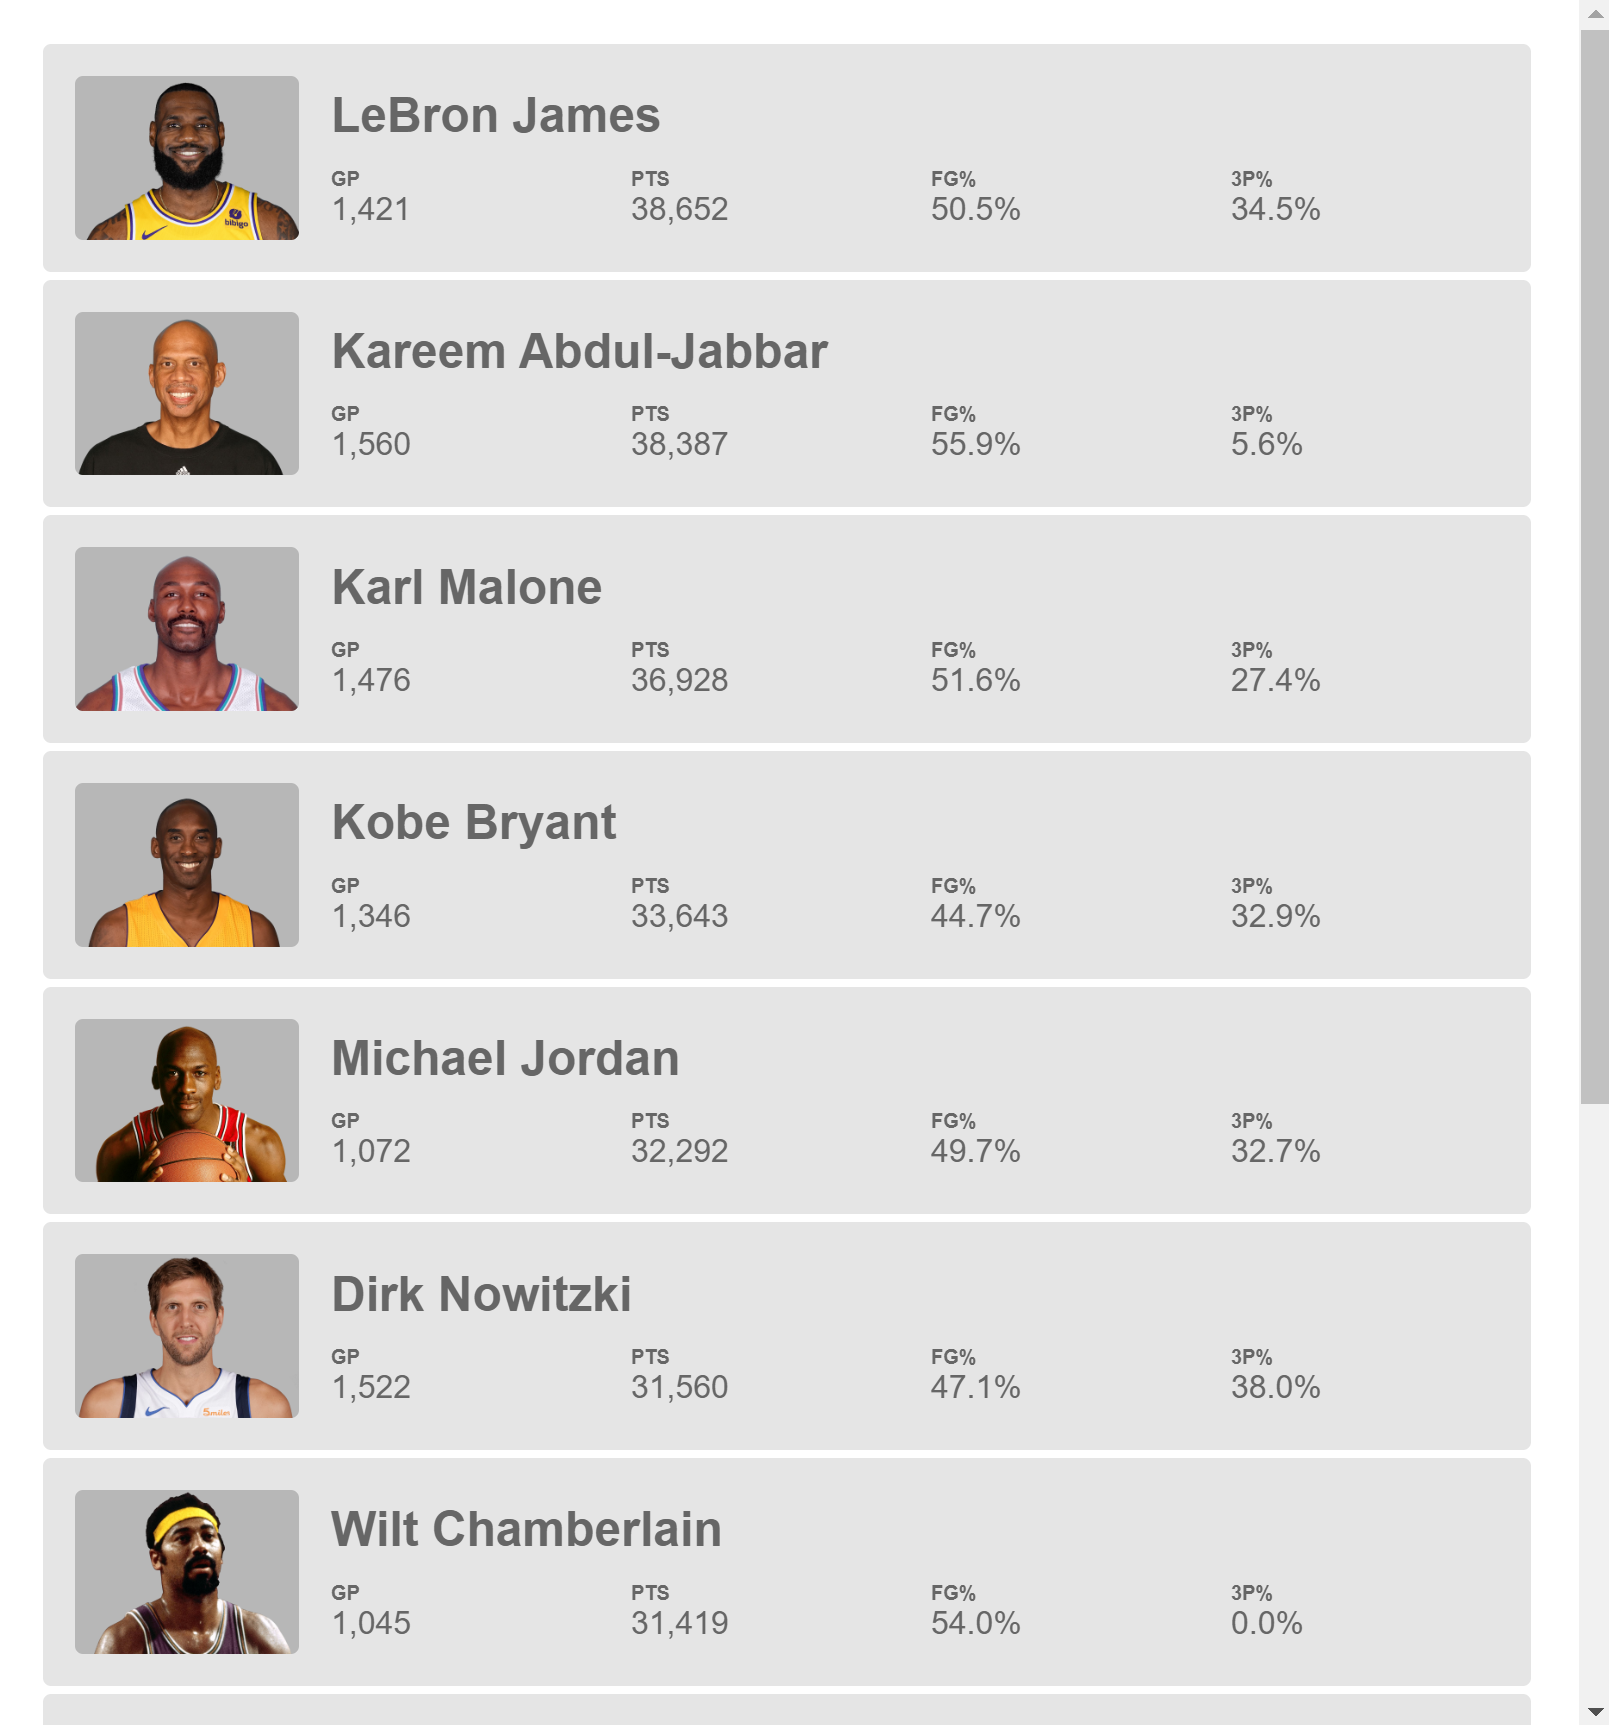
@for (player of players; track player.name) {
    <app-player [player]="player"></app-player>
}
And now when we save, there’s our list of players.
Angular For Loop Empty Template
Now, what if our list was empty and we want to show a message? Well let’s clear out our list data. If we were to save right now, we’d just have a blank screen. To show a message in this case, back in our template we can add an empty scenario for our for loop. And inside, we can add our message.
@for (player of players) {
    ...
}
@empty {
    <p>There are no players to display at this time</p>
}
Now, when we save, we see our message.

Pretty easy right?
Angular For Loop Additional Properties
Now, for those of you familiar with the old *ngFor, you may be wondering about all of the old properties that we had available:
indexfirstlastevenoddcount
Well, they all still exist in the new syntax too. We just add them much like we did before.
We use the word “let” followed by the variable name we want to use, then equals and the name of the value prefixed with a dollar sign.
@for (player of players;
      track player.name;
      let index = $index;
      let first = $first;
      let last = $last;
      let even = $even;
      let odd = $odd;
      let count = $count) {
    ...
}
So, after adding all of these, let’s say we want to display the count in a message before the first item in the list. So we add a condition for the first item, then add a message with the string interpolated value for the list count.
@if (first) {
    <strong>There are 8 players in the list</strong>
}
When we save, now we can see the message with the count before all items.
And, let’s say we want to display the list item number next to the player name. We can do this by passing the item index to the player component.
<app-player
    ...
    [index]="index"
    ...>
</app-player>
Internally, this component adds one to its index value and places the string interpolated value before the name.

We could also add some zebra striping by binding a class, even, to all of the even numbered list items.
<app-player
    ...
    [class.even]="even"
    ...>
</app-player>
Now we can see all of the even items are a little darker.
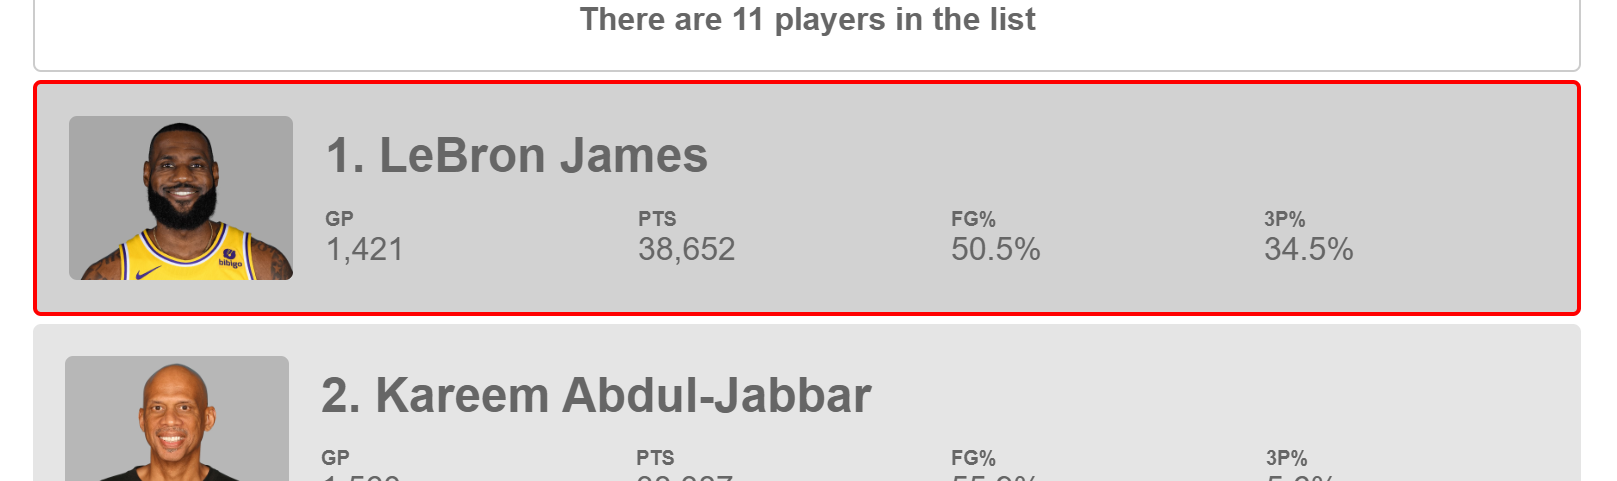
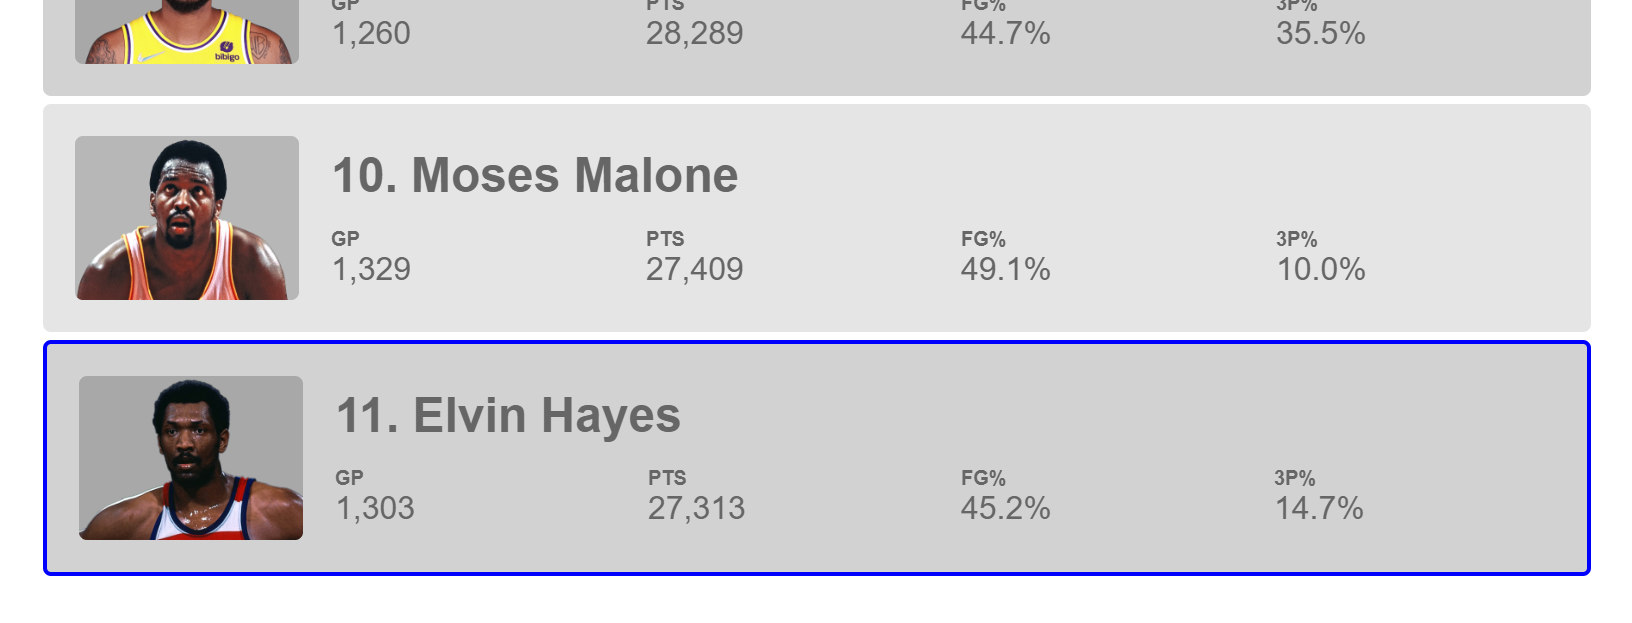
And finally, we can highlight the first and last list items by binding a first and last class to those variables.
<app-player
    ...
    [class.first]="first"
    [class.last]="last"
    ...>
</app-player>
Here we can see the first item gets a red border.
And, when we scroll down to the bottom, the last item gets a blue border.
Pretty straight forward right. So I think this is a pretty nice change. It’s pretty similar to what we’re used to but it’s a little more simple. It doesn’t require as many elements, ng-containers, and ng-templates, and it also doesn’t require any imports which is pretty nice.
I guess, some things are simpler, some things are easier, and some things are just different.
The Angular Control Flow Migration Schematic
For those of you who may be worried about making this change to an existing codebase, don’t be. To migrate all of your existing *ngIfs, ngSwitchs, and *ngFors, you can simply use the migration schematic which should hopefully update them without much work.
ng g @angular/core:control-flow-migration
Ok, so that’s pretty much all I have for Angular’s new control flow syntax.
Get Ahead of Angular’s Next Shift
Most Angular apps today still rely on reactive forms, but that’s starting to shift.
Signal Forms are new, and not widely adopted yet, which makes this a good time to get ahead of the curve.
I created a course that walks through everything in a real-world context if you want to get up to speed early: 👉 Angular Signal Forms Course
Want to See It in Action?
Check out the demo code and examples of these techniques in the stackblitz example below. If you have any questions or thoughts, don’t hesitate to leave a comment.