Angular linkedSignal(): Create Writable Signals from Other Signals (v19+)
Angular 19 introduces linkedSignal(), a powerful new primitive for creating writable signals that automatically sync with other signals. Unlike computed signals which are read-only, or effects which cause side effects, linked signals provide a clean way to create two-way reactive bindings. This tutorial demonstrates how to use linkedSignal() to simplify form state management, create reactive UI components, and avoid common anti-patterns with effects.
Angular Signals Tutorial Series:
- linkedSignal() Advanced Features - Beyond the basics with linkedSignal()
- Signal set() vs update() - When to use each method
- Signal Inputs & output() - Replace @Input/@Output with signals
Angular Version Disclaimer
Just a quick heads up before we get too far along, the features we’ll see in this tutorial are only available in Angular 19 and above which should be released at some point later this month (November 2024).
Getting to Know the Existing Demo Application
For this example, we have a demo application called Petpix, where people share images of their pets.
In this app, when viewing different photos, users have the ability to purchase prints of the photos they like:

As we switch between the images, we get different pricing as the images have different values set by their owners:
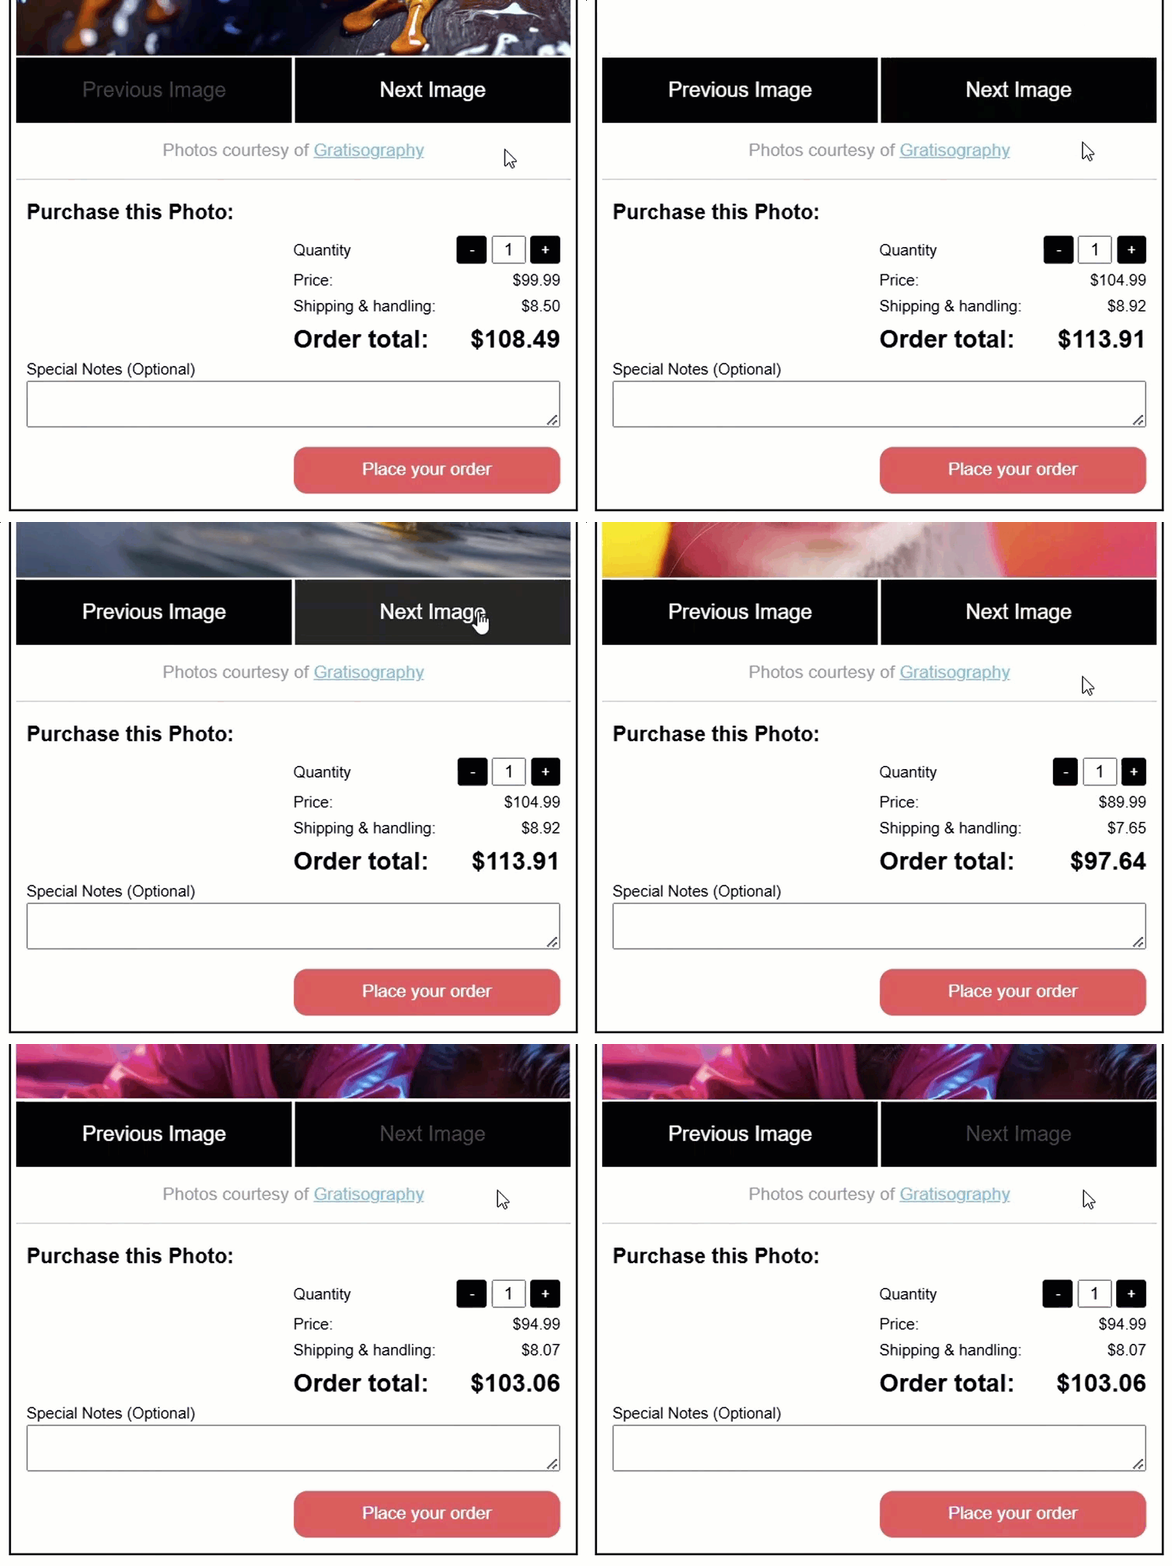
In our purchase form, we have a textarea where we can add special notes.
So far, all of this works great, but if we add notes and then switch to another image, the text remains in the textarea:
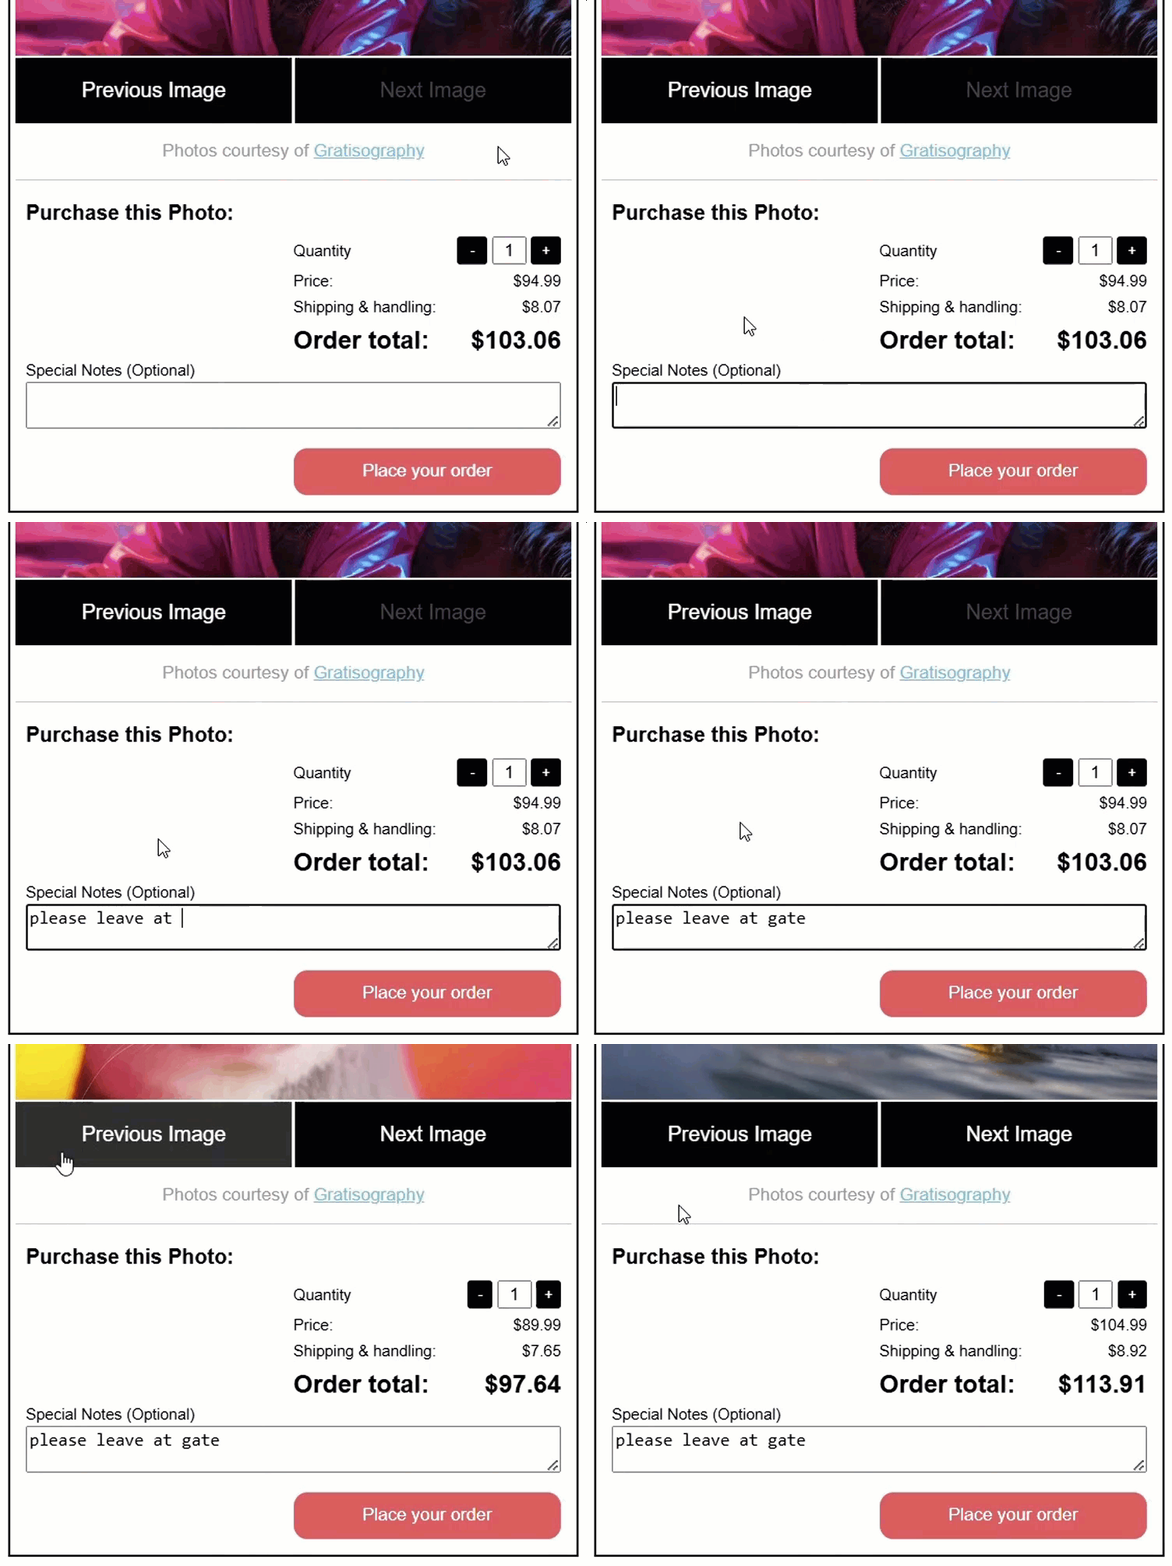
We want to clear this text when switching images because the notes may not make sense for the new image.
So, let’s make this happen.
Understanding the Existing Code
The purchase form is a component that is included only once in the template for our slider component.
<app-purchase-form
    [price]="selectedImage().price"
    [imageId]="selectedImage().id">
</app-purchase-form>
This component has two inputs to pass both the price and the imageId for the selected image. These inputs are signals since they use the new signal input function:
import { ..., input } from "@angular/core";

price = input.required<number>();
imageId = input.required<number>();
Then, we have a protected “specialNotes” field that is a writable signal, used to store the value entered in our textarea:
import { ..., signal } from "@angular/core";

protected specialNotes = signal('');
In the template, we have the “special notes” textarea, where we’re using the ngModel directive to leverage two-way binding with the “specialNotes” signal.
<label>
    <span>Special Notes (Optional)</span>
    <textarea [(ngModel)]="specialNotes"></textarea>
</label>
So, if this “specialNotes” signal were to be updated programmatically elsewhere, the textarea value would also update here.
And if its value were used somewhere else, it would update properly as the value entered in this textarea changes.
Alright, so that’s how it works currently, now how do we reset the value when switching between images?
Well, this is where the new linkedSignal comes into play.
Signal Effects and Computed Signals Fall Short
Currently, the “specialNotes” field is a writable signal, which is what we need.
But we need to update this signal when another signal, our “imageId” input, changes.
Up to this point, the main tools we had for this situation were:
- The effect() function
- Computed signals.
But both of these have limitations in this case.
With the effect() function, we can easily respond to changes in another signal, but there are issues with setting other signal values within an effect.
So we shouldn’t really do it unless we have a really good reason.
Using a computed signal allows us to base a signal’s value on another signal, but computed signals are not writable.
So that won’t work here either.
But now we have a new tool, a linkedSignal.
Creating an Auto-Updating Writable Signal with Angular’s New Linked Signal Primitive
A linkedSignal allows us to create a writable signal that can be updated when an associated signal value changes.
This way, we can write directly to this signal when we type in our textarea, and we can reset this signal when our “imageId” changes.
To do this, we can replace the signal() function with the new linkedSignal() function instead.
We need to be sure that it gets imported from the @angular/core module.
Within this linkedSignal() function, we need to provide two options:
-
The first is the “source” signal, which we use to monitor for changes. This will be our “imageId” signal input.
-
The second option is a “computation” function that updates the signal’s value. For us, we simply want to set this to an empty string when we switch the “imageId”.
protected specialNotes = linkedSignal({
    source: this.imageId,
    computation: () => ''
});
And that’s all we need to do here.
Let’s save, add some notes, switch images, and see if it works now:
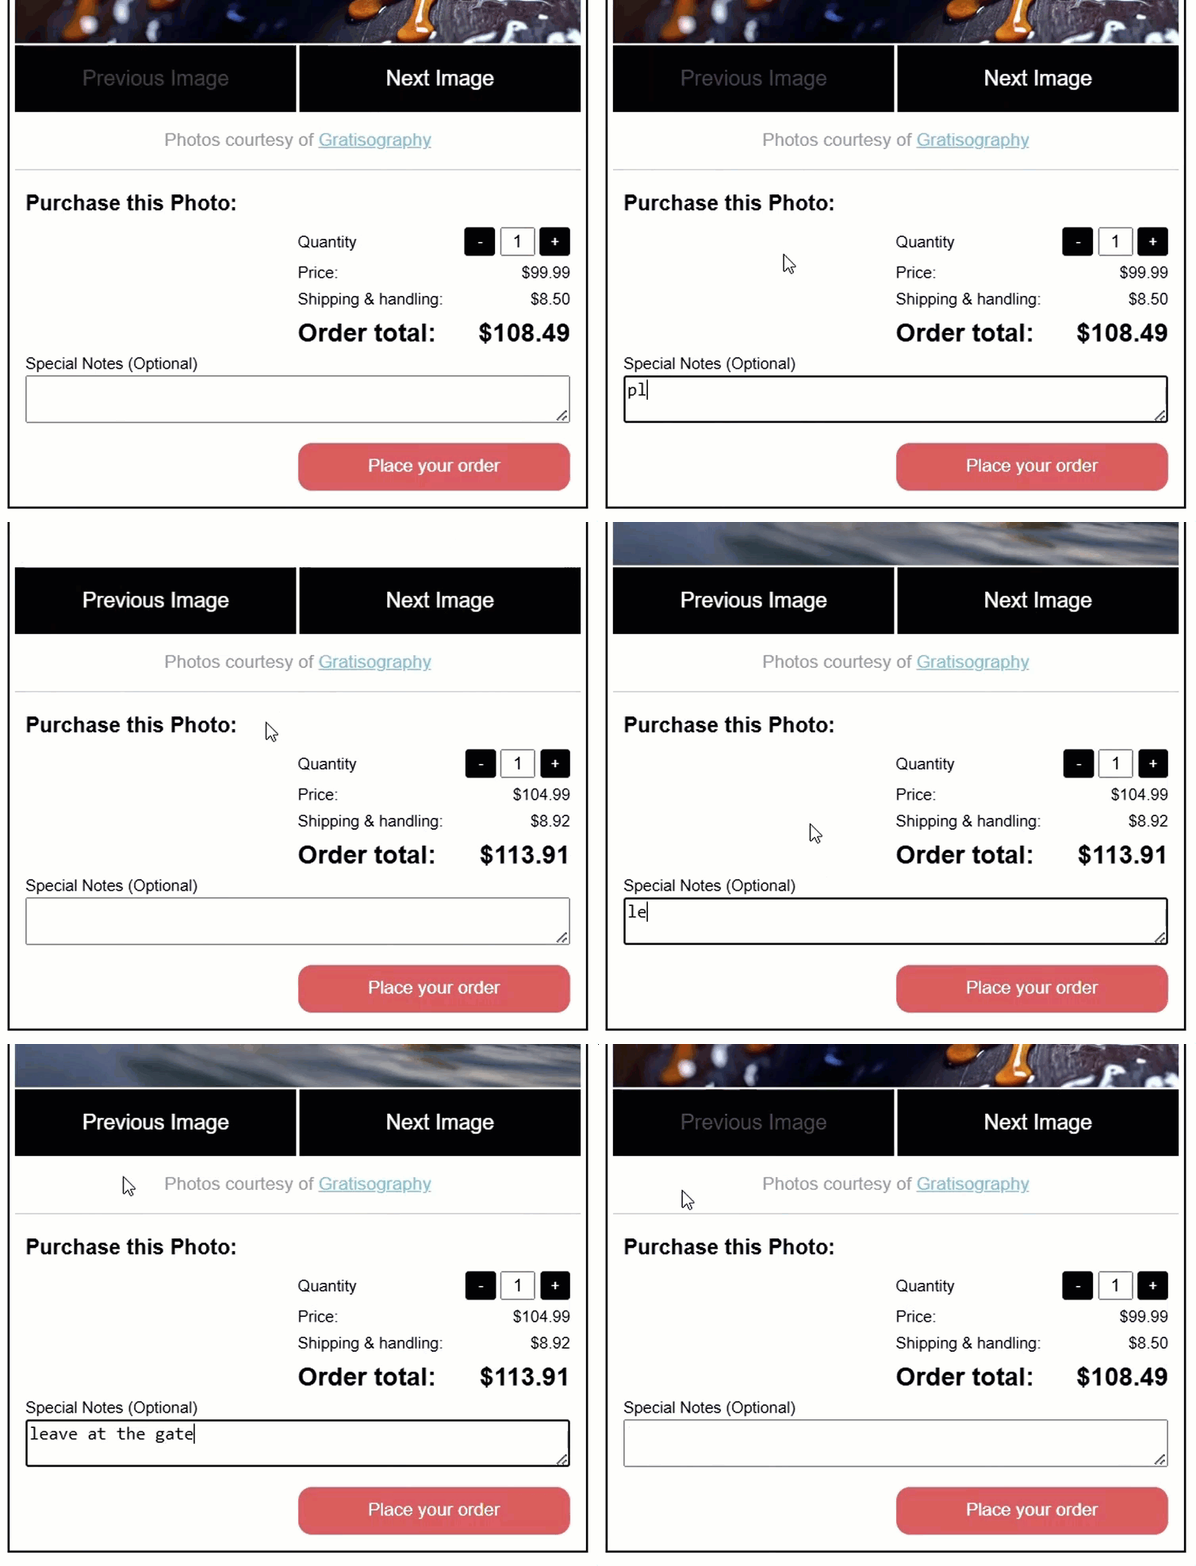
Great! Now it properly clears out when we switch the image.
So a linkedSignal was a pretty good choice for this situation.
Auto-Resetting the Quantity Signal When Switching Images with Linked Signal
In this demo there is another issue we need to address in this form.
Currently, we can update our quantity, and the price and shipping values update as expected when the quantity changes:
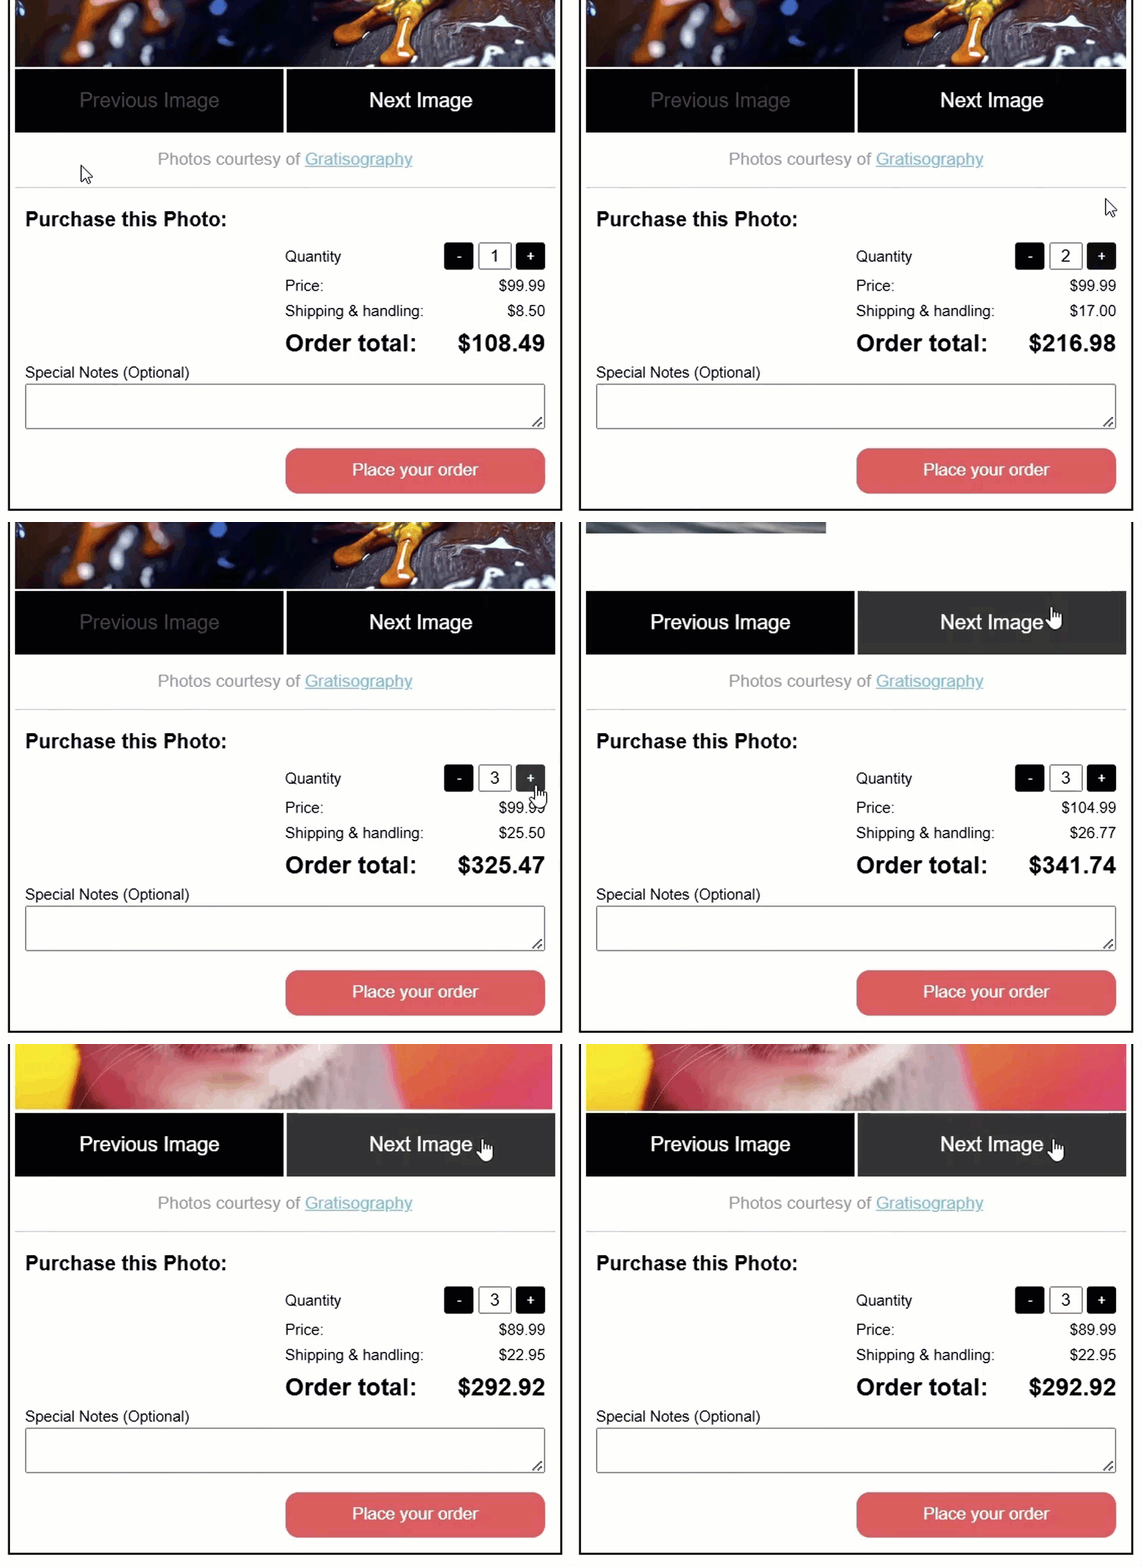
But, like the notes field, we need to reset the quantity to “1” whenever we switch images.
This is virtually the same issue.
The quantity field is set to a writable signal using the signal() function:
protected quantity = signal(1);
When we hit the “add” and “remove” buttons, we call the respective functions to update the quantity:
protected add() {
    this.quantity.update(q => q + 1);
}

protected remove() {
    this.quantity.update(q => q > 1 ? q - 1 : 1);
}
If we look at the template, we can see that the quantity field uses two-way binding and the ngModel directive just like the “special notes” example:
<input type="number" [(ngModel)]="quantity">
<button (click)="remove()">-</button>
<button (click)="add()">+</button>
This allows the value to be updated when the quantity signal is set programmatically.
Then, when the “add” and “remove” buttons are clicked, or when a number is typed directly into the textbox, the quantity signal’s value is updated too.
So, we just need to change this like we did for the “special notes” field, so that it resets when the “imageId” signal input changes.
Let’s switch it over to a linkedSignal as well.
Just like the “special notes” example, we’ll use the “imageId” signal as the source.
For our computation, we’ll simply set it to 1:
protected quantity = linkedSignal({
    source: this.imageId,
    computation: () => 1
});
And that’s it.
Now let’s save, change the quantity, then switch the image:
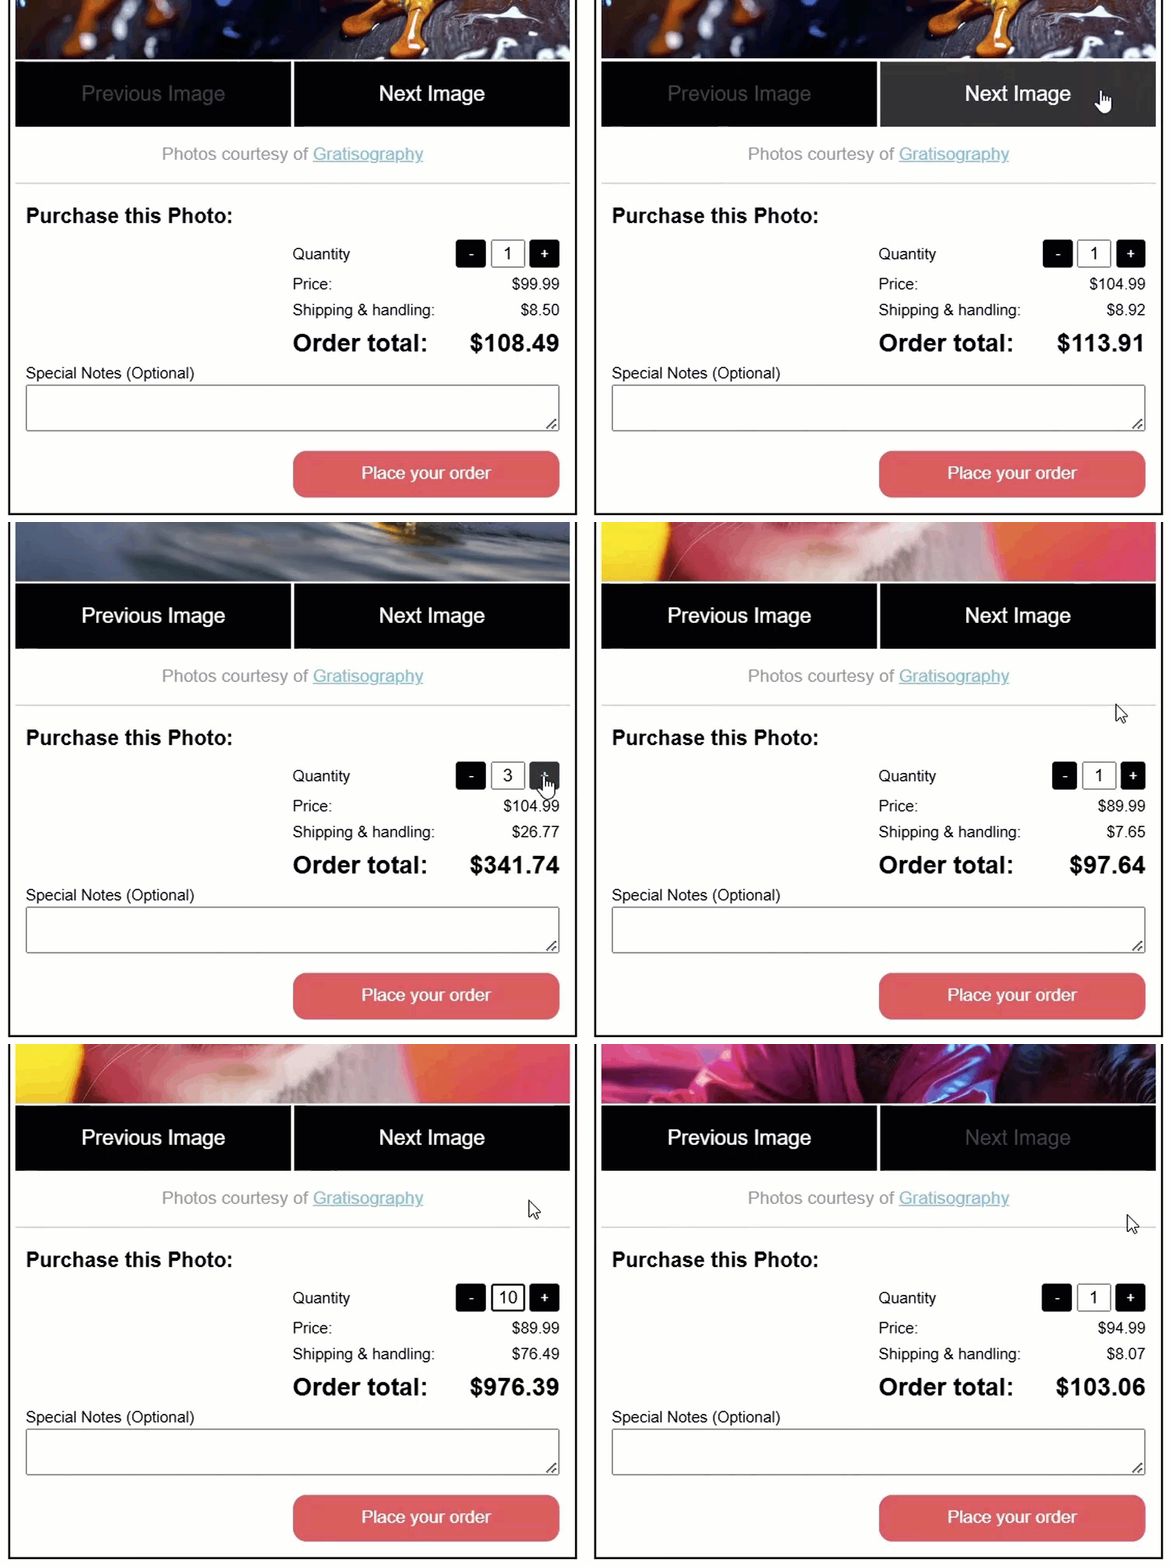
Great! Now it resets to 1, just like we wanted.
So now, everything here is working as desired and is doing so using signals in the most efficient way.
In Conclusion
So, in Angular 19, the introduction of the linkedSignal() function provides a powerful tool to create writable, auto-updating signals that respond dynamically to changes in other signals.
This should help clear up some of the confusion on when to use the effect() function.
With the linkedSignal() function, you’ll probably need an effect() even less than you did before.
Hope this was helpful.
Don’t forget to check out my other Angular tutorials for more tips and tricks.
Additional Resources
- Linked Signal documentation
- Signal inputs documentation
- Computed signals documentation
- Effect function documentation
- NgModel directive documentation
Want to See It in Action?
Check out the demo code and examples of these techniques in the Stackblitz example below. If you have any questions or thoughts, don’t hesitate to leave a comment.


