exportAs in Angular: What It Does and When to Use It
Directives with public methods or signals need a way to expose their API to parent components, but accessing directive instances from templates requires explicit references. Angular's exportAs property lets you create template references to directives, enabling access to their methods, signals, and properties directly in templates. This tutorial demonstrates how to use exportAs to create reusable directives with clean, declarative APIs, following patterns used by Angular Material components.
Let’s See What’s Broken
This is our app. It looks good at first glance, but the wizard is purely decorative:
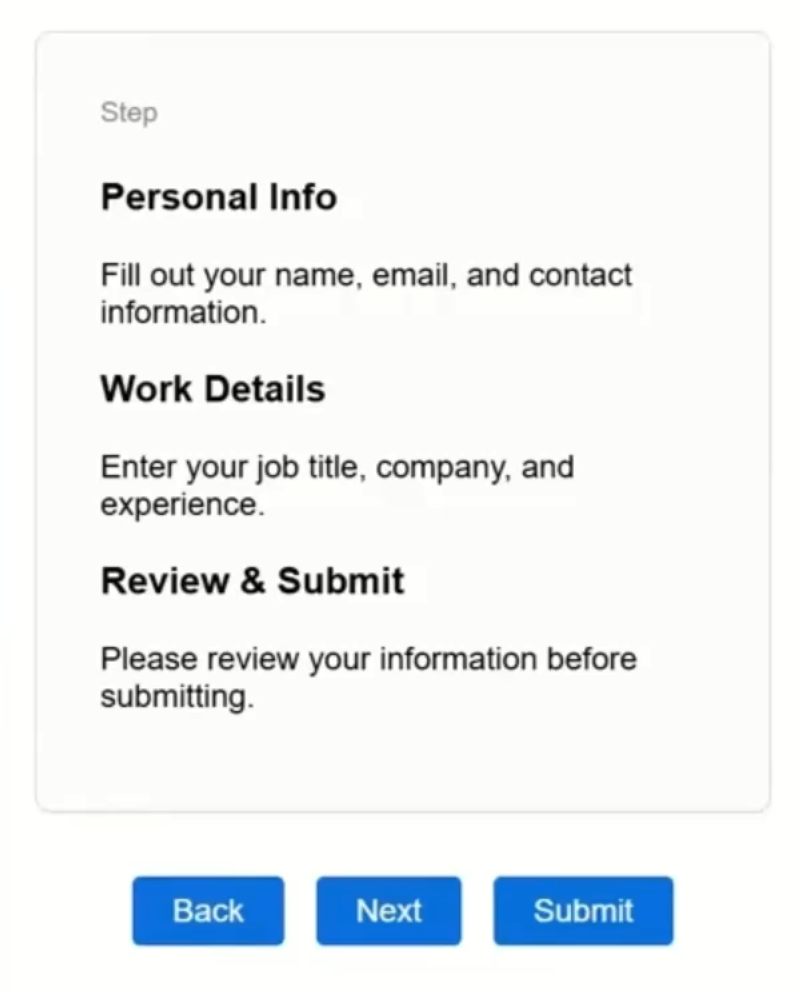
All three steps are visible: “Personal Info”, “Work Details”, and “Review & Submit”.
The navigation buttons don’t work.
It’s not actually doing anything at all.
Looking into the code, we can easily see why.
All we’ve got is a stepTracker directive:
<div stepTracker [stepLabels]="steps()" class="stepper">
    ...
</div>
And the static three steps inside of it:
<section>
  <h3>Personal Info</h3>
  <p>Fill out your name, email, and contact information.</p>
</section>
<section>
  <h3>Work Details</h3>
  <p>Enter your job title, company, and experience.</p>
</section>
<section>
  <h3>Review & Submit</h3>
  <p>Please review your information before submitting.</p>
</section>
The directive is set up to track state with a “current” signal and exposes some public methods, but there’s no way to call them from this template:
export class StepTrackerDirective {
  readonly stepLabels = input<string[]>();
  private readonly current = signal(0);

  next() {
    this.current.update(i => i + 1);
  }

  prev() {
    this.current.update(i => i - 1);
  }

  reset() {
    this.current.set(0);
  }
}
Trying the Obvious Fix (and Why It Fails)
We can try adding a template reference variable (#wizard) and calling wizard.next() from a button click:
<div stepTracker ... #wizard>
...
</div>
...
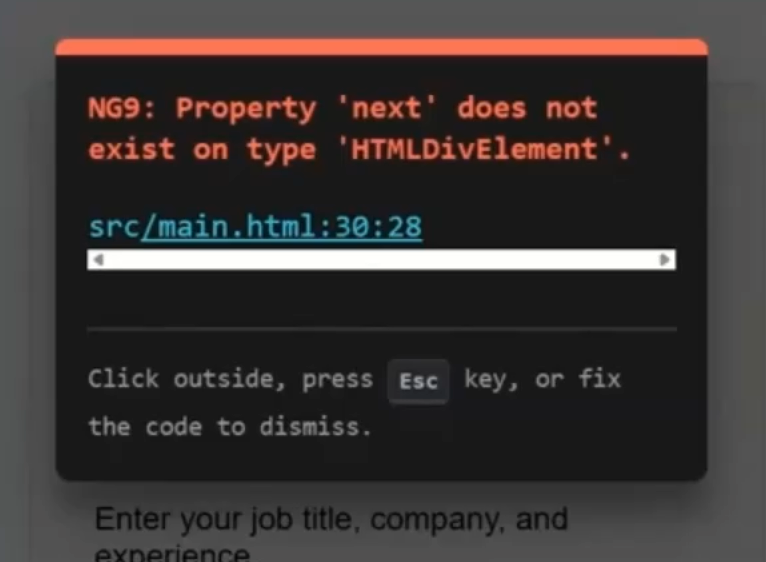
<button (click)="wizard.next()">Next</button>
But Angular throws an error, because (#wizard) is referencing the native DOM element, not our directive:
The Imperative Approach: viewChild
To get around this, we can use the viewChild() function in the root component class:
import { ..., viewChild } from '@angular/core';

export class App {
    protected wizard = viewChild.required(StepTrackerDirective);
}
Then, in the template, we can bind to this “wizard” signal and call its methods:
<button (click)="wizard().next()">Next</button>
This works… but it’s imperative.
We’re not accessing the directive in code, we’re only trying to use its behavior in the template.
Feels a little clunky, right?
Fixing It the Angular Way: exportAs
Now, if this were a component, the first example with the template reference variable would have worked just fine.
This directive is a different story though.
Template reference variables default to the component instance, but not for directives.
That’s where exportAs comes in:
@Directive({
  selector: '[stepTracker]',
  exportAs: 'stepper'
})
This will create an alias that can then be accessed with a template reference variable.
In the root component template, we can add this reference:
<div stepTracker ... #wizard="stepper">
    ...
</div>
And then call the directive’s methods directly from the template, without using viewChild:
<button (click)="wizard.next()">Next</button>
This is clean, declarative, and works great with signals.
Only Show the Step That Matters
Next, we need make sure only the current step is shown.
We need to expose the current step index from the directive:
export class StepTrackerDirective {
  ...
  readonly stepIndex = this.current;
}
Then we can add logic to the template to conditionally show each step based on the “stepIndex” signal from the directive:
<section *ngIf="wizard.stepIndex() === 0">
  ...
</section>
<section *ngIf="wizard.stepIndex() === 1">
  ...
</section>
<section *ngIf="wizard.stepIndex() === 2">
  ...
</section>
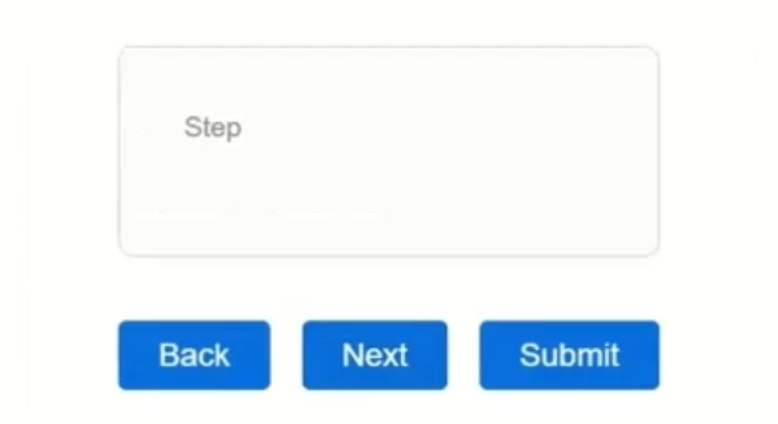
Now, navigation works and the UI reflects the current state:

When we click “Next” and “Back”, we’re actually stepping through this now!
So, our wizard is stepping, but it’s still walking into walls 😂.
If I’m on the last step and I click “next” again, there’s no step for me to navigate to which results in an error:
Let’s fix this.
Don’t Let It Break: Add Navigation Guards
In the directive, we need to add a few signals to detect when we’re on the first or last step:
export class StepTrackerDirective {
  ...
  readonly totalSteps = computed(() => this.stepLabels()?.length ?? 0);
  readonly isFirstStep = computed(() => this.stepIndex() === 0);
  readonly isLastStep = computed(() => this.stepIndex() === this.totalSteps() - 1);
}
Then we prevent navigation if we’re already at the boundary:
export class StepTrackerDirective {
  ...
  next() {
    if (!this.isLastStep()) {
      this.current.update(i => i + 1);
    }
  }

  prev() {
    if (!this.isFirstStep()) {
      this.current.update(i => i - 1);
    }
  }
}
In the template, we then want to disable the “Back” button when we’re on the first step:
<button
  (click)="wizard.prev()"
  [disabled]="wizard.isFirstStep()">
  Back
</button>
Then, we want to add logic to show the the “Next” button and hide the “Submit” button unless we’re on the last step:
@if (!wizard.isLastStep()) {
  <button (click)="wizard.next()">Next</button>
} @else {
  <button (click)="submit()">Submit</button>
}
Now the wizard can’t go out of bounds, and it’s much more polished:
The “back” is properly disabled on the first step and the last step the “next” button is hidden and the “submit” button is shown.
Make the Wizard Feel Smarter
Now we want to enhance the stepper header to include “Step X of Y” and the current step’s label.
This is done with one more computed signal in the directive that returns the current step label based on the index:
export class StepTrackerDirective {
  ...
  readonly currentLabel = computed(() =>
    this.stepLabels()?.[this.stepIndex()] ?? ''
  );
}
Then, we can update the template to display the step count and current step label:
<p class="step-count">
  Step {{ wizard.stepIndex() + 1 }} of {{ wizard.totalSteps() }}
</p>
<h2 class="step-label">
  {{ wizard.currentLabel() }}
</h2>
Now, the UI is both reactive and user-friendly all made possible with exportAs and a template reference variable:
How Angular Material Does This
If you’ve ever used Angular Material, this concept might feel familiar.
They use exportAs in components like the Stepper, which lets you reference the stepper component directly in your templates exactly like we just did:
<mat-horizontal-stepper #wizard="matStepper">
  ...
</mat-horizontal-stepper>
<footer>
  <p>You're currently on step {{ wizard.selectedIndex + 1 }}</p>
  <button mat-button (click)="wizard.reset()">Reset</button>
</footer>
Same pattern, same benefits.
Final Thoughts + When You Don’t Need exportAs
So that’s exportAs, the little-known key to building clean, declarative APIs for your directives and components in Angular.
But, you don’t need it if:
- You’re only accessing the directive/component from TypeScript
- You’re not exposing behavior to the template
- The directive/component is static or visual only
But if you’re building reusable, template-driven logic, it’s probably a must.
If you found this helpful, don’t forget to subscribe, check out my other Angular tutorials for more tips and tricks, and maybe buy some Angular swag from my shop!
Additional Resources
- The demo app BEFORE any changes
- The demo app AFTER making changes
- An Angular Material Stepper demo
- Angular exportAs API docs
- Signals in Angular
- Angular Material Stepper docs
- My course: “Styling Angular Applications”
Want to See It in Action?
Check out the demo code showcasing these techniques in the StackBlitz project below. If you have any questions or thoughts, don’t hesitate to leave a comment.