You Might Not Need That Service After All 💉
Component communication in Angular often requires prop drilling with inputs/outputs or global services, creating tight coupling and maintenance headaches. Angular's dependency injection system allows you to inject parent or grandparent components directly, eliminating the need for intermediate props or shared services. This tutorial demonstrates how to use component injection to access parent component APIs, share context across component hierarchies, and simplify component communication patterns.
Previewing the App and the Problem
Let’s start by first looking at what we’ve got.
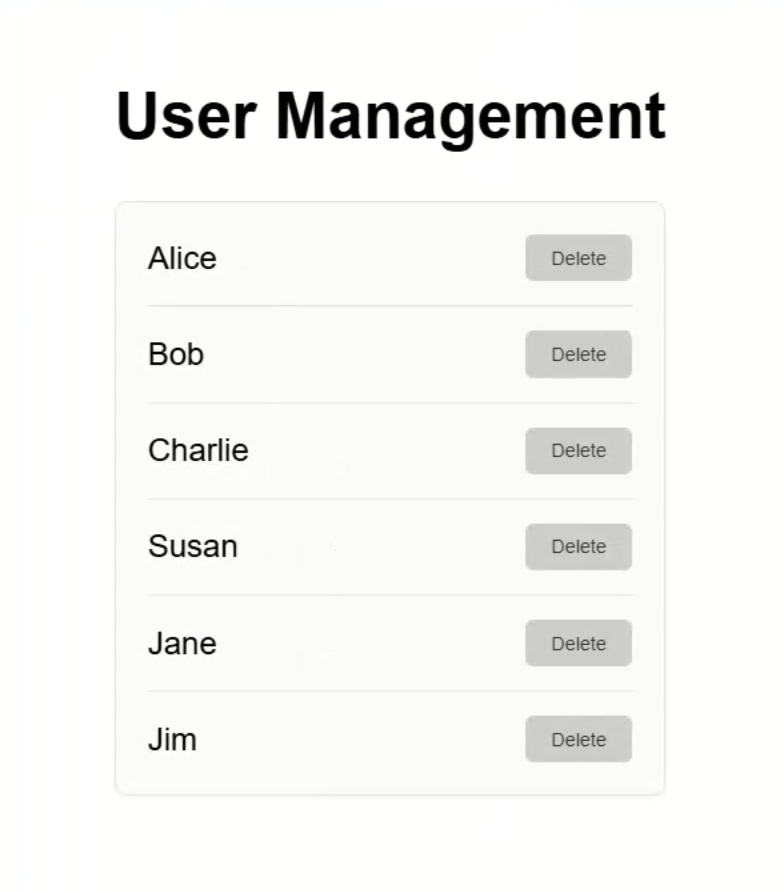
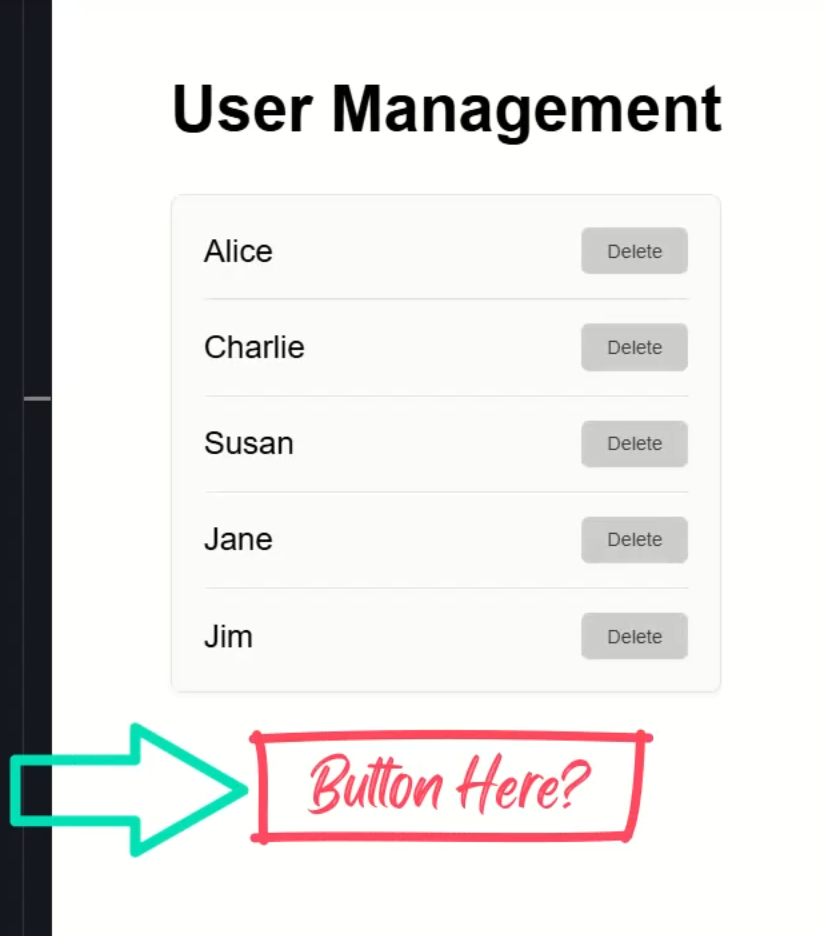
We have a user management UI with a list of users that we can delete:
Click “Delete” on any user, and we get a confirmation dialog:
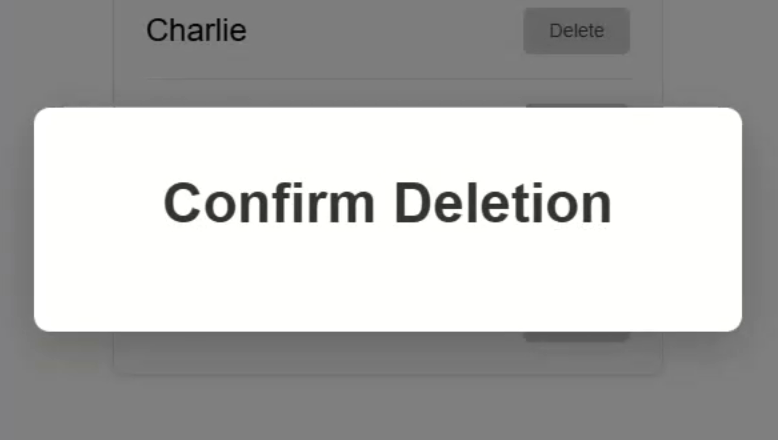
This dialog is pretty plain.
There’s no message confirming who we’re deleting or action buttons to confirm or cancel the action.
That’s not very helpful.
So, let’s fix this.
First, let’s open our dialog.component.ts to see what we’re working with.
Here, you can see we’ve already got a “username” input, and it’s required so we can be sure that it’s properly getting passed to this component:
export class DialogComponent {
  username = input.required<string>();
}
Now let’s look at the template.
This component is pretty simple but, within the template, we have an app-dialog-content component:
<div class="overlay">
  <div class="dialog">
    <h2>Confirm Deletion</h2>
    <app-dialog-content></app-dialog-content>
  </div>
</div>
This component is where we’ll want to add the new message for the dialog.
Here’s the existing TypeScript for this component:
import { ChangeDetectionStrategy, Component } from '@angular/core';

@Component({
  selector: 'app-dialog-content',
  templateUrl: './dialog-content.component.html',
  styleUrl: './dialog-content.component.scss',
  changeDetection: ChangeDetectionStrategy.OnPush,
})
export class DialogContentComponent {
}
This particular component will always be rendered within the context of the dialog component.
We can rely on that relationship to exist, ALWAYS.
What we need to do here is get access to the “username” input property from the parent dialog component.
Now, normally I’d do this with a simple input, but for the purposes of this example, we’re going to communicate a little differently.
Accessing Parent Component State with inject()
Instead of passing “username” down as an input, we’re going to inject the dialog component directly.
To do this, let’s create a new property called “dialog”.
Then, we’ll use the inject() function to inject our parent dialog component:
import { ..., inject } from '@angular/core';
import { DialogComponent } from '../dialog/dialog.component';

export class DialogContentComponent {
  ...
  private dialog = inject(DialogComponent);
}
This function offers an alternative to constructor-based dependency injection.
So now, we’ll have access to the parent dialog component instance.
So, let’s create a new property called “username”.
Then, we’ll make this a computed signal and we’ll set its value using the “username” signal from the dialog component:
import { ..., computed } from '@angular/core';

export class DialogContentComponent {
  ...
  protected username = computed(() => this.dialog.username());
}
Now, we’ve got access to the dialog’s “username” property, and it’s fully reactive thanks to signals.
Displaying Dialog Data from Context
Let’s switch to the template and add a message using this “username” property.
We can add a simple paragraph with a message that includes the string-interpolated value of our “username” property from the parent component:
<p>Are you sure you want to delete <strong>{{ username() }}</strong>?</p>
Okay, that’s it. Let’s save and see how this looks now:
And there it is! Now we have a personalized message.
We didn’t need inputs or a service, we just used component injection.
But like I said, since this is only a single level of nesting, I’d probably just use an input here in real life.
But this approach shines when you need to bridge more than one component level.
Where this really comes in handy is when the components will often be used together but they’ll be nested several levels away from each other.
Injecting a Grandparent Component Without a Service
What we want to do now is add two buttons to the dialog content component: “cancel” and “agree”.
Clicking “cancel” should just close the dialog.
Clicking “agree” should also close the dialog, but it should additionally delete the user.
Let’s look at the dialog component one more time.
Here, we have a “close” method:
export class DialogComponent {
  ...
  close(confirm = false) {
    this.onClose.emit();
    this.closed.set(true);

    if (confirm) {
      this.onConfirm.emit();
    }
  }
}
It handles both scenarios, it updates the internal “closed” state and emits events that it has closed and if it’s a confirm action.
So, we want to add some buttons inside the dialog content component, and they’ll need to call this method.
Let’s open the template for this component.
First, we need to add some buttons.
But not just any buttons.
In this app we have a special action button component, so let’s add one of these for our “cancel” button.
This component has an input for the label, so let’s pass it a label of “Cancel”:
<app-action-button label="Cancel"></app-action-button>
Now let’s add another button.
This one will get a label of “Agree”.
Also, there is an input on this component for whether it’s a “confirm” action or not, so let’s set it to true:
<app-action-button label="cancel"></app-action-button>
<app-action-button label="Agree" [isConfirm]="true"></app-action-button>
Now we just need to switch to the TypeScript and import this component:
import { ActionButtonComponent } from '../action-button/action-button.component';

@Component({
  selector: 'app-dialog-content',
  ...,
  imports: [ActionButtonComponent],
})
Making Our Action Button Smarter
Next, we need to make a change to the action button component.
Here’s where the magic happens.
Let’s create a new property called “dialog” and again, we’ll use the inject() function to inject the dialog component.
import { ..., inject } from '@angular/core';
import { DialogComponent } from '../dialog/dialog.component';

export class ActionButtonComponent {
  ...
  private dialog = inject(DialogComponent);
}
This might seem surprising at first because this action button component is nested multiple levels of components under the dialog component, yet we can still access it.
This works because Angular’s DI system walks up the injector tree, allowing us to access ancestors as long as they’re in the component hierarchy.
So now, we can modify our “handleClick()” method and simply use this property to call the “close()” method on the dialog component, passing it our “isConfirm” property:
protected handleClick() {
  this.dialog.close(this.isConfirm());
}
Now, you may be asking yourself the question…
“why not a service?”
That’s a great question!
A service is more for decoupled communication, and in this case, this action button component is often used within a dialog component, so the more global service concept isn’t really necessary.
Could you use a service? Sure.
But do you have to? Definitely not.
Okay, now let’s save and see how this all works:
Nice, now when we click to delete a user, we have some action buttons.
When we click “Cancel”, the dialog properly closes without deleting the user.
Then, when we try again, and click the “Agree” button, we can see the dialog closes and the user gets deleted.
Pretty cool, right?
Just like that, our dialog is interactive!
And we didn’t need a service to communicate across multiple levels of components.
Handling Optional Injection Gracefully
What if we need to use this action button component outside of the dialog component?
For example, what if we want to add a button to save the changes made to the user list?
Can we still do this?
Well, let’s try it.
Let’s open up the code for the root app component where this list lives and where we want to add this “save” button.
Now, let’s add the action button component to the imports array so that we can use it:
import { ActionButtonComponent } from './action-button/action-button.component';

@Component({
  selector: 'app-root',
  ...,
  imports: [..., ActionButtonComponent],
})
Then, let’s add a “saved” signal to track the saved state after clicking the new button:
import { ..., signal } from '@angular/core';

export class App {
  ...
  protected saved = signal(false);
}
Next, we need to add a method to handle the click event on our new save button, let’s call it “usersSaved()”.
Within this method, let’s first set our “saved” signal to true.
Then, we’ll simulate a save delay using setTimeout(), and then set it back to false:
export class App {
  ...
  protected usersSaved() {
    this.saved.set(true);
    setTimeout(() => this.saved.set(false), 3000);
  }
}
Now our “saved” state will change for three seconds when we click the new button.
Okay, now let’s switch and add a “save” button in the template.
First, let’s add a new action button.
Let’s give it a label of “Save Users”.
Let’s also set “isConfirm” to true to make it a confirmation button.
Next, we can use the “onClick” output to call our new “usersSaved()” method:
<app-action-button
  label="Save Users"
  [isConfirm]="true"
  (onClick)="usersSaved()">
</app-action-button>
Ok, that’s all we need for the button, but I want to provide some feedback related to the “saved” state.
So let’s add a little message too:
@if (saved()) {
  <div class="saved">Your users have been saved!</div>
}
Ok, that should be everything, let’s save and see what happens:
Uh oh, looks like we have an error.
Let’s inspect to see what’s going on:
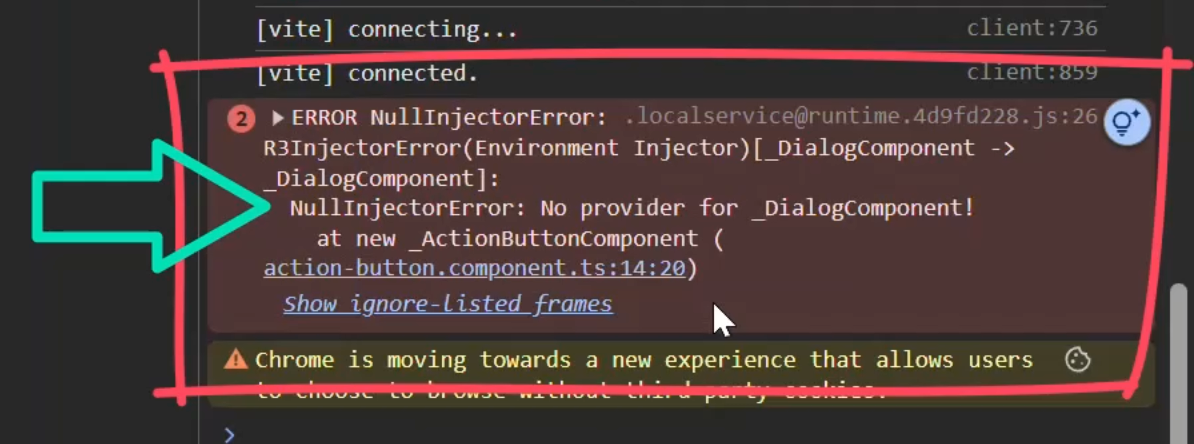
Okay, there it is: “No provider for _DialogComponent!”.
Why? Because the action button component is trying to inject the dialog component, and we’re not inside one.
Let’s fix this.
Back over in the action button component, we need to make the injected dialog component optional with the “optional” parameter:
private dialog = inject(DialogComponent, { optional: true });
Then, we just need to use the optional chaining operator in the “handleClick()” method to prevent errors when it doesn’t exist:
Before:
this.dialog.close(this.isConfirm());
After:
this.dialog?.close(this.isConfirm());
Now let’s save and try again:
Now it works beautifully, no error, no dialog needed, and we see the message for three seconds after saving.
So now it’s context-aware when inside a dialog, and still functional outside.
Pro tip: always use { optional: true } when your component might be reused outside of its expected context.
Wrap-Up: When to Inject Components (and When Not To)
So, here’s what we learned today…
You can inject a parent or grandparent component instead of using a service, as long as the component hierarchy is stable.
This works great for tightly coupled components like a dialog component and action buttons.
By using optional injection, you make your component flexible, it works with or without a specific context.
Avoid injecting parent components when your components aren’t tightly coupled.
In those cases, a shared service is still the better choice.
If you found this helpful, don’t forget to subscribe and check out my other Angular tutorials for more tips and tricks!
Additional Resources
- Angular inject() API
- Optional Dependencies
- Signals in Angular
- My course: “Styling Angular Applications”
Get Ahead of Angular’s Next Shift
Most Angular apps today still rely on reactive forms, but that’s starting to shift.
Signal Forms are new, and not widely adopted yet, which makes this a good time to get ahead of the curve.
I created a course that walks through everything in a real-world context if you want to get up to speed early: 👉 Angular Signal Forms Course
Want to See It in Action?
Check out the demo on StackBlitz below to explore component injection in action.