Angular Currency Pipe: Complete Guide to Currency Formatting
Currency formatting mistakes break user trust and create confusion in international applications. Displaying prices incorrectly—wrong decimal places, missing currency symbols, or incorrect locale formatting—makes your app look unprofessional and can lead to user errors. Angular's Currency Pipe handles all these complexities automatically, supporting 150+ locales, proper decimal formatting, and accessibility requirements. This tutorial shows you how to format currency correctly for any locale and use case.
In this tutorial, we’ll explore how to use the Angular Currency Pipe, including its syntax, parameters, and real-world examples to demonstrate its effectiveness.
Ok, let’s look at an example.
Adding Properly Formatted and Localized Currency Values with the Angular Currency Pipe
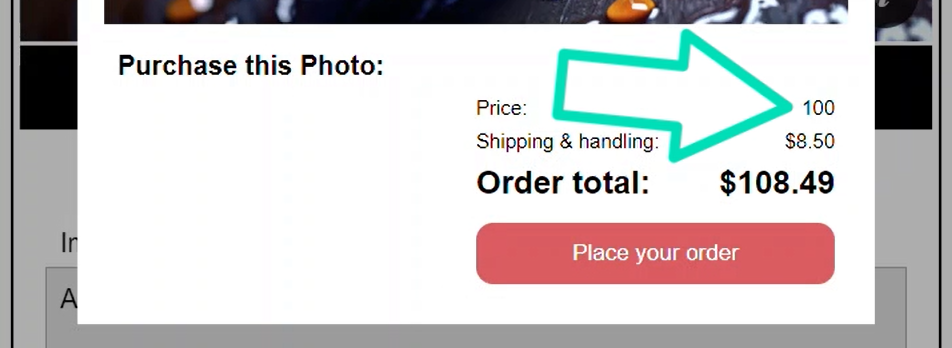
Alright, so here we have a basic demo application “Petpix” where people share and sell photo prints of their pets.

In this modal where you can order the image, we have the item price, shipping and handling costs, and the total amount.
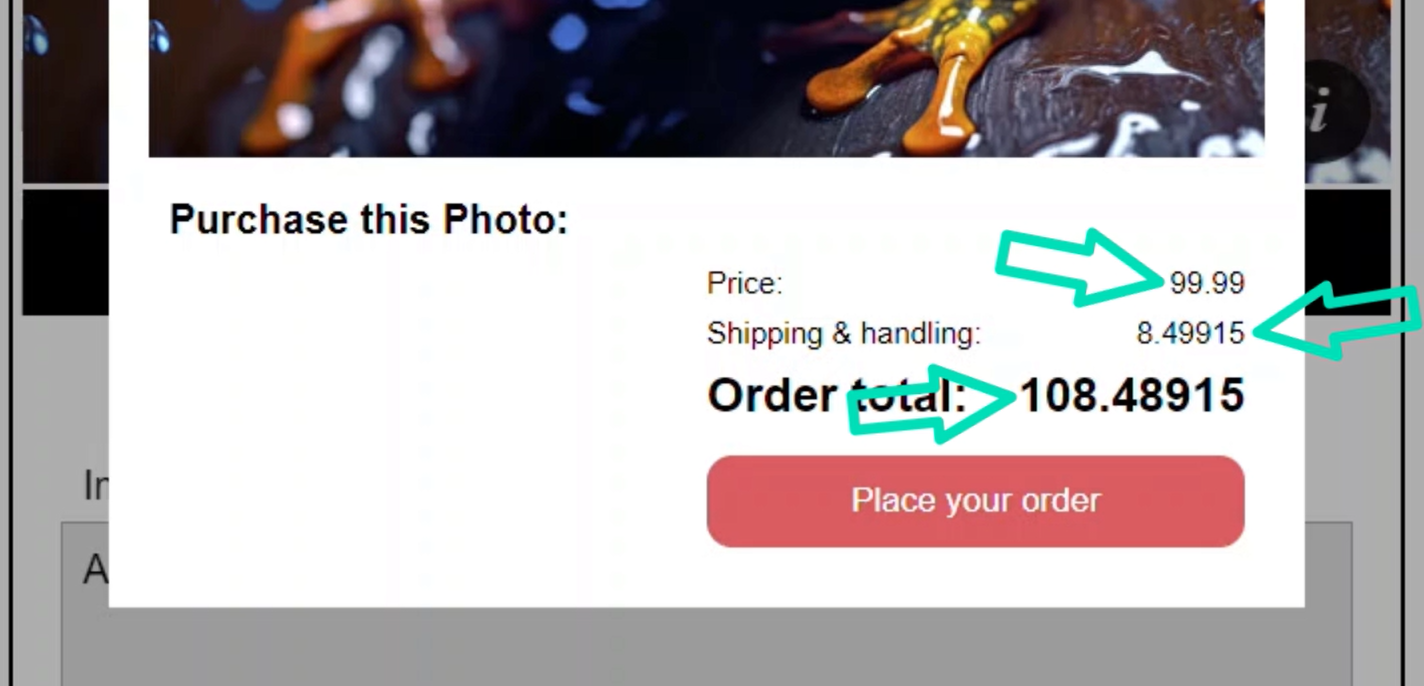
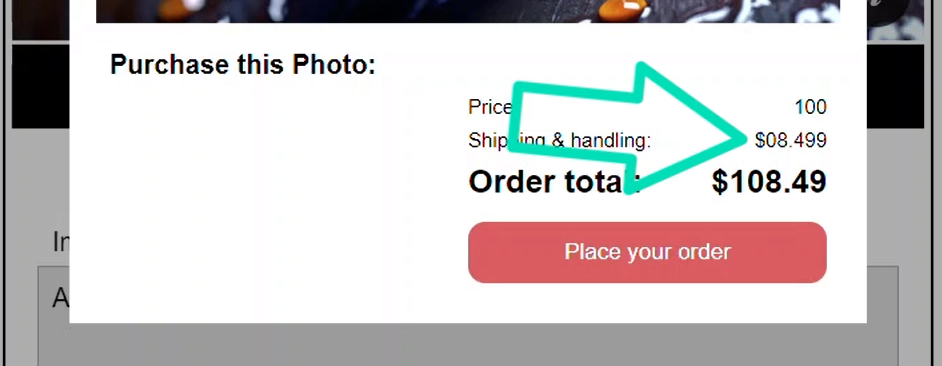
These prices look strange right?
We never really see three, four, and five decimal places for currency values. And we can’t just round them and call it good because that wouldn’t work correctly in all locales.
For example, there are no “cents” with the Japanese yen, so if we were to just round these decimals, they wouldn’t exactly work for yen currency values.
So, we need a better way to do this, and that’s where the Angular Currency Pipe comes into play. Let’s look at how we do this.
To start, let’s open the purchase form component TypeScript file.
We can see there’s a little bit going on in this component already.
We have a number input for the price of the print:
price = input.required<number>();
Then we have a shipping signal property computed to 8.5% of the price:
shipping = computed(() => this.price() * 0.085);
And then to get the total, we add the shipping and the price together:
total = computed(() => this.price() + this.shipping());
So that’s where the values come from, now let’s format them with the currency pipe.
But before we can use the pipe, we first need to import it from the Common Module, within our component imports array:
import { CurrencyPipe } from '@angular/common';

@Component({
  selector: 'app-purchase-form',
  imports: [CurrencyPipe]
})
Ok, now we’ll be able to use it in our template.
To display our price value we are simply converting the number value to a string with string interpolation:
<td>{{ price() }}</td>
So, in order to add the Currency Pipe here, we start by adding a pipe character.
If you’re not familiar, this is how you add pipes in Angular. Then we follow this pipe with the name of the Angular pipe, in this case it’s simply, the word “currency”:
<td>{{ price() | currency }}</td>
Ok, that’s it. After we save, we can see that the price is now properly formatted with the currency symbol.
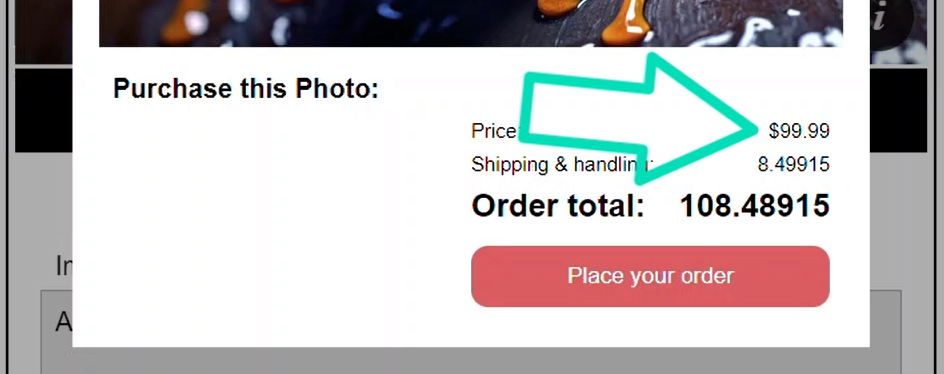
Now it may not look like much, it’s just the addition of a dollar sign, right?
Well not exactly.
Specifying the Specific Currency Code to for the Value
Remember how I said earlier that the Japanese yen doesn’t have a concept for cents?
Well, one of the things we can do with the Currency Pipe is, we can specify the specific currency code to use.
Let’s look at what it looks like for the yen.
To do this, we add a colon, then we’ll add a parameter for the currency code as a string. For the yen it’s JPY:
<td>{{ price() | currency: 'JPY' }}</td>
Ok, now let’s save again and see how it looks:
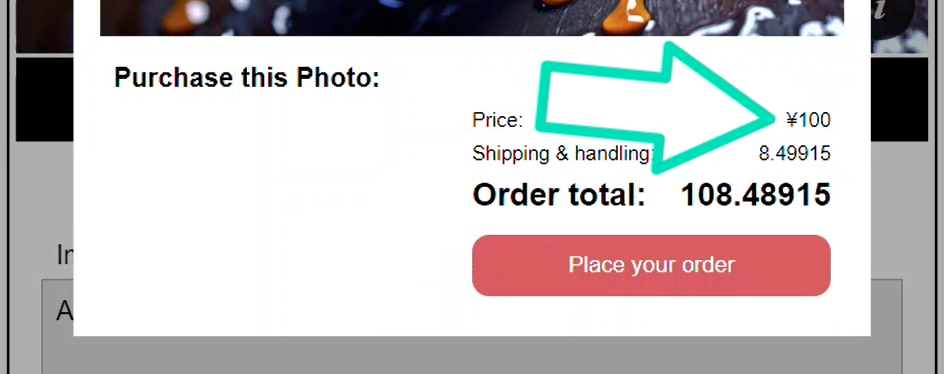
So now we can see some of the power of the Currency Pipe right?
It’s properly formatting our currency value, without decimals and displaying the proper currency symbol for the Japanese yen.
And that’s what’s so cool about this pipe. A lot has already been figured out for us.
We don’t have to handle any locale-specific logic when using it and that’s a pretty big deal.
Displaying the Currency Code or Symbol with the Date Pipe
So, what we’ve seen so far is really great, but there’s even more to this pipe.
We have some more options available to really control the display of these currency values.
For one, we may have the need to show the currency code instead of the symbol, before the value.
Well, we can do this by specifying the display parameter with the pipe.
For this, we’ll provide a value of “code”:
<td>{{ price() | currency: 'JPY' : 'code' }}</td>
That’s it.
Now let’s save and see this in action:
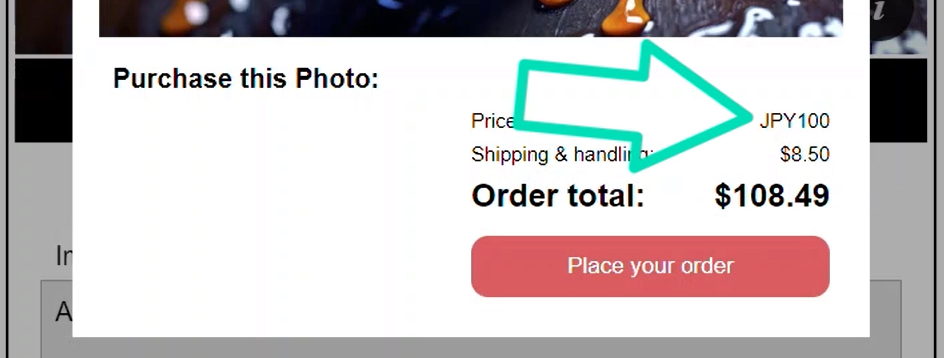
There, so now instead of the yen symbol, we see the code “JPY” instead.
And if we change this to “symbol”, of course we’ll see the symbol again instead:
<td>{{ price() | currency: 'JPY' : 'symbol' }}</td>
Then, if we don’t want to show either of these, we can just switch it to an empty string instead:
<td>{{ price() | currency: 'JPY' : '' }}</td>
There, now there’s no symbol or code.
Controlling Minimum and Maximum Integer and Fraction Digits to Display
We can also control how many integer units before the decimal to show, and how many fractional units after the decimal to show.
Let’s use our shipping value for this.
Now we don’t want to set the currency code for this. The default value for the currency code parameter is “undefined”, so let’s set it to “undefined”:
<td>{{ shipping() | currency: undefined }}</td>
Now, in order to get the decimal formatting to work correctly, we need to also fill out the display parameter, so let’s set it to “symbol”:
<td>{{ shipping() | currency: undefined: 'symbol' }}</td>
Ok, now we can add our third parameter. This too will be a string.
The first value is the minimum number of integer digits to show, so the minimum number of digits to show before the decimal point.
The default is one, so let’s go with a value of two. Then we add a dot:
<td>{{ shipping() | currency: undefined: 'symbol': '2.' }}</td>
The next value is the minimum number of fractional units to show, so the minimum number of digits to show after the decimal point.
The default is two, so let’s change it to one:
<td>{{ shipping() | currency: undefined: 'symbol': '2.1' }}</td>
Then we add a dash followed by the max number of fractional digits to show.
The default for this is two as well, so let’s go with three instead:
<td>{{ shipping() | currency: undefined: 'symbol': '2.1-3' }}</td>
Ok, that’s it.
Let’s save and check this out:
Ok, so that’s a little different huh?
Now we see the zero before the eight, and the nine after the forty-nine cents.
So, there’s quite a bit we can do with this pipe.
It’s just really easy to use and helps us avoid common pitfalls and errors that can occur when working with currency values in Angular.
In Conclusion
So, by using the Currency Pipe, you can ensure that your application is adaptable to different locales and languages, and that your currency values are displayed correctly and consistently.
This will ultimately lead to a better user experience and more reliable data overall.
Well, I guess that’s all for now.
Don’t forget to check out my other Angular tutorials for more tips and tricks.
Additional Resources
- The demo BEFORE making any changes
- The demo AFTER making changes
- Angular Currency Pipe official documentation
Get Ahead of Angular’s Next Shift
Most Angular apps today still rely on reactive forms, but that’s starting to shift.
Signal Forms are new, and not widely adopted yet, which makes this a good time to get ahead of the curve.
I created a course that walks through everything in a real-world context if you want to get up to speed early: 👉 Angular Signal Forms Course
Want to See It in Action?
Check out the demo code and examples of these techniques in the Stackblitz example below. If you have any questions or thoughts, don’t hesitate to leave a comment.


