Angular Date Pipe: Complete Guide to Date Formatting
Date formatting in Angular applications often causes headaches: inconsistent formats confuse users, locale-specific requirements complicate code, and manual formatting leads to maintenance nightmares. Angular's Date Pipe solves these problems by providing built-in localization, flexible formatting options, and semantic HTML support. This complete guide covers everything from basic date formatting to advanced locale handling, timezone management, and SEO-friendly date markup.
Well, good news for us, Angular’s built-in Date Pipe provides a solution to these problems by offering a simple, yet powerful way to format and localize dates in our applications.
And, by the end of this tutorial, you’ll know exactly how to use it, and you’ll see several examples demonstrating its power and flexibility. So, let’s jump right in!
Adding a Semantic, Formatted, and Localized Date with the HTML Time Element and the Angular Date Pipe
Alright, for this tutorial we have a basic demo application for the Vans clothing brand. On a post about the History of the brand, we want to add the date and time this article was posted at the top of the page.

Let’s look at how we can do this. To start, let’s look at the page-content.component.ts. Here we can see that we have a JavaScript Date object set to September 20th, 2024 at 11:43 AM:
page-content.component.ts
protected datePosted = new Date('2024-09-20 11:43:24');
Now, this date would realistically come from some API endpoint in real life, but for demonstration purposes, we’ve just included it here within our component.
So, we have this date object, but we can’t simply add this date as is, to our template. We want to use the built-in Angular Date Pipe instead.
But before we can use it, we need to first import it from the Common Module, within our component imports array.
page-content.component.ts
import { DatePipe } from '@angular/common';

@Component({
  selector: 'app-page-content',
  ...,
  imports: [ DatePipe ]
})
Ok, now we’ll be able to use the pipe within our template.
The first thing we want to do is add the HTML Time element.
Since we’re adding a date, the Time element is the right tag for the job. Its purpose is to represent a specific period in time which is exactly what we’re doing here.
Now, with this element, we also want to add the datetime attribute.
We can use basic attribute binding to bind this attribute to our date value:
page-content.component.html
<section>
    Posted on:
    <time [attr.datetime]="datePosted">
    </time>
</section>
This attribute is used to provide a machine-readable date which helps things like search engines or calendars recognize them as dates accordingly.
Ok, now let’s get to what we’re here for, the formatted date!
We’re going to use string interpolation, so we’ll add double curly braces for this. Then, we’ll output our date value within these curly braces.
page-content.component.html
<time [attr.datetime]="datePosted">
    {{ datePosted }}
</time>
Now, to use the pipe, we add a pipe character. If you’re not familiar, this is how you add pipes in Angular.
Then we follow this pipe with the name of the Angular pipe. In this case it’s simply, the word “date”:
{{ datePosted | date }}
Ok, that’s it. Let’s save and see how it looks:
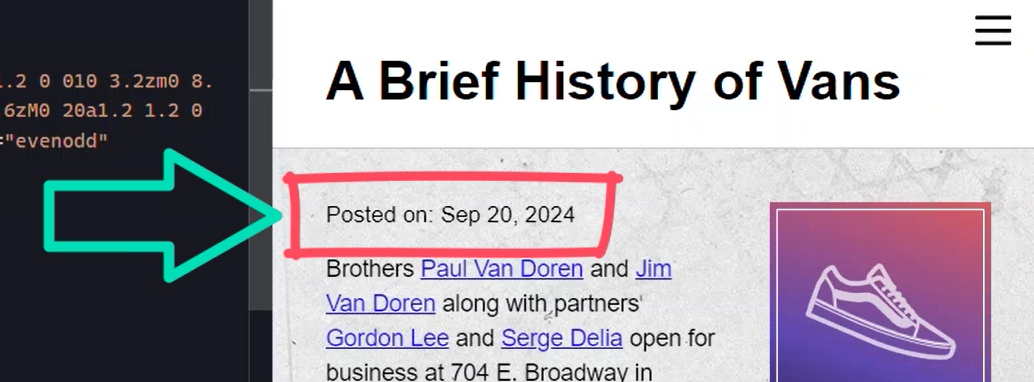
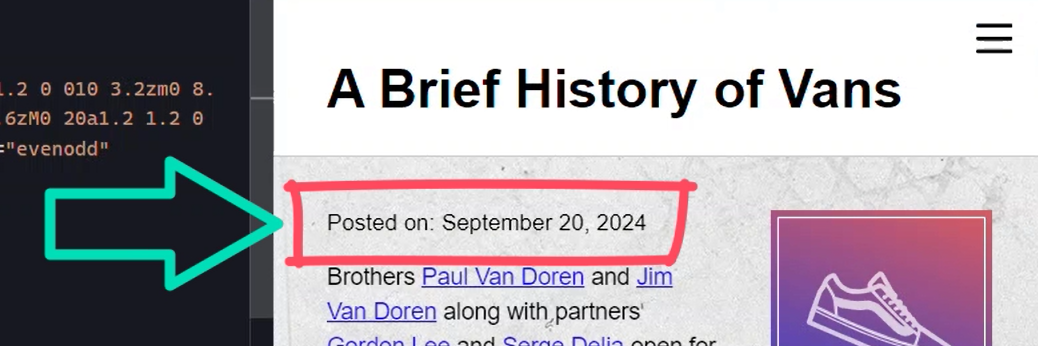
And there we go. Now we see that this article was posted on September 20th, 2024.
Even though we gave it the date in that original ugly, hard to read format, we now get a nicely formatted date.
And what’s even more cool about this is that a lot of work has been done to this pipe so that the dates produced will be properly localized based on the settings of the device a person is using to access this application.
So, in basically one line of code, we were able to create a date that should make sense to anyone accessing it, even machines!
Customizing Date and Time Formats with the Angular Date Pipe
Now, if that didn’t knock your socks off, there’s a lot more that we can do with this pipe.
We have the ability to really customize the format as needed.
Using the “short” Date Format
For example, if we want to shorten the format of the date, and show the time too, we can add a colon, followed but the desired format as a string. In this case let’s use a value of “short”:
{{ datePosted | date:'short' }}
Ok, now when we save, it looks like this:
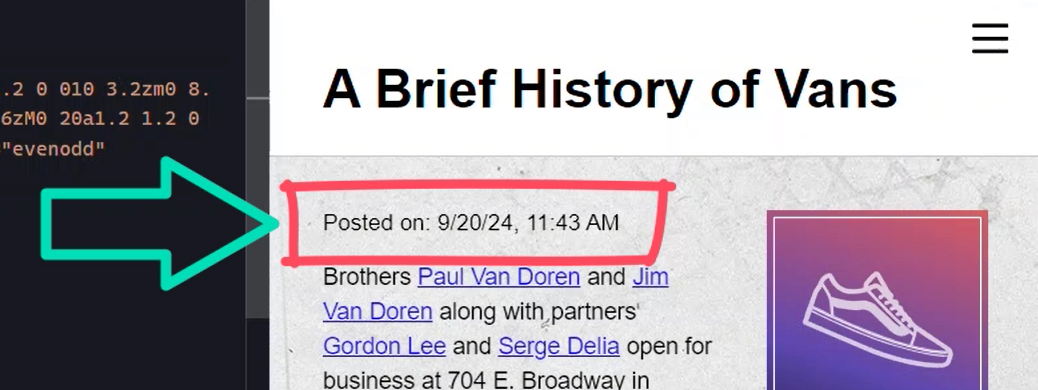
Nice, now we have a shorter date format, and the time too.
So, this is one of the predefined date formats that we can add when using this pipe, but there are several more available too.
Using the “medium” Date Format
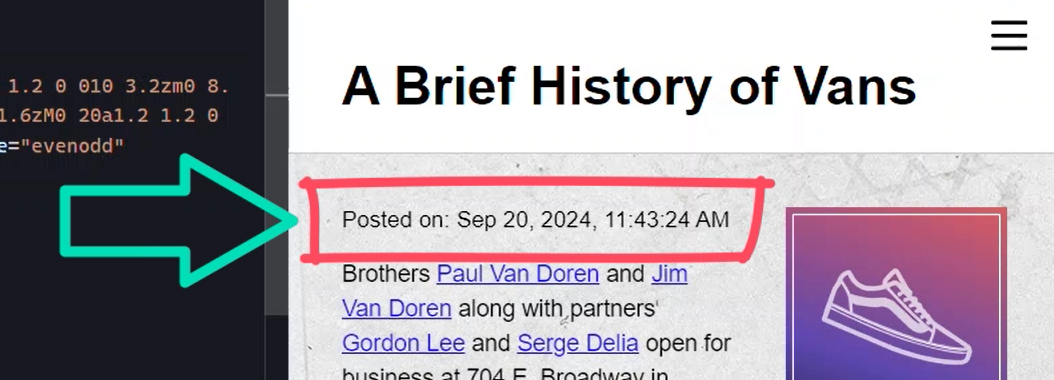
Let’s switch to “medium” instead:
{{ datePosted | date:'medium' }}
There, now we get a date formatted similar to the first example but including the time:
Using the “long” Date Format
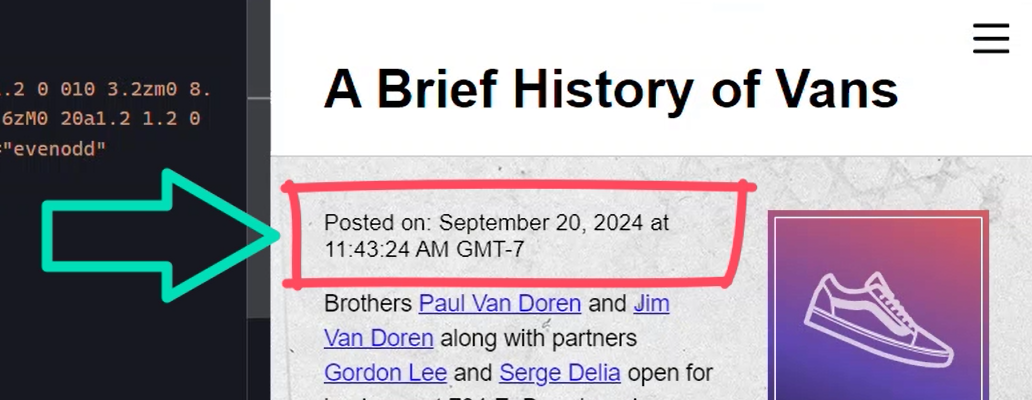
How about switching to “long”?
{{ datePosted | date:'long' }}
There, now we get the full date and time:
Using the “longDate” Date Format
And what if we wanted this format without the time?
Well, we could switch to a value of “longDate” instead:
{{ datePosted | date:'longDate' }}
There, now we have the long date without the time:
Using the “shortTime” Date Format
We also have the ability to format the date to show the time only if we want.
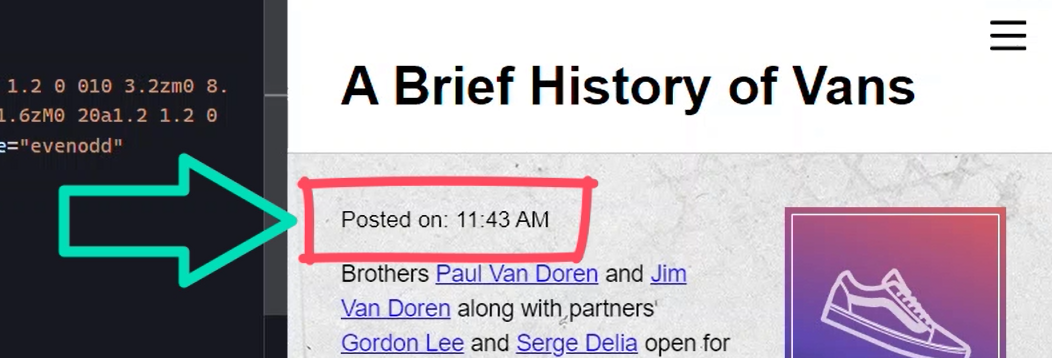
Let’s use a value of “shortTime” instead:
{{ datePosted | date:'shortTime' }}
There, now we only show the time from our date value:
Displaying the Year Only With a Custom Date Format
Now, what if we only wanted to show the year?
Well, to do this, we can pass a custom format option.
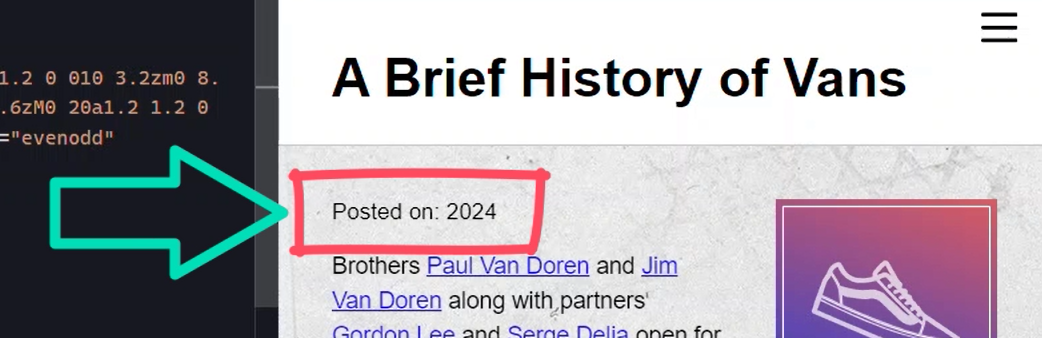
Let’s go with a value of “yyyy”:
{{ datePosted | date:'yyyy' }}
There, now we’re only showing the year from our date:
Displaying the Month and Year With a Custom Date Format
What if we want to show just the month and year?
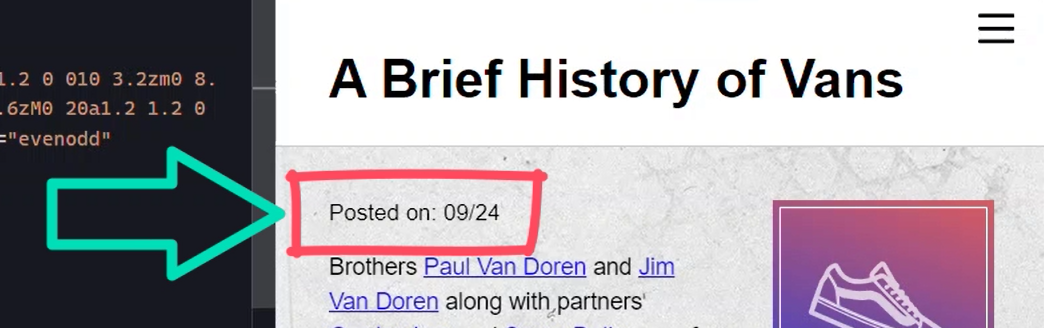
Well, we’d add capital “MM”, slash lowercase “yy”:
{{ datePosted | date:'MM/yy' }}
There, now we see the month, slash, the year:
Displaying the Hours and Minutes With a Custom Date Format
How about if we only want to show the time in terms of the hour and the minute?
Well, we can switch to a value of capital “HH” colon, lowercase “mm”:
{{ datePosted | date:'HH/mm' }}
There, now we just have 11:43:

So, there’s a lot we can do here, hopefully you get the idea from these examples.
For this demo, however, I think “medium” is what we want to go with.
It includes the date and time that this article was posted which is perfect for this scenario.
In Conclusion
As you can see, it’s incredibly versatile and easy to use. Whether you need a full date, just the time, or something custom, the Date Pipe has you covered.
To wrap up, using the Date Pipe can save you time and effort in date management. By using the Date Pipe, you can simplify your date formatting, reduce errors, and improve the overall user experience for everyone.
Don’t forget to check out my other Angular tutorials for more tips and tricks.
Additional Resources
- The demo BEFORE making any changes
- The demo AFTER making changes
- The HTML Time element
- Angular Date Pipe official documentation
Want to See It in Action?
Check out the demo code and examples of these techniques in the Stackblitz example below. If you have any questions or thoughts, don’t hesitate to leave a comment.