Angular Signals: set() vs update() - When to Use Each
Choosing between set() and update() for writable signals in Angular seems trivial, but the wrong choice leads to verbose code, unnecessary complexity, or missed optimization opportunities. set() replaces the entire signal value, while update() transforms the current value using a callback function. This tutorial explains when each method is appropriate, demonstrates real-world examples, and shows how to write cleaner, more efficient signal update code.
Angular Signals Tutorial Series:
- linkedSignal() Basics - Learn the fundamentals of linkedSignal()
- linkedSignal() Advanced - Advanced linkedSignal() features
- Signal Inputs & output() - Replace @Input/@Output with signals
A Case for the Signal update() Method
First, let’s start with a case for the update() method.
Here, we’re using the Petpix application that I use for many of my Angular tutorials:

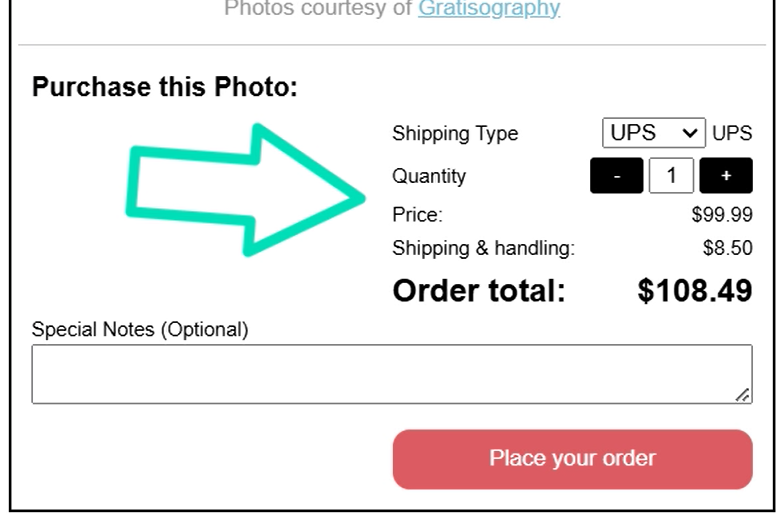
In this application we have a form where users can purchase prints of the photos that others have shared:

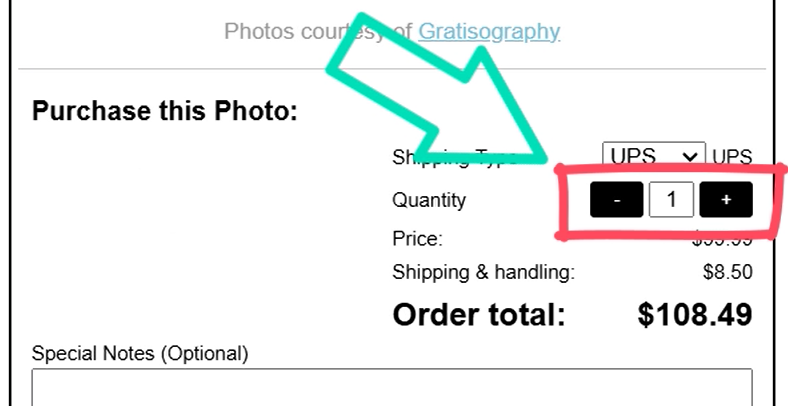
And in this form, the user can adjust the quantity of prints that they want to purchase:

Now, at the moment, clicking on these buttons does nothing.
This is because they aren’t yet wired up, and this is what we’re going to do in this tutorial.
Ok, let’s look at the code for this purchase form component.
First, we have the “quantity” input and the buttons to add or remove items:
<input type="number" [(ngModel)]="quantity">
<button (click)="remove()">-</button>
<button (click)="add()">+</button>
We have a “quantity” property that we use the ngModel directive to update when the value entered changes.
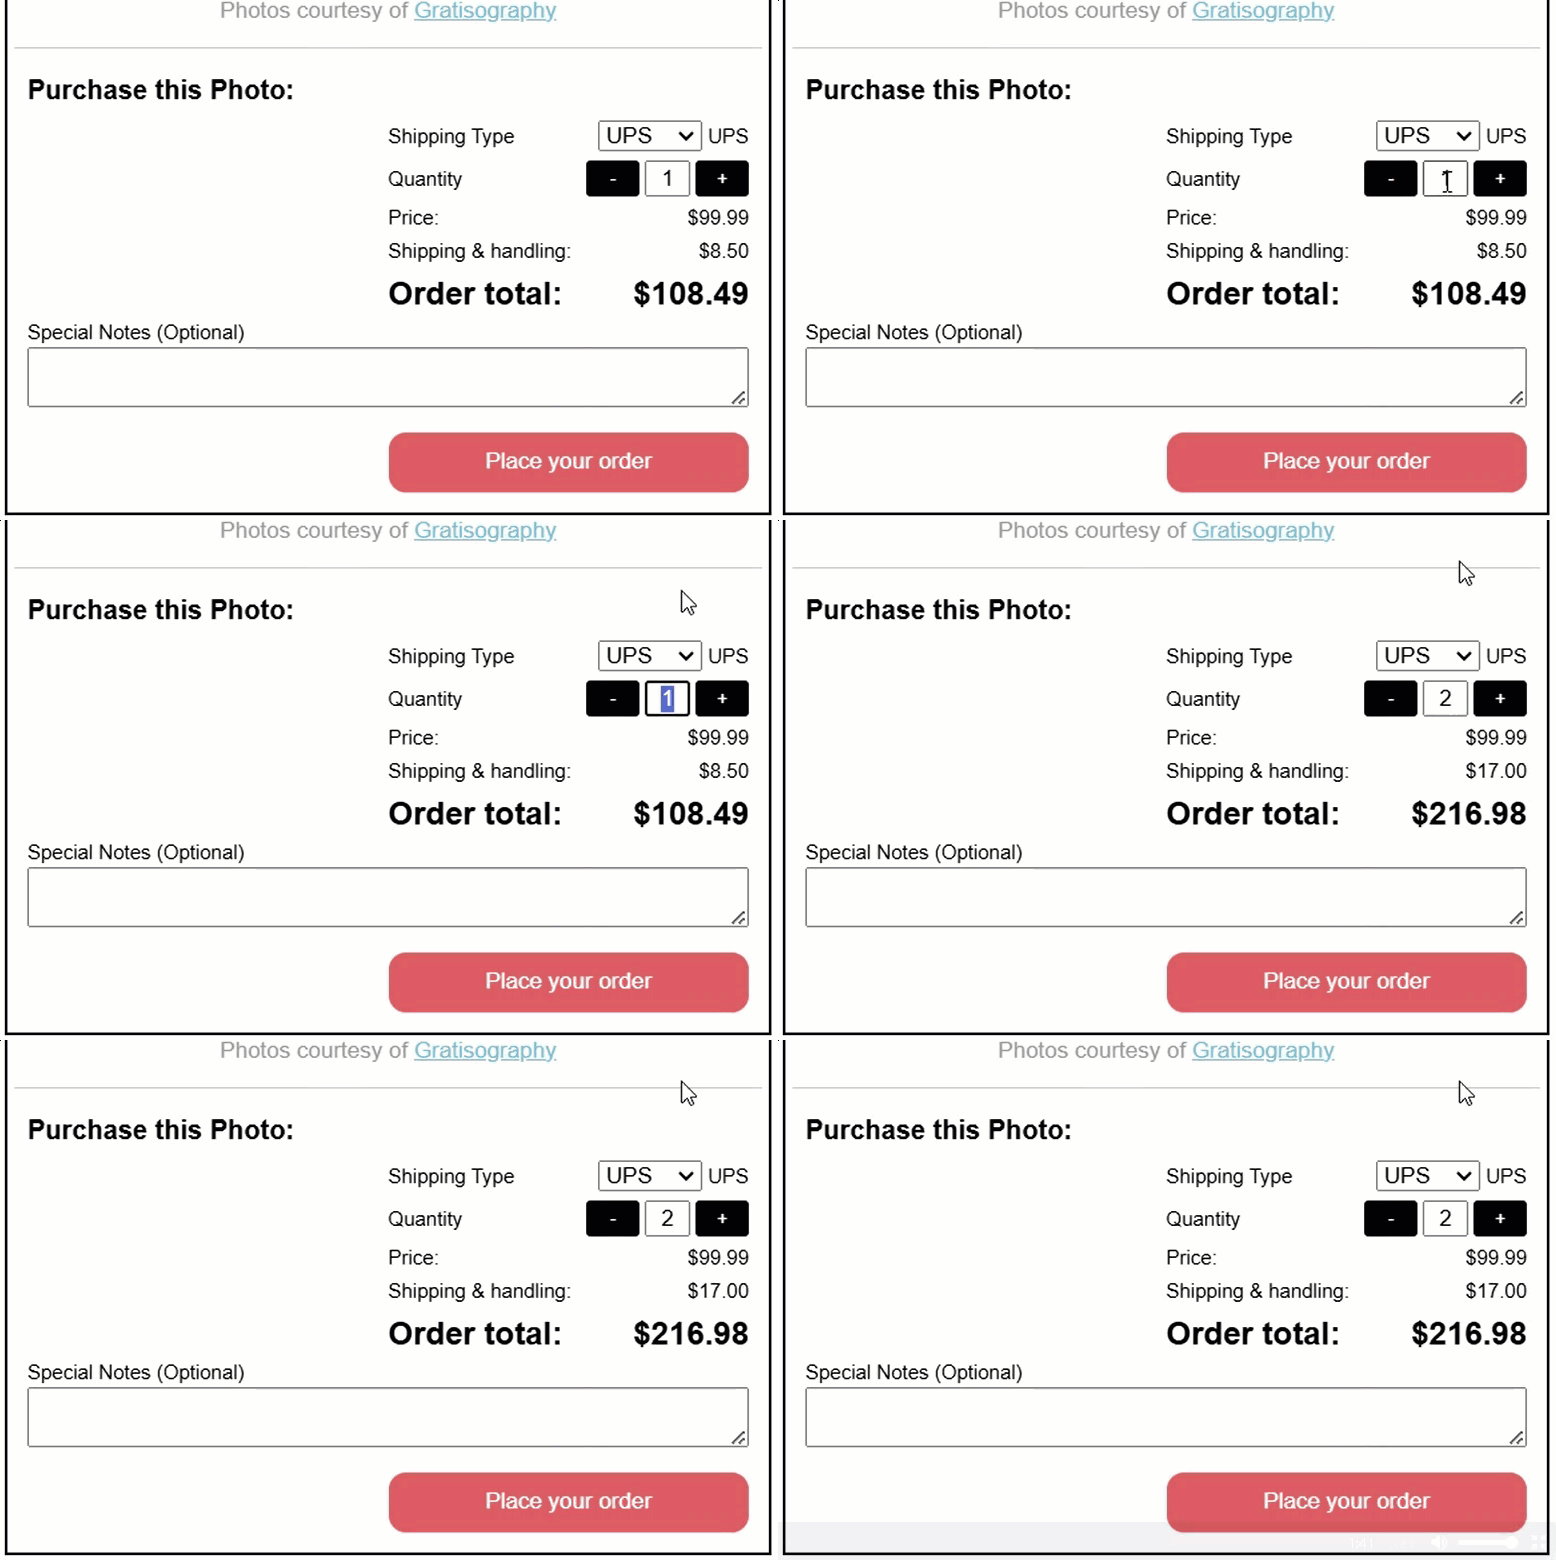
So, if I change the quantity to 2, we’ll see that our “total” and “shipping and handling” values change as well:

This is all happening because this “quantity” property is already a signal which we’ll see in a minute.
But for now, just understand that it’s a signal and the “total” and “shipping and handling” values are also signals that are computed using this “quantity” signal.
The other thing that I want to point out is that the “remove” button is currently calling a remove() method when clicked, and the add button is calling an add() method:
<button (click)="remove()">-</button>
<button (click)="add()">+</button>
These two methods are what we’ll be wiring up.
Ok, let’s switch to the TypeScript for this component.
First, we have our “quantity” signal:
protected quantity = linkedSignal({
    source: this.imageId,
    computation: () => 1
});
This signal is created using the new linkedSignal function which is both a writable signal and a signal that updates when another signal changes too.
If you’re unfamiliar with this concept, I’ve created a couple of tutorials that you should definitely check out as well:
So, this property is a writable signal that, no matter what its value is, it will reset to 1 whenever the “imageId” signal changes.
We can also see the “total” and “shipping” properties are created as computed signals that use this “quantity” signal to determine their values, which is why we saw them update as we adjusted the quantity directly:
protected shipping = computed(() => {
    return (this.price() * this.quantity() * 0.085).toFixed(2);
});
protected total = computed(() => {
    return (this.price() * this.quantity() + Number(this.shipping())).toFixed(2);
});
So, everything we’ve seen so far is working just fine.
We just need to wire up the add() and remove() functions for our buttons.
Since we’re working with a writable signal, we can choose either the set() or the update() method when setting the value.
But this scenario is probably best suited for the update() method since we will always need to calculate the new value based on the previous value.
Let’s look at why this is.
Wiring up the add() Function
We’ll start with the add() function.
When it’s called, we want to add 1 to the current quantity.
So, let’s use the update() method.
We need to add a callback function with the previous value as an argument, and this allows us to use the previous value and simply add 1 to it:
protected add() {
    this.quantity.update(q => q + 1);
}
That’s it.
Wiring up the remove() Function
Now, let’s add the logic to the remove() function.
We’ll still want to use the update() method here because we’re just going to use subtraction instead of addition of course.
But this time, we need to avoid calculating if the value is already equal to 1.
We don’t want folks to be able to end up with a quantity of zero or a negative quantity.
So, we’ll check that our previous value is greater than 1, then we’ll use a ternary operator, and return the previous value minus 1, or if it’s equal to 1 already, we’ll simply return one:
protected remove() {
    this.quantity.update(q => q > 1 ? q - 1 : 1);
}
Ok, now to be fair, as far as I understand, the use of the update() method versus set() is really just a matter of convenience.
In this case, we could actually use the set() method to do the same calculation.
We’d just use our signal in the calculation.
So, this would work exactly the same:
protected add() {
    this.quantity.set(this.quantity() + 1);
}
But, in a case where we’re relying on the previous value, it probably makes more sense to use update() instead.
And that’s what I use as a rule of thumb as to when to use one or the other.
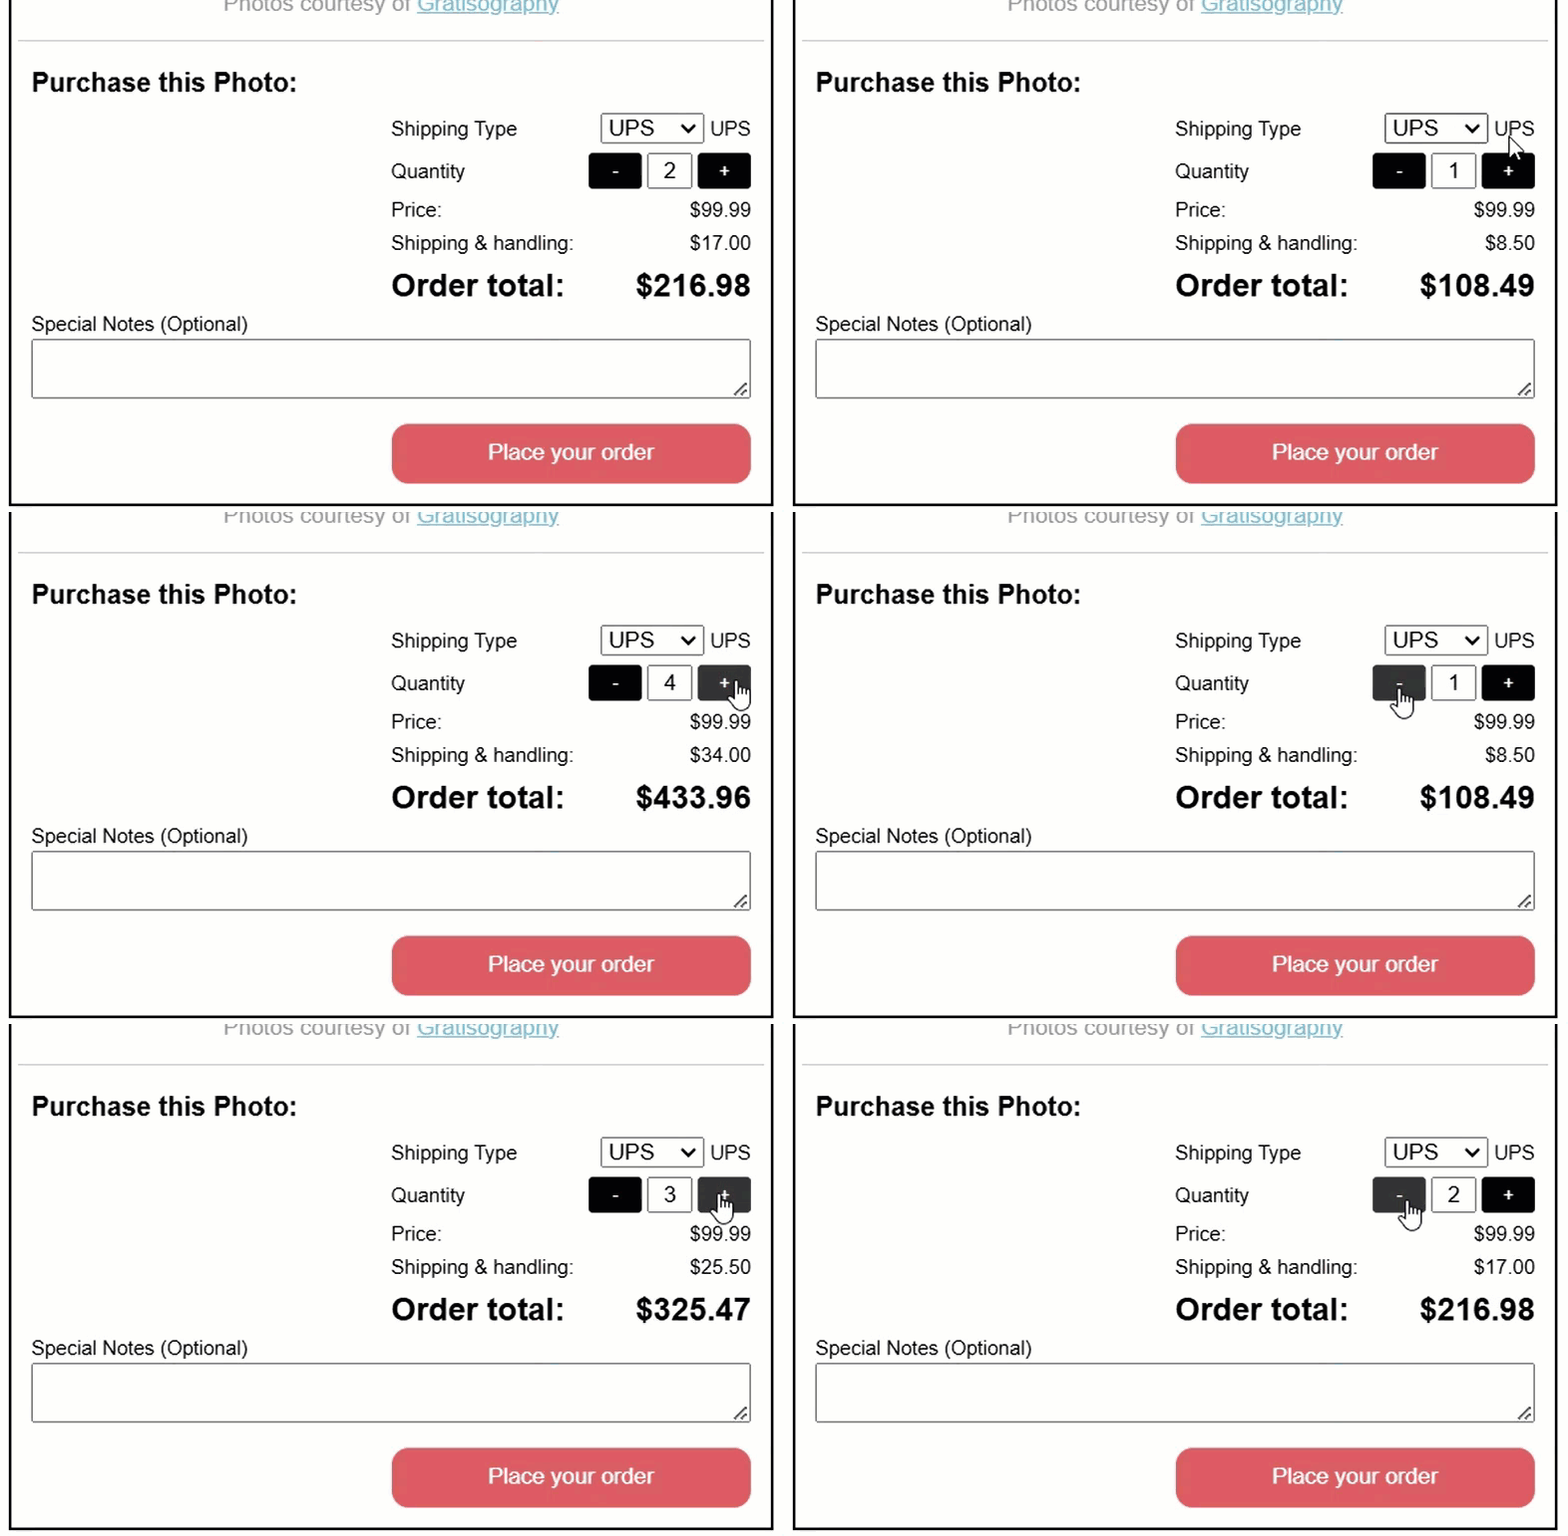
So, if we save now, let’s see how these buttons work:

Nice, it looks like they work properly when adding and removing items.
So that’s an example of something that I’d probably use the update() method for.
Now let’s look at an example of something where we may want to use set() instead.
A Case for the Signal set() Method
Up in the header of our app, we have a hamburger menu button:

When we click it right now, nothing happens.
Let’s look at the code to see why.
In the header component, we have an @if condition wrapping our nav component:
@if (showMenu()) {
    <app-nav></app-nav>
}
So, we only show this nav component when a “showMenu” signal is true.
Let’s look at the component TypeScript to see how this is being set right now:
export class HeaderComponent {
    protected showMenu = signal(false);
}
Ok, this looks like the problem.
All we have is the signal declaration with an initial value of false.
So, we need to set it to true when we click the button.
Let’s switch back to the template.
Now, in this case, we don’t care what the previous value was.
When we click on the button, we ALWAYS want the “showMenu” signal to be set to true.
So, let’s add a click event to our menu button.
When this event fires, we can simply set the signal to true with the set() method:
<button (click)="showMenu.set(true)">
    ...
</button>
Now, on the navigation component, we have a “close” event that fires when we click anywhere outside of the menu while it’s open.
When this event fires, we want the opposite, we ALWAYS want to set the signal to false no matter what the previous value was:
@if (showMenu()) {
    <app-nav (close)="showMenu.set(false)"></app-nav>
}
Ok, let’s save and try this out:

Nice, now the menu opens and closes just like we want.
In Conclusion
So, it’s pretty subtle, but if you’re factoring in the old value to update your signal, you’ll probably want to use the update() method.
But, you certainly don’t have to, you can just use the set() method all the time if you want to.
I don’t think anyone will get mad at you.
Well, I hope that was helpful, I’ve definitely been confused on this in the past.
Don’t forget to check out my other Angular tutorials for more tips and tricks.
Additional Resources
- The demo BEFORE making any changes
- The demo AFTER making changes
- Angular Signals documentation
- linkedSignal documentation
- Signal inputs documentation
- Computed signals documentation
- The ngModel directive documentation
Want to See It in Action?
Check out the demo code and examples of these techniques in the Stackblitz example below. If you have any questions or thoughts, don’t hesitate to leave a comment.


