Angular View vs Content: Understanding Signal Queries
The difference between "view" and "content" in Angular trips up many developers, leading to queries that don't work as expected. Understanding this distinction is crucial for working with signal queries like viewChild() and contentChild(). This tutorial explains the fundamental difference: "view" refers to a component's own template, while "content" refers to projected content from parent components. You'll learn when to use each query type and how to avoid common mistakes.
Understanding the View: A Component’s Own Template
To start, the “view” refers to a component’s own template, the HTML that is directly inside its associated template markup.
This includes all elements and child components that the component itself defines.
So, everything we see here in the template for this card component belongs to its “view”:
@Component({
  selector: "app-card",
  template: ` <h2>This is a Title</h2>
    <p>
      This is a Description
      <ng-content></ng-content>
    </p>`,
})
export class CardComponent {}
Okay, so that’s the “view.” It’s that simple.
If it’s inside the component’s own template, then it’s part of the “view.”
Understanding Content: Projecting Elements from the Parent
“Content”, on the other hand, is different.
“Content” refers to elements that are passed into a component from a parent, using content projection with ng-content.
This is considered a “slot” in an Angular component.
In this example, the button tag inside the app-card element does not belong to the card component:
@Component({
  selector: "app-root",
  template: ` <app-card>
    <button>Click me!</button>
  </app-card>`,
})
export class App {}
The card component provides a slot for the button, but the button itself within this slot is owned by the parent <app-root> component instead.
The key takeaway here is that the “view” is part of the component, while “content” is part of the parent and projected inside ng-content regions.
So now that we understand the difference between the two, let’s look at how we can access items in each scenario.
How to Query Elements Inside a Component’s View
Let’s look at the concept of the component “view” first.
If we want to reference an element inside our component’s own template, we use the viewChild or viewChildren signal query functions.
These query functions allow us to access elements inside the component’s view.
They update reactively, so there’s no need for the old ngAfterViewInit lifecycle hook when using them.
Here, we have a simple app card component.
It has a heading, a description, and a button:
<h2>Shiba Inu</h2>
<p>
  The Shiba Inu is the smallest of the six original and distinct spitz breeds of
  dog from Japan. A small, agile dog that copes very well with mountainous
  terrain, the Shiba Inu was originally bred for hunting.
</p>
<button>View Button</button>
To access this button, we can add a reference variable.
This is how we’ll target it with our view query function.
Now, let’s switch to the TypeScript for this component.
Here we can add a new “button” property and we’ll use the viewChild signal query function.
We’ll need to be sure that this gets properly imported from the Angular core module too.
Also, in this case, we need to type this signal to an ElementRef<HTMLButtonElement>, since we are querying for the HTML button element directly.
Then, we just need to pass the template reference from the button as the locator:
import { ..., viewChild, ElementRef } from '@angular/core';

@Component({
  selector: 'app-card',
  ...
})
export class CardComponent {
  protected button = viewChild<ElementRef<HTMLButtonElement>>('btn');
}
Next, let’s add a “buttonText” signal and initialize it to an empty string:
@Component({
  selector: 'app-card',
  ...
})
export class CardComponent {
  ...
  protected buttonText = signal('');
}
Now we’ll add a new “buttonClicked” method and set the “buttonText” signal with the button’s text when clicked:
@Component({
  selector: 'app-card',
  ...
})
export class CardComponent {
  ...
  protected buttonClicked() {
    this.buttonText.set(this.button()?.nativeElement.innerText ?? '');
  }
}
Then, let’s switch back to the template and wire up this function on click of our button element:
<button #btn (click)="buttonClicked()">View Button</button>
Then, let’s add a <div> and then add the string-interpolated value of the signal within it:
<div>{{ buttonText() }}</div>
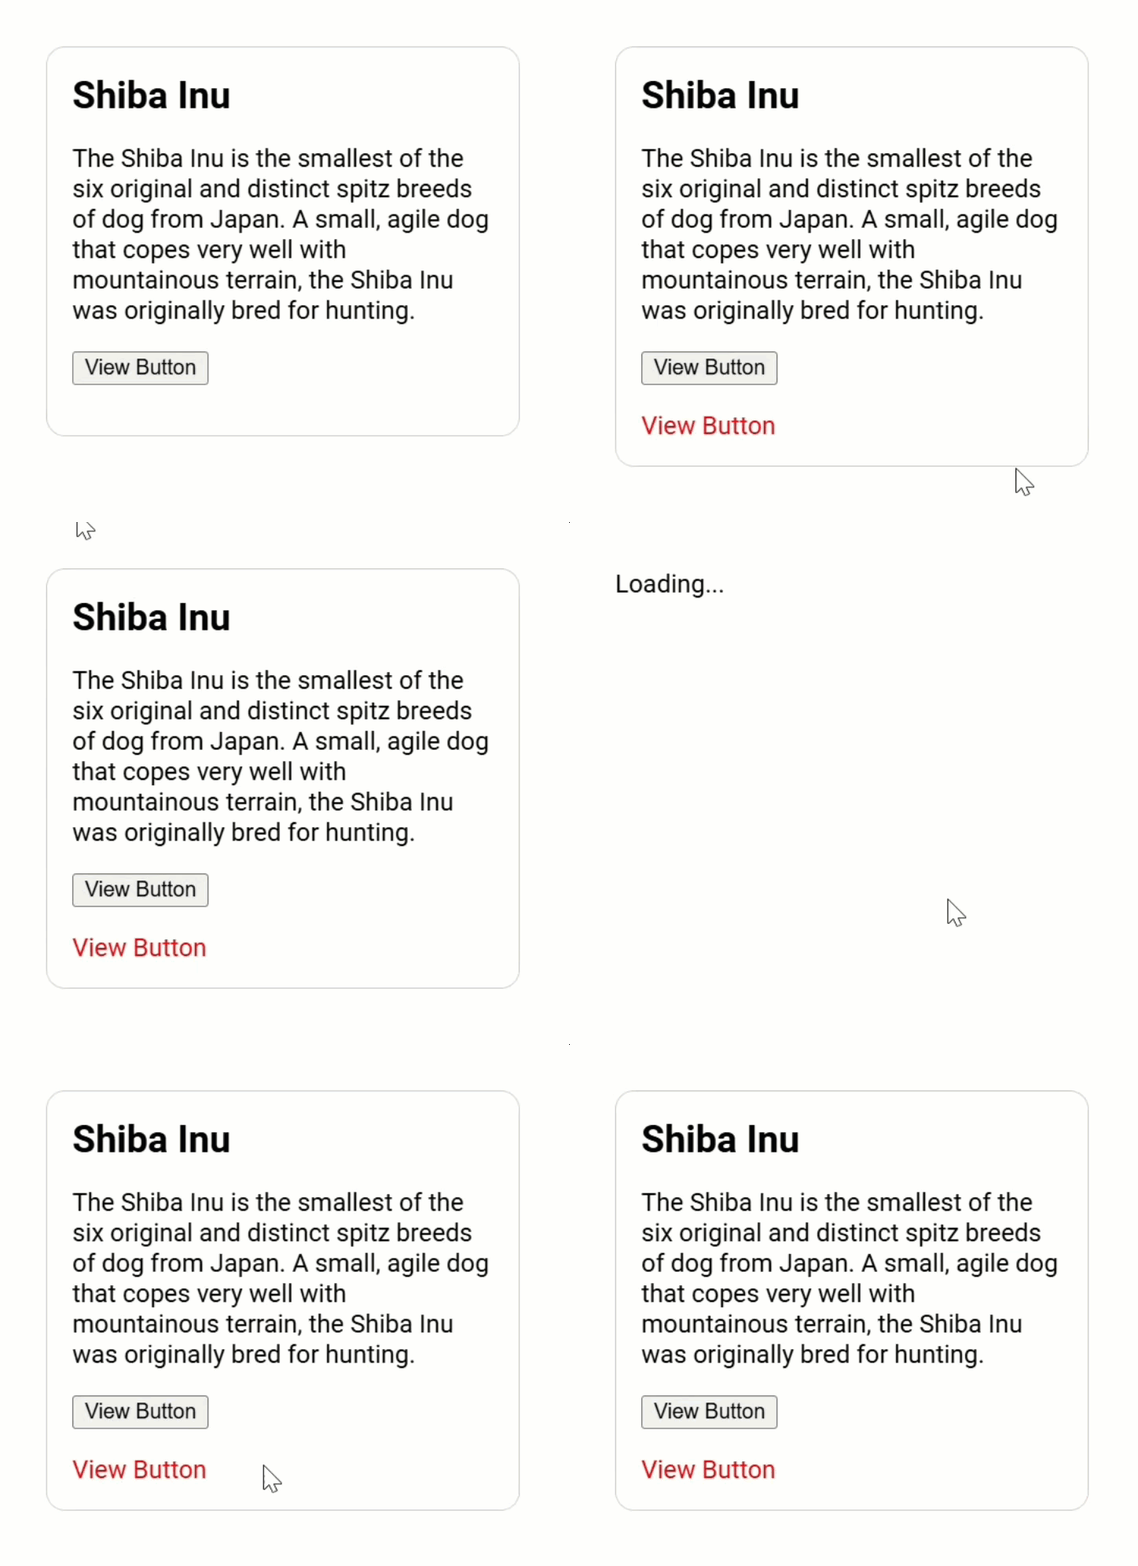
Ok, now let’s test it!
When we click the button, we should see the text “View Button” appear:

So, that’s how you query elements inside of a component’s “view”, no lifecycle hooks needed, and the viewChild signal updates reactively.
And just to clarify, if we needed to query for more than one item, we would use the viewChildren signal query instead.
How to Query Projected Content from the Parent Component
Now, to contrast this, if we need to reference content that is projected into our component, not part of the “view”, we use the contentChild or contentChildren signal queries instead.
These functions allow us to access elements projected into our component using ng-content.
And, just like the view queries, they update reactively when content projection changes so there’s no need for the old ngAfterContentInit lifecycle hook when using them.
So, let’s switch the component around a little to demonstrate this concept.
Instead of defining the button text in the card component template, let’s replace it with an ng-content element instead.
Let’s also remove the reference variable:
<button #btn (click)="buttonClicked()">
  <ng-content></ng-content>
</button>
This now allows us to project content here from the parent when including this card component.
So, now let’s switch to the main app component and let’s add a <span> within the <app-card> selector.
Inside this <span>, let’s add the text “Content Button”.
Also, we’ll need to add a template reference variable on it because, like the viewChild query, we’ll use it to reference this element:
<app-card>
  <span #btn>Content Button</span>
</app-card>
Next, we can switch back to our card component.
Here we can change the viewChild to the contentChild function now since we’re referring to the “content” of the component instead of the “view”.
And we’ll need to make sure that it also gets imported from Angular core:
import { ..., contentChild } from '@angular/core';

@Component({
  selector: 'app-card',
  ...
})
export class CardComponent {
  protected button = contentChild<ElementRef<HTMLElement>>('btn');
}
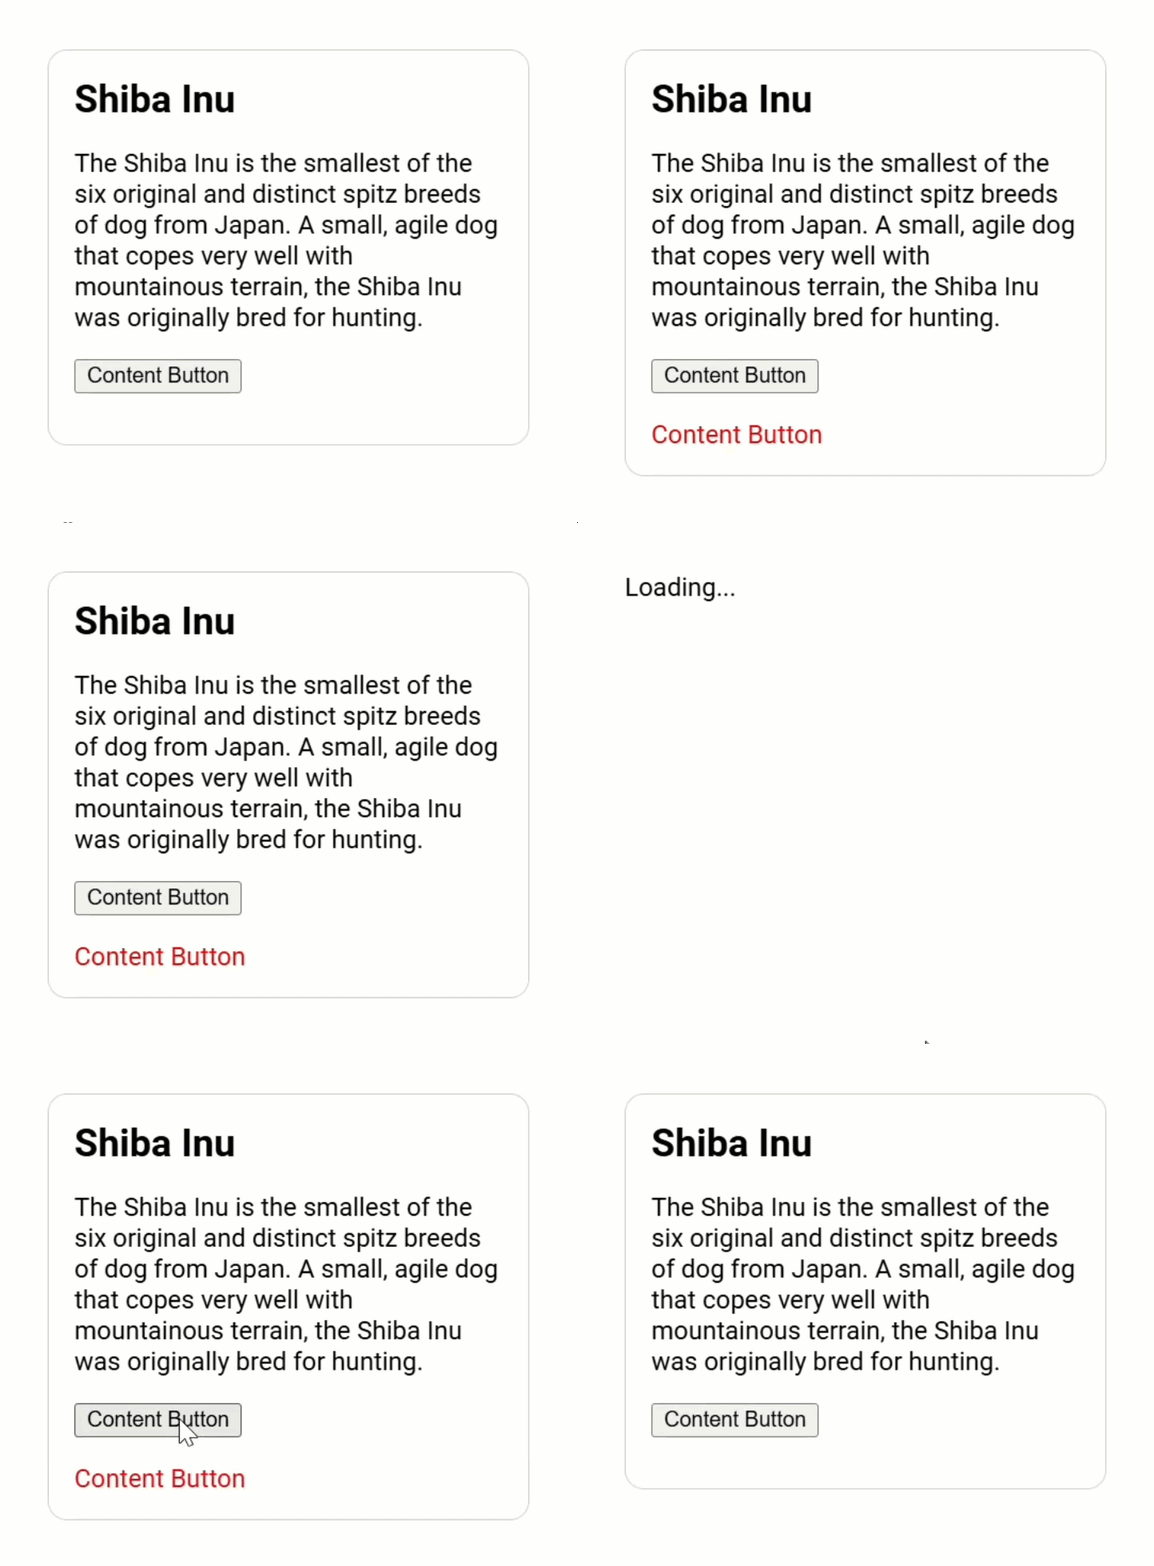
Now, when we save and click the button… we should see the “Content Button” text now that we’ve switched the button to the “content” of the component:

And just like the “view”, if we needed to query for more than one item, we would use the contentChildren signal query instead.
Why Understanding This Matters
So, understanding the “view” vs. “content” helps us build more reusable, flexible components more effectively.
It’s an important concept in the Angular framework.
Signal queries further simplify things by making it easy to access both “view” elements and projected “content”.
If you ever run into issues with queries, ask yourself:
- Is the element inside my component’s own template? If so, use viewChild.
- Or, is the element projected into my component? If so, use contentChild.
This simple distinction can save you a lot of debugging time when you understand it properly.
Conclusion: Choosing the Right Query Every Time
Alright, we’ve covered a lot!
Now you should have a clear understanding of the difference between “view” and “content” in Angular, and how signal queries make working with both simple and reactive.
If you found this helpful, don’t forget to subscribe, and check out my other Angular tutorials for more tips and tricks!
Additional Resources
- The demo app BEFORE any changes
- The demo app AFTER making changes
- Content projection in angular
- View and content queries
- Angular signals overview
- My course: “Styling Angular Applications”
Want to See It in Action?
Check out the demo code showcasing these techniques in the StackBlitz project below. If you have any questions or thoughts, don’t hesitate to leave a comment.


